Machine Tool Rebuilds: Safety Interlocks & E-Stop Best Practices
Master safety interlocks and e-stop wiring during machine tool rebuilds. Learn ISO 13849-1 compliance, component costs, and post-rebuild validation testing.
The Hidden Liability in Machine Tool Rebuilds
Executing comprehensive machine tool rebuilds on legacy CNC mills and lathes involves far more than scraping dovetail ways, replacing ball screws, and upgrading spindle bearings. The most critical, yet frequently mismanaged, aspect of a rebuild is the safety control architecture. When a 1998 Haas VF-2 or a Mazak VTC-300 is retrofitted with modern drives and a new CNC controller, the original relay-based safety logic is often inadequately replaced. Bypassing interlocks with zip-ties or relying on software-driven emergency stops during the commissioning phase introduces catastrophic risk.
For rebuilders and maintenance teams, understanding the precise integration of hardwired emergency stops (E-stops) and guarding interlocks is mandatory. This guide details the engineering requirements, component selection, and validation protocols necessary to ensure rebuilt machine tools meet modern safety standards without hindering maintenance access.
The Regulatory Baseline: ISO 13849-1 and NFPA 79
Any machine tool rebuild intended for commercial use or internal shop floor deployment in 2026 must align with current consensus standards. The primary framework for safety-related parts of control systems is ISO 13849-1. Under this standard, safety functions are rated by Performance Level (PL), ranging from PL a (lowest) to PL e (highest).
Standard Requirement: For standard CNC machining centers and turning centers, the Emergency Stop function and primary enclosure interlocks must typically achieve a minimum of Performance Level d (PL d), Category 3. This dictates a dual-channel architecture with diagnostic coverage to detect cross-wiring faults and welded contacts.
Furthermore, NFPA 79 (Electrical Standard for Industrial Machinery) explicitly prohibits the use of software-only logic for E-stop actuation. The E-stop circuit must physically interrupt the motive power to the drives and spindle contactors via hardwired safety relays or a safety-rated PLC, independent of the main CNC controller's processing logic.
E-Stop Circuit Architecture for Rebuilt CNCs
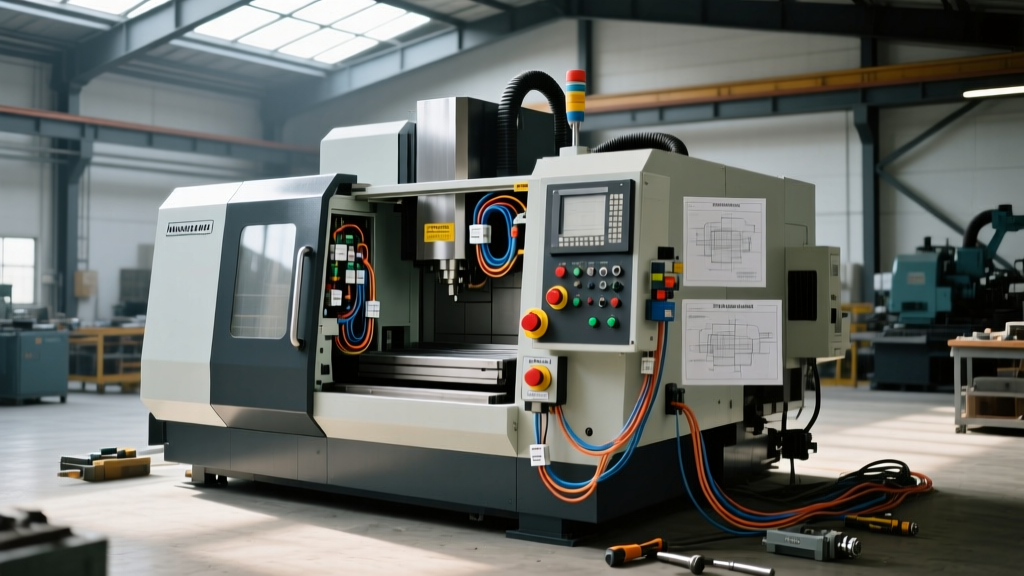
During a rebuild, technicians often inherit a tangled nest of legacy ladder-logic relays. The best practice is to strip the E-stop circuit down to the bare wire and rebuild it using a dedicated safety relay or a compact safety controller.
Dual-Channel Wiring Topology
A compliant E-stop button utilizes two Normally Closed (NC) contacts. These are wired into two separate input channels (S11/S12 and S21/S22) on the safety relay. If the E-stop is pressed, both channels open. The safety relay's internal microprocessor monitors the timing discrepancy between the two channels. If one contact fails to open (e.g., due to welding), the relay detects the asymmetry, locks out the safety circuit, and prevents the machine from being reset until the faulty component is replaced.
⚠️ WARNING: The Software E-Stop TrapNever wire an E-stop button solely into the 24V DC I/O inputs of a standard CNC PLC (like a standard Fanuc or Siemens digital input) and rely on a macro or ladder rung to shut down the spindle. If the I/O card fails or the PLC crashes, the E-stop becomes a dead button. Hardwired safety relays must physically break the 110V/230V AC control circuit feeding the main drive contactors.
Interlock Defeat Protocols: Safe Maintenance Access
The most dangerous phase of any machine tool rebuild is axis commissioning and laser calibration. Technicians need the machine to move while guarding doors are open. OSHA 1910.212 strictly prohibits defeating interlocks with tape, magnets, or bypass wires. To legally and safely run a machine with doors open during a rebuild, you must implement one of two engineered solutions:
- Trapped Key Interlock Systems: Systems like the Fortress Interlocks mGard utilize a physical key transfer sequence. The operator must turn the main isolator to the 'Off' position to release a key. That key is then inserted into the door interlock to open the door. This guarantees the spindle and drives are physically isolated before the guard is breached.
- Maintenance Mode with Enabling Devices: Install a key-switched 'Setup/Maintenance' mode selector. When activated, this mode bypasses the door interlocks but immediately restricts axis feed rates to a maximum of 2,000 mm/min (per ISO 16090-1) and requires the continuous depression of a 3-position enabling switch (pendant) to allow movement. Releasing or panicking (squeezing hard) the enabling switch instantly cuts drive power.
Bill of Materials: VMC Safety Retrofit Cost Breakdown
Budgeting for a safety architecture overhaul during a Vertical Machining Center (VMC) rebuild requires precise component selection. Below is a realistic 2026 pricing and specification matrix for a standard 3-axis mill retrofit targeting PL d / Category 3.
| Component | Brand / Model | Function | Est. Cost (USD) |
|---|---|---|---|
| E-Stop Button | Eaton FAk-R/KC11/I | Dual NC contacts, twist-release | $95.00 |
| Safety Relay | Pilz PNOZ s7.2 C | Dual-channel monitoring, PL e capable | $485.00 |
| Door Interlock | Sick STR1-SAM003A | Non-contact RFID transponder | $310.00 |
| Enabling Switch | Sick ES11 (3-position) | Maintenance mode axis enable | $145.00 |
| Main Contactor | Siemens 3RT2026 (w/ mirror) | Spindle/Drive power isolation | $180.00 |
Step-by-Step Validation: Testing the Safety Chain Post-Rebuild
Once the physical wiring is complete, the safety circuit must be mathematically and physically validated before the machine is released to the shop floor. Guessing response times is a severe liability.
- Measure Total System Response Time (T): Use a calibrated safety stop-time meter (such as the Pilz PASmotion or CEES devices). Trigger the E-stop and measure the exact time in milliseconds from the button actuation to the physical cessation of spindle rotation and axis movement.
- Calculate Safe Distance (S): Apply the ISO 13855 formula:
S = (K × T) + C.- K = 1,600 mm/s (standard hand approach speed).
- T = Total response time measured in Step 1 (e.g., 0.150 seconds).
- C = Penetration depth factor (usually 850mm for E-stops, or calculated based on sensor resolution for light curtains).
- Verify Contactor Feedback: Ensure the Normally Closed (NC) auxiliary mirror contacts on the main drive contactors are wired back into the safety relay's feedback loop (S34). The safety relay must verify that the main power contacts have physically opened before allowing a reset.
- Cross-Fault Injection: Intentionally short Channel 1 to 24V while actuating the E-stop. The safety relay must detect the cross-wiring fault, trip the circuit, and illuminate a diagnostic fault LED. The machine must not be resettable until the fault is cleared and power is cycled.
Common Failure Modes in Retrofit Safety Circuits
Rebuilders must actively design against specific failure modes that frequently occur in aftermarket machine tool environments:
Welded Main Contactors
Spindle drives and servo amplifiers draw massive inrush currents. Over time, the main AC contactors can arc and weld their contacts shut. If an E-stop is pressed, the safety relay drops the coil voltage, but the welded contacts remain closed, leaving the spindle energized. Solution: Always use contactors rated with forced-guided (mechanically linked) auxiliary contacts per EN 61810-3. This ensures that if the main contacts weld, the mirror auxiliary contact physically cannot close, instantly alerting the safety relay to the failure.
RFID Interlock Defeat via Magnets
Older magnetic reed-switch interlocks are easily defeated by operators taping a spare magnet to the guard to bypass the door switch while the machine is running. Solution: During the rebuild, replace all magnetic reed switches with RFID-coded transponders (e.g., Sick STR1 series). These require a specific cryptographic handshake between the actuator and the sensor, rendering a standard hardware-store magnet completely useless for defeating the guard.
Commissioning Sign-Off
A successful machine tool rebuild culminates in a documented safety validation file. This file must include the calculated Performance Level (using software like Pilz SISTEMA), the stop-time measurement certificates, and the updated electrical schematics highlighting the dual-channel safety loops. Treating safety interlocks and E-stops as an engineered subsystem—rather than an afterthought—ensures the rebuilt asset is both highly productive and fundamentally secure against operator injury.