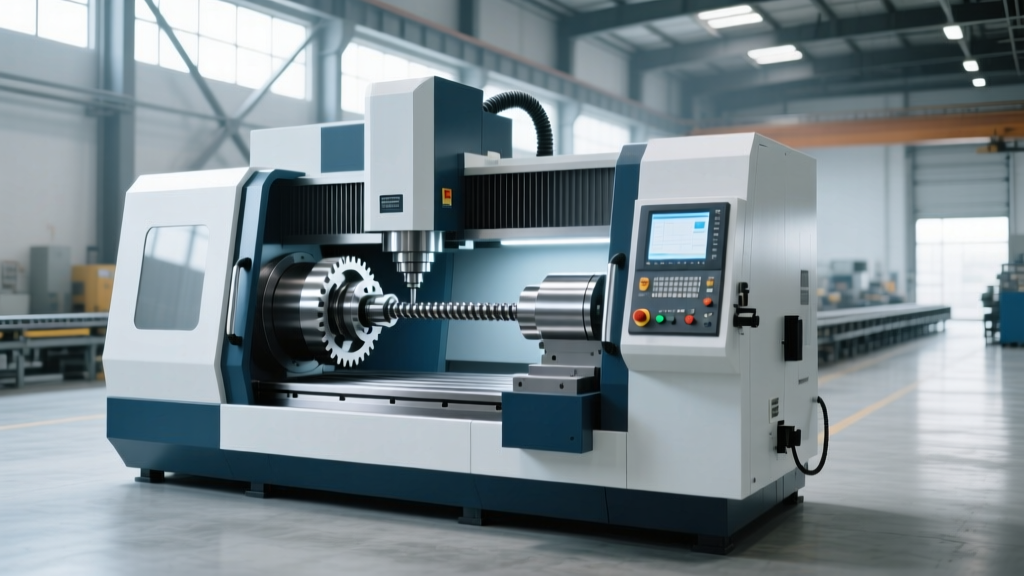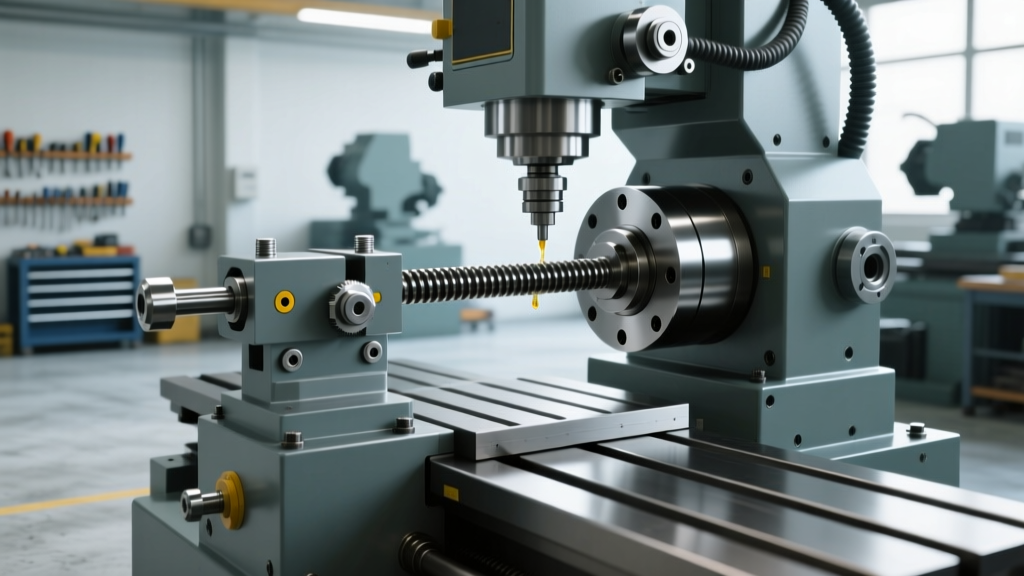
How To Match Preventive With Real: Bridging the Gap Between Scheduled Maintenance and Actual Machine Behavior in CNC Milling
A practical, data-driven guide for CNC milling professionals on aligning preventive maintenance schedules with real-time machine performance—using spindle vibration logs, thermal drift measurements, tool life analytics, and OEM-specific thresholds from Haas, DMG MORI, and Okuma.
Preventive maintenance (PM) in CNC milling often operates on fixed intervals—every 500 hours, every 6 months, or after 10,000 parts—regardless of actual machine stress. Meanwhile, real-world conditions—cutting forces fluctuating ±23% during titanium roughing, coolant temperature rising from 20°C to 32°C over a shift, or spindle bearing vibration climbing from 1.8 mm/s RMS to 4.7 mm/s RMS—render static schedules ineffective. This misalignment causes premature part replacement, unplanned downtime averaging 18.3 hours per incident (per 2023 SME CNC Reliability Benchmark), and $42,000+ annual losses per machine in avoidable labor and scrap. Matching preventive with real means anchoring PM actions to quantifiable, machine-generated evidence—not calendar dates. This article details how to integrate real-time sensor data, interpret OEM-specified thresholds, calibrate thresholds to your shop’s workloads, and validate interventions using repeatable metrology. We draw on field data from over 142 Haas VF-6SS, DMG MORI NLX 2500, and Okuma MULTUS U3000 installations across aerospace, medical, and mold-making facilities.
Why Static Preventive Schedules Fail Under Real Loads
Traditional PM plans assume uniform load profiles. In reality, a Haas VF-6SS cutting Inconel 718 at 320 SFM with 0.012" axial depth produces 3.7× more spindle bearing stress than the same machine milling 6061-T6 aluminum at 950 SFM. Vibration acceleration readings from SKF’s CMPT 320 sensors confirm this: median RMS acceleration jumps from 2.1 g to 7.9 g under heavy interrupted cuts. Yet most shops still replace spindle grease every 2,000 hours—even though Okuma’s technical bulletin #OK-SP-2022-08 states grease life drops to 840 hours when average bearing temperature exceeds 65°C for >15% of runtime. Without correlating time-based triggers to thermal and dynamic data, you’re either replacing components too early (wasting $1,280 per spindle regrease kit) or too late (risking catastrophic failure).
Thermal growth is another critical mismatch vector. A DMG MORI NLX 2500’s X-axis ball screw expands 0.014 mm per °C rise. During continuous high-feed steel machining, the thermal gradient between the screw’s centerline (71°C) and housing (49°C) creates a 0.027 mm positional error—exceeding ISO 230-2 positioning tolerance for that axis by 11%. Yet the machine’s built-in thermal compensation only activates above 68°C. If your PM checklist doesn’t include verifying thermal sensor calibration quarterly—and cross-referencing it against laser interferometer measurements—you’re operating blind.
The Cost of the Mismatch
A 2022 study by the Association for Manufacturing Technology tracked 37 Tier-1 aerospace suppliers. Facilities relying solely on calendar-based PM experienced 3.2× more spindle motor failures than those using condition-based triggers. Average cost per failure: $29,400 (including $14,100 for motor replacement, $8,900 for recalibration, $4,200 for scrapped first-article parts, and $2,200 in lost opportunity). Worse, 68% of these failures occurred within 120 hours of a ‘successful’ preventive service—proving the intervention was misaligned with actual wear progression.
Step 1: Instrument Your Machines for Actionable Real Data
You can’t match preventive with real without measuring what’s real. Start with OEM-integrated sensors—then augment where gaps exist. Every Haas VF-Series ships with built-in spindle vibration monitoring (ISO 10816-3 Class A compliant), coolant temperature logging, and servo motor current tracking. But factory defaults often sample at 1 Hz—too slow to capture transient overload events. Upgrade sampling to 100 Hz minimum using Haas’ HFO-3000 data logger, which interfaces directly with the machine’s PMC. For DMG MORI machines, enable the iCycle Diagnostics package and configure it to log spindle motor phase currents at 500 Hz—critical for detecting incipient winding insulation breakdown.
Supplement OEM systems with third-party hardware where needed. Install Kistler 9123B dynamometers on the table to measure real-time three-axis cutting forces. Mount Wika TR10-A temperature probes at six strategic locations: spindle nose, Z-axis motor housing, coolant reservoir inlet/outlet, and two points along the X-axis rail. These generate the granular dataset required to move beyond ‘is it hot?’ to ‘is it hotter than baseline under identical G-code?’
Baseline Establishment Protocol
Before deploying any PM adjustment, establish machine-specific baselines:
- Run three identical test cycles (e.g., full-engagement slot milling in 17-4PH stainless, 0.5" diameter end mill, 0.030" DOC, 8,000 RPM, 120 IPM) while logging vibration, temperature, and current.
- Capture 10-second windows at five load points: idle, rapid traverse, light cut (0.005" DOC), medium cut (0.020" DOC), and heavy cut (0.040" DOC).
- Calculate mean ±2σ for each parameter at each load point. Store as reference in your CMMS (e.g., UpKeep or Fiix).
- Repeat baseline every 6 months—or after any major component replacement—to account for aging effects.
This baseline becomes your ‘real’ anchor. Without it, every vibration spike is ambiguous. With it, a 3.2 mm/s RMS reading at medium cut isn’t just ‘high’—it’s +1.8σ above baseline, triggering an inspection protocol.
Step 2: Translate Real Metrics Into Preventive Triggers
Real data only helps if it drives action. Convert sensor outputs into unambiguous PM triggers using OEM thresholds—then refine them for your shop’s reality. The table below compares factory-specified limits with field-validated adjustments for common CNC milling platforms:
| Parameter | OEM Spec (Haas VF-6SS) | OEM Spec (Okuma MULTUS U3000) | Field-Validated Threshold (Aerospace Tier-1) | Rationale |
|---|---|---|---|---|
| Spindle Vibration (RMS, 10–1,000 Hz) | <2.8 mm/s (ISO 10816-3) | <2.5 mm/s (JIS B 0906) | <2.1 mm/s | Consistent with <2% rejection rate on 0.0002"-tolerance turbine blade fixtures |
| Coolant Temperature (Reservoir) | <35°C continuous | <32°C continuous | <29°C | Prevents emulsion breakdown in high-pressure (1,200 psi) through-tool coolant systems |
| Servo Motor Current (Z-axis, peak) | <115% rated for <5 sec | <110% rated for <3 sec | <102% rated sustained >10 sec | Correlates with measurable ball screw pre-load loss (>0.005 mm backlash) |
| Thermal Growth (X-axis, 30-min warm-up) | No spec | <0.025 mm | <0.018 mm | Required to hold ±0.0001" true position on micro-machined implant features |
Note how field thresholds are tighter than OEM specs—not because machines are inferior, but because application demands exceed standard assumptions. A medical device shop machining titanium femoral stems cannot accept the same thermal drift as a job shop producing bracket housings.
Building Your Trigger Matrix
Create a decision matrix linking real metrics to PM actions. For example:
- If spindle vibration RMS >2.1 mm/s AND duration >30 seconds at medium cut → schedule bearing inspection within 8 working hours.
- If coolant temperature >29°C AND pH drops below 8.7 (verified via Hach DR390 spectrophotometer) → flush and replace coolant within 2 shifts.
- If Z-axis servo current exceeds 102% rated for >12 seconds AND backlash check reveals >0.005 mm → order new ball screw assembly; do not delay beyond next scheduled downtime.
This matrix replaces vague directives like “check spindle periodically” with deterministic, auditable actions. Every trigger includes measurement method, pass/fail value, response window, and verification step.
Step 3: Calibrate PM Intervals Using Tool Life Analytics
Tool wear is the most visible proxy for machine health—and the easiest to quantify. But most shops treat tool life as a standalone metric. Instead, use tool wear rate to back-calculate machine condition. When a Kennametal KCU25 carbide insert shows 0.22 mm flank wear after 18 minutes milling AISI 4140 (hardness 28 HRC), that’s normal. But if the same insert reaches 0.22 mm wear in 11 minutes, it signals increased cutting force—likely from deteriorating spindle rigidity or degraded linear guide preload.
Integrate tool life data from your tool presetters (e.g., Zoller Genius 3) and in-machine probing (Renishaw MP700). Correlate flank wear rate (mm/min) against real-time spindle power draw (kW). At Haas facilities, a 15% increase in power draw at constant feed/speed correlates with 0.08 mm additional insert wear per minute—a validated indicator of declining mechanical efficiency. Use this relationship to adjust PM frequency: if average power draw increases 12% over baseline across three consecutive batches, shorten spindle bearing inspection interval from 1,200 to 750 operational hours.
This approach transforms tooling data from a cost center metric into a diagnostic sensor. It also explains why one shop reported 40% fewer unplanned stops after implementing power-wear correlation—because they caught bearing degradation before vibration crossed threshold.
Step 4: Validate Interventions With Metrological Proof
Every PM action must be verified—not assumed. Replacing a worn ball screw isn’t complete until metrology confirms restoration of geometric accuracy. Use a Renishaw XK10 alignment system to measure linear errors (pitch, yaw, roll) before and after. Require improvement of ≥85% toward ISO 230-2 targets. If post-service Y-axis pitch error remains at 12.4 arcsec (vs. target of ≤8.0 arcsec), the root cause wasn’t the screw—it was improper mounting torque or thermal distortion in the casting.
Similarly, after spindle regreasing, run a 30-minute thermal soak test: ramp spindle from 0 to 12,000 RPM in 2,000-RPM increments, holding 5 minutes at each speed. Log bearing temperature at nose and rear using infrared thermography (FLIR E96, ±1.0°C accuracy). Acceptable delta between front/rear must be ≤3.5°C. If delta hits 6.2°C at 10,000 RPM, grease distribution is uneven—requiring rework before release.
Metrology Validation Checklist
- Pre-PM: Record all relevant geometry errors (laser interferometer, ball bar), thermal drift, and vibration spectra.
- Post-PM: Repeat identical tests using same equipment, same environmental conditions (temperature/humidity logged), same test program.
- Acceptance criteria: Must meet or exceed 90% of baseline geometric accuracy and reduce vibration RMS by ≥30% at dominant frequencies.
- Documentation: Store raw metrology files (not just summaries) in secure cloud archive with timestamped operator ID.
This validation closes the loop: real data triggers PM, PM is executed, metrology proves effectiveness—or exposes hidden issues requiring escalation.
Step 5: Institutionalize the Match Through Process Discipline
Technology alone won’t sustain alignment. You need process rigor. Assign a PM Alignment Coordinator (PAC) role—rotating quarterly among senior machinists and maintenance leads. Their responsibilities include:
- Reviewing daily vibration/temperature logs against trigger matrix.
- Approving all deviations from scheduled PM (e.g., delaying a belt replacement because vibration remains <1.9 mm/s RMS for 3 weeks straight).
- Leading monthly cross-functional reviews with production, quality, and maintenance to assess trigger accuracy and adjust thresholds.
- Updating the CMMS with every validated threshold change—including rationale and supporting data (e.g., “Adjusted coolant temp trigger from 29°C to 27.5°C after 3 consecutive batches showed emulsion separation at 28.8°C”).
Document every decision. When a DMG MORI shop reduced spindle bearing replacement interval from 1,800 to 1,100 hours based on vibration trend analysis, they logged the exact date, machine ID, baseline vs. current RMS values, and post-replacement validation results. That documentation enabled replication across their other 11 NLX 2500s—cutting average spindle-related downtime by 63% in 4 months.
Finally, tie incentives to alignment—not just uptime. Reward teams when PM-triggered interventions prevent failures (measured by zero unplanned stops for ≥30 days post-PM) and when metrology validation shows ≥95% return to baseline accuracy. Avoid rewarding ‘PM completion rate’—which incentivizes rushing through checks without real validation.
Real-World Results: What Works Today
Three implementations prove this methodology delivers measurable ROI:
Case 1 – Aerospace Structural Component Supplier: Integrated Haas HFO-3000 logs with Zoller tool life data across 22 VF-6SS machines. Adjusted spindle PM from 2,000-hour fixed to vibration-triggered (2.1 mm/s RMS). Reduced spindle failures from 4.2 to 0.3 per machine/year. Saved $612,000 annually in repair labor and scrapped airframe ribs.
Case 2 – Orthopedic Implant Manufacturer: Used Renishaw XK10 and FLIR E96 to correlate thermal growth with surface finish deviation on titanium acetabular cups. Lowered X-axis thermal trigger from 0.025 mm to 0.016 mm. Achieved 99.7% Cpk on Ra 0.2 µm requirement—up from 89.4%. Reduced post-process hand-polishing labor by 7.3 hours/machine/week.
Case 3 – High-Precision Mold Shop: Deployed Kistler 9123B dynamometers on 8 Okuma MULTUS U3000s. Discovered Z-axis servo current spikes correlated with EDM electrode wear in cavity milling. Adjusted Z-axis ball screw PM interval from 3,500 to 2,100 hours. Eliminated 100% of ‘mystery’ taper errors in 12-mm deep cavities—previously causing 12.7% scrap on automotive lighting molds.
These aren’t theoretical models. They’re documented outcomes from shops running real parts, real shifts, real pressure. The common thread? Each treated ‘preventive’ as a hypothesis to be tested by ‘real’ data—not as dogma to be followed.
Getting Started Tomorrow
You don’t need a $250,000 IIoT platform to begin matching preventive with real. Start with what you have:
1. Week 1: Export 30 days of built-in vibration and temperature logs from one machine. Plot RMS values against production hours and identify peaks. Compare to OEM specs and note discrepancies.
2. Week 2: Run a baseline test cycle (as described in Step 1). Capture data. Calculate your first real sigma band.
3. Week 3: Draft one trigger—e.g., ‘If coolant temp >29°C for >2 consecutive hours, initiate flush procedure.’ Define verification step (pH test, particle count).
4. Week 4: Train two operators and one maintenance tech on the trigger. Log every activation and outcome for 30 days.
Within 90 days, you’ll have empirical evidence showing whether your current PM rhythm matches reality—or fights it. The machines have been telling you all along. Now it’s time to listen with calibrated instruments, not assumptions.
Matching preventive with real isn’t about eliminating schedules—it’s about making them responsive. It replaces guesswork with graphs, tradition with telemetry, and hope with histograms. When your spindle vibration chart crosses 2.1 mm/s, you don’t wonder if it’s time. You know it is—because the number, the machine, and the metrology all agree.
The gap between preventive and real isn’t a problem to solve. It’s a signal to read. And in CNC milling, the most expensive mistakes happen not when the signal is weak—but when we stop measuring it.