CNC EDM Machine Coolant System Troubleshooting & Repair Guide
Learn how to troubleshoot and repair CNC EDM machine coolant systems and enclosures. Fix leaks, filter clogs, and dielectric fluid issues fast.
Dielectric Management: The Core of CNC EDM Machine Performance
Troubleshooting a CNC EDM machine requires a fundamental understanding of its dielectric fluid system and enclosure integrity. Unlike traditional subtractive manufacturing, Electrical Discharge Machining (EDM) relies on controlled electrical sparks to erode material. The dielectric fluid—hydrocarbon oil for Sinker (Ram) EDMs and deionized water for Wire EDMs—serves three critical functions: ionizing the spark gap, cooling the workpiece, and flushing eroded debris (swarf). When enclosure seals fail or coolant circuits degrade, machining accuracy drops, surface finishes degrade, and severe safety or corrosion risks escalate.
According to the Society of Manufacturing Engineers (SME), maintaining precise dielectric properties is the single most critical variable in achieving sub-micron surface finishes. This guide provides actionable, component-level troubleshooting protocols for both Sinker and Wire EDM coolant and enclosure systems.
System Architecture: Sinker vs. Wire EDM Fluid Dynamics
Before diagnosing a fault, technicians must recognize the distinct engineering requirements of Sinker versus Wire EDM platforms. The table below outlines the baseline parameters for modern 2026 EDM architectures.
| Parameter | Sinker (Ram) EDM | Wire EDM |
|---|---|---|
| Dielectric Medium | Hydrocarbon Oil (e.g., Castrol Ilocut EDM 180) | Deionized (DI) Water with Anti-Rust Additive |
| Target Conductivity | N/A (Insulating properties measured by dielectric strength) | 15–25 µS/cm (Roughing) / <10 µS/cm (Finishing) |
| Primary Filtration | Cellulose/Paper Cartridges (10–20 microns) | Resin Ion Exchange + Paper Filters (1–5 microns) |
| Enclosure Priority | Oil mist containment, fire suppression integration | Splash guarding, lower arm seal integrity, rust prevention |
Troubleshooting Sinker EDM Enclosures and Oil Systems
Diagnosing Oil Mist Leaks and Enclosure Seal Degradation
A common failure in Sinker EDMs is the escape of hydrocarbon oil mist from the main machining enclosure. This creates a slipping hazard, degrades shop air quality, and coats nearby precision measuring equipment in a sticky film.
- Root Cause: Standard Buna-N (Nitrile) door gaskets swell, harden, and crack after 6 to 12 months of continuous exposure to EDM oil and thermal cycling.
- The Fix: Strip the degraded seals and replace them with Fluorocarbon (FKM/Viton) or specialized EPDM extrusions. While Viton costs approximately $85 per linear meter compared to $40 for Buna-N, its chemical resistance extends seal life to 5+ years, eliminating recurring downtime.
- Air Pressure Check: Verify the enclosure exhaust blower. Sinker EDM enclosures require a slight negative pressure to pull mist into the filtration unit. If the blower CFM drops below 250 CFM due to clogged pre-filters, positive pressure will force mist past the door seals.
Hydrocarbon EDM oils have flash points typically between 200°F and 240°F (93°C - 115°C). If the dielectric level drops below the workpiece top surface during unattended machining, a spark can ignite the oil mist. Always verify that the enclosure's automatic fire suppression system (e.g., CO2 or FM-200) is serviced annually and that the fluid level sensor interlocks are functioning before running overnight lights-out operations.
Sinker Filtration Bypass and Pressure Faults
If your Sinker EDM exhibits erratic spark gaps, frequent arc alarms, or poor flushing, the coolant filtration circuit is likely bypassing dirty fluid.
- Check the Relief Valve: As cellulose filters load with carbon swarf, system pressure rises. If the filter is not changed at the 15-20 PSI differential threshold, the internal bypass valve opens, sending unfiltered, conductive sludge back to the spark gap. Replace filters every 400–600 machining hours.
- Inspect the Flush Pump Impeller: EDM oil is highly penetrating. If the flush pump loses prime, check the mechanical shaft seal. A $45 seal replacement prevents the pump from cavitating and restores the 15–30 PSI flush pressure required for deep rib machining.
Wire EDM Coolant Circuit: Conductivity and Splash Guards
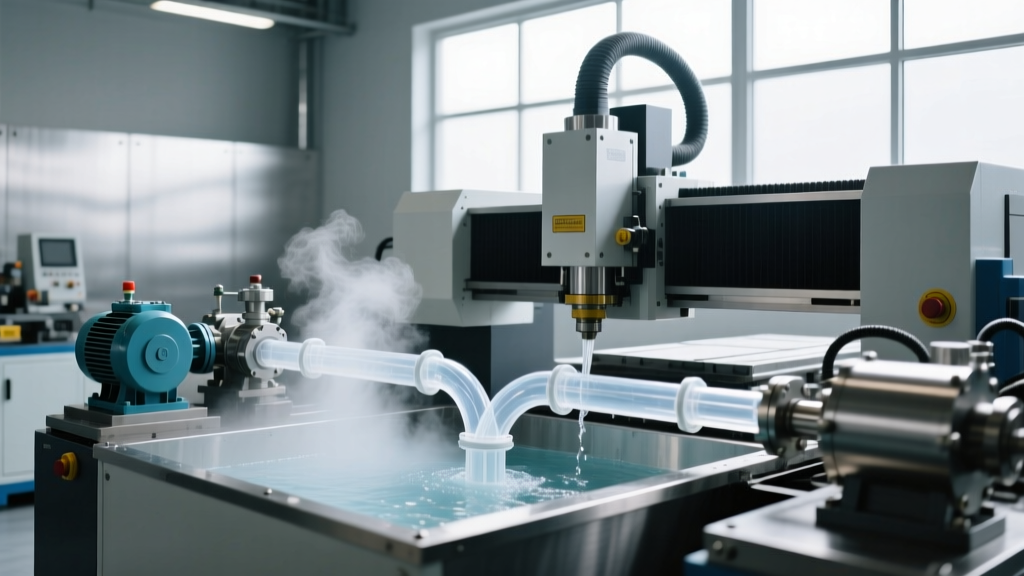
Wire EDMs utilize deionized water, which is inherently corrosive and highly sensitive to ionic contamination. As detailed in GF Machining Solutions' EDM technical documentation, maintaining water purity is non-negotiable for achieving tight tolerances and preventing electrolytic rust on the workpiece.
Ion Exchange Resin Troubleshooting
When a Wire EDM struggles to maintain conductivity below 20 µS/cm, the ion exchange resin bed is exhausted. Running with high conductivity causes 'electrolysis,' resulting in a white, oxidized layer on the workpiece and accelerated wire breakage.
- Diagnostic Test: Bypass the resin tank temporarily. If conductivity drops, the issue is a dirty paper filter feeding the resin. If conductivity remains high, the resin is dead.
- Replacement Protocol: Drain the resin tank. A standard 10-liter bag of mixed-bed ion exchange resin costs between $150 and $250. When refilling, ensure you bleed all air from the tank; air pockets channel the water flow, reducing resin effectiveness by up to 40%.
Lower Arm Seal and Splash Guard Repair
The lower cutting head of a Wire EDM operates submerged or in heavy splash. The lower arm seal prevents DI water from migrating up into the X/Y axis casting.
Symptom: Water pooling on the lower machine table, rust forming on the lower arm, or erratic scale feedback errors due to moisture ingress.
Repair Steps:
- Remove the lower flushing nozzle and ceramic wire guide.
- Extract the degraded rubber O-ring and polyurethane wiper seal. Wire friction and DI water cause these to flatten and tear within 800 hours of operation.
- Install the OEM replacement seal kit (typically $90–$140). Apply a thin layer of silicone-based, water-resistant grease to the new O-ring to prevent dry-start friction.
- Re-calibrate the lower head alignment using the machine's automatic calibration cycle.
Enclosure Way Covers and Axis Protection
Both Sinker and Wire EDM enclosures rely on telescopic way covers and bellows to protect precision ball screws and linear guides from abrasive swarf. EDM swarf is essentially microscopic, hardened steel or carbide dust that acts like lapping compound if it breaches the axis seals.
💡 Pro Tip: Wiper Seal InspectionDuring your quarterly maintenance, run a fingernail across the polyurethane wiper lips at the ends of the way covers. If you feel grooves or notice the wiper is no longer making flush contact with the rail, replace it immediately. A $150 wiper replacement saves you from a $12,000 ball screw rebuild.
2026 Preventative Maintenance Matrix for EDM Fluid Systems
To maximize uptime on modern platforms like the Makino EDGE3 or similar 2026-class Wire EDMs, implement this strict interval-based maintenance schedule.
| Interval | Coolant System Task | Enclosure / Mechanical Task |
|---|---|---|
| Daily | Check DI water conductivity; verify Sinker oil level. | Wipe down enclosure door seals; check fire suppression gauge. |
| Weekly | Clean dielectric tank skimmer (Sinker); check anti-rust additive concentration (Wire). | Inspect way cover wipers for swarf buildup; clean enclosure exhaust pre-filters. |
| Monthly | Check filter differential pressure gauges; inspect flush pump hoses for micro-leaks. | Lubricate enclosure door hinges; test fluid-level interlock sensors. |
| Bi-Annually | Replace main dielectric filters; test Sinker oil dielectric strength (breakdown voltage). | Inspect and replace lower arm seals (Wire); check enclosure negative pressure CFM (Sinker). |
Final Diagnostic Note on Fluid Temperature
Dielectric fluid temperature directly impacts thermal growth and machining accuracy. Modern CNC EDM machines utilize integrated chiller units to maintain fluid at a strict 20°C ± 0.5°C (68°F ± 1°F). If your machine is throwing thermal alarms or experiencing Z-axis drift, do not immediately assume the axis encoder is faulty. Check the coolant chiller's condenser coils. In dusty shop environments, these coils clog rapidly, causing the chiller to fail and the dielectric fluid to overheat, which alters the spark gap voltage and ruins tight-tolerance parts. Cleaning the condenser fins with compressed air takes 15 minutes and resolves 80% of unexplained thermal drift issues.