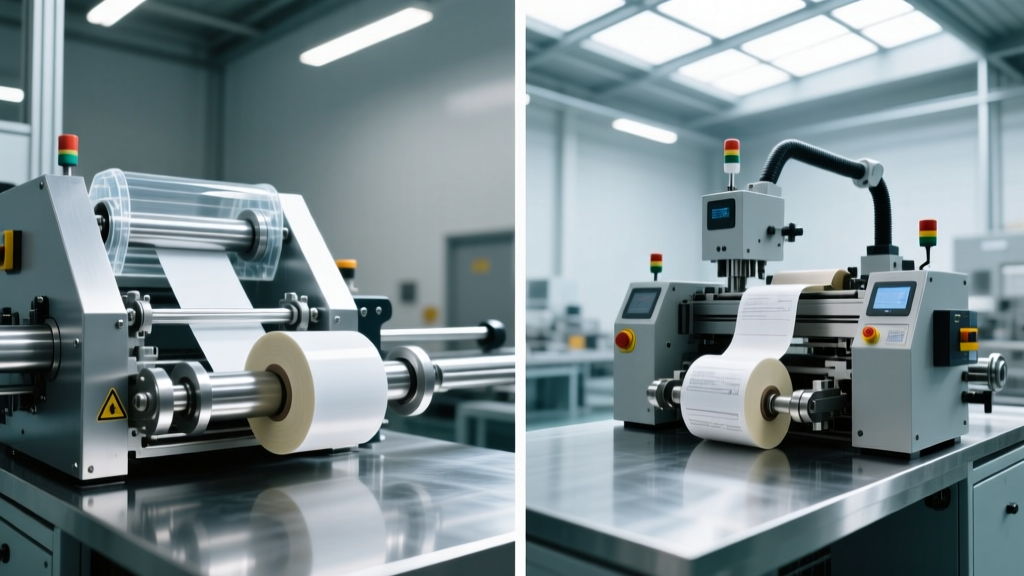
Installing Packaging Machinery Step by Step Guide: Labelers
Master the installation and maintenance of pressure-sensitive and sleeve labeling machines with this step-by-step guide for modern packaging lines.
Strategic Rigging: Preparing the Line for Labeling Integration
Integrating high-speed labeling equipment into an automated packaging line requires more than simply bolting a machine to the floor. Whether deploying a pressure-sensitive (PS) labeler from Quadrel or a shrink sleeve applicator from Krones, the initial installation dictates the long-term maintenance burden. In 2026, modern labelers operate at speeds exceeding 1,200 containers per minute (CPM), meaning microscopic misalignments during installation compound into severe wear and downtime.
Before uncrating the equipment, verify the facility utilities against the machine's specific demands. PS labelers typically require clean, dry compressed air at 80-90 PSI to actuate pneumatic tamp pads and rewind brakes. Conversely, sleeve labelers demand a dedicated saturated steam supply, requiring 60-80 PSI boiler feed with a water softener system to prevent nozzle calcification. Adhering strictly to OSHA 1910.212 Machine Guarding protocols during this phase ensures that safety interlocks and polycarbonate shields are integrated into the frame before power-on.
Critical Safety Directive: All electrical and pneumatic lockout/tagout (LOTO) procedures must be verified before mechanical rigging begins. Ensure the main disconnect is rated for the combined inrush current of the stepper and servo drives, typically requiring a 60A minimum for high-speed sleeve applicators.Installing Packaging Machinery Step by Step Guide: Pressure-Sensitive Systems
Pressure-sensitive labelers rely on precise web tension and peel-plate geometry. A flawed installation results in label flagging, web breaks, and premature drive-belt wear. Follow this sequence for optimal mechanical setup.
Step 1: Unwind Brake and Tension Calibration
Mount the unwind spindle and install the magnetic particle brake. Thread the backing web through the dancer arm. The dancer arm must be calibrated to maintain a static web tension between 1.5 and 2.5 lbs. If the tension exceeds 3 lbs, the stepper motor will overwork, leading to thermal shutdowns; below 1 lb, the web will flutter, causing photoelectric registration errors.
Step 2: Peel Plate Geometry and Gap Setting
The peel plate (or dispensing edge) is the most critical wear component. Install the peel plate so the dispensing edge sits exactly 1/8-inch from the container surface at the point of application. Use a feeler gauge to verify the gap across the entire width of the plate. For rigid polypropylene labels, a 1/16-inch gap prevents label flutter; for flexible paper, increase to 3/16-inch to prevent premature peeling.
Step 3: Sensor Alignment and Registration
Mount the registration sensor (e.g., Sick W4S-2 or Pepperl+Fuchs O50) precisely 2 inches downstream of the label gap. For clear-on-clear labels, install an ultrasonic sensor rather than an optical one, as optical sensors cannot detect the index mark on transparent backing. Calibrate the sensor threshold using the machine's HMI auto-teach function, ensuring a minimum 15% contrast differential between the label gap and the label stock.
Installing Packaging Machinery Step by Step Guide: Shrink Sleeve Applicators
Shrink sleeve labelers present a vastly different mechanical challenge. Instead of managing a flat web, these systems manage a continuous tubular film that must be cut, dropped, and shrunk onto a container profile.
Step 1: Mandrel Sizing and Installation
The forming mandrel dictates the final shape of the sleeve before cutting. Install a mandrel that provides exactly 2mm of radial clearance around the container's maximum diameter. If the clearance is too tight, the film will drag and tear; if too loose, the sleeve will drop crookedly, resulting in skewed graphics post-shrink. Secure the mandrel using the quick-release collar, ensuring it is perfectly plumb using a digital level.
Step 2: Servo-Driven Film Feeding
Route the tubular film through the motorized feed rollers. Modern 2026 sleeve applicators utilize dual-servo feed systems to grip the film edges. Set the servo grip pressure to 25-30 Newtons. Excessive pressure will crush the film edges, causing the cutting blade to jam; insufficient pressure will cause film slip, resulting in incorrect cut lengths.
Step 3: Steam Tunnel Integration
Position the steam tunnel immediately downstream of the drop zone. The tunnel must be aligned so the lowest steam nozzles hit the container at the label's bottom edge, shrinking the sleeve from the bottom up. This traps air at the top and forces it out through the micro-perforations in the film. Connect the steam manifold using flexible, insulated stainless-steel braided hoses to allow for vertical height adjustments.
'The most common failure in sleeve labeling isn't the cutting blade—it's improper steam tunnel alignment. Bottom-up shrinking is non-negotiable for complex bottle geometries.' — Lead Packaging Engineer, Axon Labeling Systems
Lifecycle Management: Maintenance and Service Schedules
Proper installation sets the baseline, but rigorous preventative maintenance (PM) sustains OEE (Overall Equipment Effectiveness). Below is a comprehensive service matrix comparing the maintenance requirements of PS and Sleeve systems. These schedules reflect current 2026 component lifecycles and industrial pricing.
| Component / System | PS Labeler PM Interval | Sleeve Labeler PM Interval | Est. Replacement Cost (2026) |
|---|---|---|---|
| Peel Plate / Cutting Blade | Inspect daily; Replace at 6 months | Inspect shift; Replace weekly (high-wear) | $150 (Plate) / $85 (Blade) |
| Drive Belts (Timing) | Check tension weekly; Replace annually | Check tension weekly; Replace annually | $120 - $250 per set |
| Registration Sensors | Wipe lens daily; Calibrate monthly | Wipe lens daily; Calibrate monthly | $450 - $800 |
| Steam Nozzles / Air Lines | N/A | Descale weekly; Replace annually | $300 (Manifold kit) |
| Servo / Stepper Drives | Check cooling fans quarterly | Check cooling fans quarterly | $1,200 - $2,500 |
| Web Dancer / Feed Rollers | Clean rubber surfaces weekly | Clean grip surfaces daily (film dust) | $90 (Urethane covers) |
Deep-Dive: Pressure-Sensitive Preventative Maintenance
The primary enemy of PS labelers is adhesive buildup. Over a standard 40-hour workweek, microscopic adhesive residue transfers from the web edges to the nip rollers and peel plate.
- Daily (15 mins): Wipe the peel plate and squeegee brushes with an industrial citrus solvent. Never use abrasive pads on Teflon-coated peel plates, as scoring the surface will cause labels to stick prematurely.
- Weekly (45 mins): Inspect the rewind spindle brake pads. If the brake dust exceeds 2mm in the catch tray, replace the pads. Verify the stepper motor mounting bolts using a torque wrench set to 15 Nm; vibration from the conveyor often loosens these over time.
- Quarterly (2 hours): Lubricate the dancer arm pivot bearings with a synthetic, food-grade PTFE grease (NLGI Grade 2). Check the HMI battery voltage to prevent parameter loss during power outages.
In low-humidity environments (below 35% RH), PS film webs generate severe static charges, causing labels to cling to the backing paper after the peel point. Install an active ionizing bar (approx. $850) exactly 4 inches before the peel plate. Ground the bar to the main electrical panel, not just the machine frame, to ensure proper dissipation.
Deep-Dive: Shrink Sleeve Preventative Maintenance
Sleeve labelers endure harsh thermal and mechanical environments. The combination of high-speed cutting and saturated steam requires aggressive maintenance protocols.
- Daily (30 mins): Flush the steam tunnel condensate lines. If water pools in the manifold, it will spit onto the containers, causing 'water spots' that prevent the sleeve from shrinking smoothly. Clear any film offcuts from the mandrel drop zone.
- Weekly (1 hour): Descale the steam nozzles. Even with a water softener, trace minerals accumulate. Circulate a 5% citric acid solution through the steam manifold for 20 minutes, followed by a pure water flush. Inspect the rotary cutting blade for nicks; a damaged blade will leave a micro-tail on the sleeve that catches during the shrinking phase.
- Monthly (3 hours): Inspect the mandrel surface for scoring. Tubular film dragging over aluminum or UHMW mandrels creates microscopic grooves. Polish the mandrel with a 600-grit abrasive pad and re-apply a dry PTFE coating spray. Verify the servo feedback loops via the HMI diagnostic screen to ensure positional accuracy remains within 0.1mm.
Troubleshooting Edge Cases in Modern Labeling Lines
Even with perfect installation and strict adherence to PM schedules, edge cases occur. Understanding the root cause prevents unnecessary part replacements.
Issue: PS Labels 'Flagging' at the Leading Edge
Root Cause: This is rarely an adhesive failure. In 90% of cases, flagging is caused by the conveyor speed slightly exceeding the label dispensing speed during the application phase, creating a micro-skid.
Fix: Access the drive parameters and set the label dispensing speed to match the conveyor line speed at a 1:1.02 ratio (dispensing 2% faster than the line). Ensure the tamp pad air pressure is reduced to the minimum required to make contact (usually 20 PSI); high pressure causes the label to bounce off the container.
Issue: Sleeve Labels 'Smiling' or 'Frowning' Post-Shrink
Root Cause: Uneven heat distribution in the steam tunnel. A 'smile' (bottom edge lower than top edge) means the bottom heat is too aggressive, shrinking the bottom before the top has time to set.
Fix: Adjust the steam tunnel manifold valves. Reduce the pressure to the bottom ring by 10% and increase the middle ring pressure. Ensure the containers are spaced at least 1.5 container-diameters apart on the conveyor; if they are touching, the steam cannot circulate evenly between them, causing asymmetric shrinking.
Compliance and Future-Proofing
As packaging lines become more automated, ensuring your labeling machinery complies with current safety and sanitation standards is paramount. All guarding and e-stop circuits must be wired to a dedicated safety relay or safety PLC, strictly following the ANSI/PMMI B155.1 standard for packaging machinery. Furthermore, for food and beverage applications, ensure all installed components in the splash zone (like steam tunnels and wipe-down sponges) utilize 316L stainless steel and IP69K-rated enclosures to withstand high-pressure caustic washdowns.
By treating the installation phase as the foundation of your maintenance strategy, and adhering to component-specific service intervals, facilities can push labeling equipment past the 10-year lifecycle mark while maintaining sub-1% reject rates on the production floor.