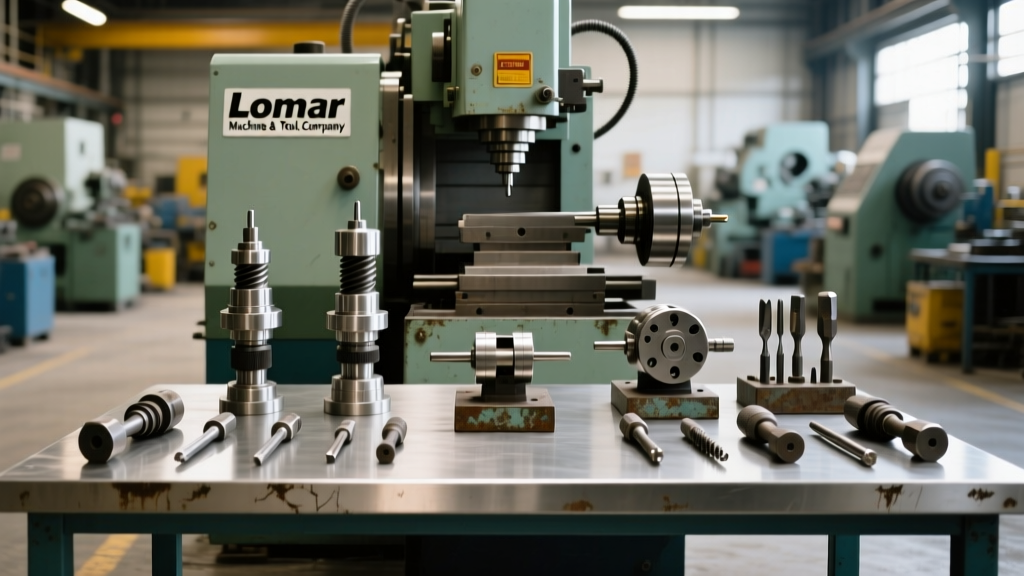
Machine Tool Relocation: Safely Moving Vises & Fixtures
Learn best practices for machine tool relocation focusing on workholding. A case study on moving Kurt vises, Schunk chucks, and hydraulic fixtures.
The Hidden Liability in Machine Tool Relocation
When planning a machine tool relocation, facility managers overwhelmingly focus on the primary assets: the CNC machining centers, turning centers, and EDM units. However, the workholding ecosystem—precision vises, power chucks, and custom hydraulic tombstones—represents a massive secondary capital investment that is frequently mismanaged during transit. A botched teardown or improper rigging of a $14,000 hydraulic fixture can result in internal seal blowouts, lost zero-point calibration, and weeks of downtime.
As of 2026, supply chain lead times for custom hydraulic tombstones and specialized power chucks remain volatile. Replacing damaged workholding is rarely a quick fix. This guide examines a recent aerospace facility move to establish a rigorous, data-backed protocol for dismantling, transporting, and recalibrating machine tool workholding.
Case Study Overview: Precision Aerospace Fabricators (PAF)In late 2025, PAF relocated their 5-axis milling department from a legacy facility in Ohio to a modern climate-controlled plant in South Carolina. The move involved four DMG Mori DMU 50 3rd Generation mills, twelve Kurt DX6 CNC vises, eight Schunk ROTA-S plus 2.0 power chucks, and six custom 4-axis hydraulic tombstones. By treating workholding as a critical-path system rather than an afterthought, PAF achieved full production capability within 14 days of power-on, avoiding an estimated $85,000 in replacement costs and calibration delays.
Phase 1: Teardown and Preservation Protocols
The most common failure mode during a machine tool relocation occurs before the equipment even leaves the floor. Leaving workholding assembled and pressurized invites catastrophic damage from shifting loads and hydraulic sloshing.
Dismantling Precision Vises (Kurt DX6 / Anglock Series)
Precision milling vises must never be transported fully assembled under clamping tension. The internal ball screw and Anglock mechanism are highly sensitive to shock loads.
- Release Tension: Open the movable jaw completely to relieve pressure on the screw.
- Jaw Removal: Unbolt both the fixed and movable jaws. Bag the hardware and tape it to the base of the respective vise.
- Screw Extraction: Remove the movable jaw assembly from the ball screw. Clean the screw with a non-chlorinated brake cleaner and apply a heavy coat of Mobil Vactra No. 2 way oil to prevent corrosion.
- Base Protection: Wrap the exposed machined base in VCI (Volatile Corrosion Inhibitor) paper, followed by a layer of 3/16" bubble wrap. Do not use standard plastic stretch wrap directly on cast iron or steel, as trapped moisture will cause flash rust within 48 hours.
Power Chuck Teardown (Schunk ROTA-S plus 2.0)
Wedge-hook power chucks require meticulous matching of jaws to master jaw positions. Mixing them up during reinstallation will result in severe runout that cannot be corrected by tramming.
- Index Marking: Before removing the top jaws, use a steel punch to mark the top jaw and the corresponding master jaw with matching numbers (1, 2, 3).
- Grease Purge: Cycle the chuck open and closed while flushing with a solvent to remove accumulated swarf. According to maintenance guidelines from Schunk, failing to purge metallic particulates before storage allows the abrasive slurry to harden, seizing the wedge hook mechanism.
- Re-greasing: Pack the internal mechanism with Kluberplex BE 71-501 or an equivalent high-EP lithium complex grease.
Hydraulic Tombstone Decommissioning
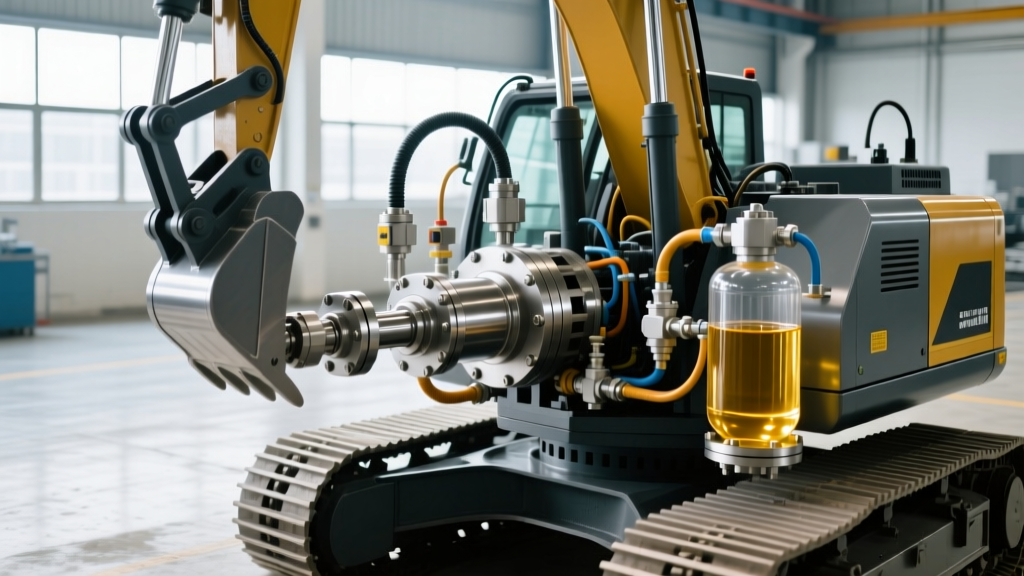
Custom hydraulic fixtures are the most vulnerable assets in any machine tool relocation. The internal Bladder accumulators and rotary union seals are easily destroyed by transit shock.
⚠️ CRITICAL WARNING: Never transport a fully pressurized or fully filled hydraulic tombstone. Thermal expansion during transit in an enclosed trailer can cause a 15% pressure spike, blowing out the internal O-rings and ruining the manifold block.- Depressurize: Bleed all accumulators to zero PSI.
- Fluid Management: Drain the reservoir to exactly 10% capacity. This provides enough fluid to prevent the pump from running dry upon startup, while leaving ample air space for thermal expansion and sloshing.
- Port Capping: Cap all exposed hydraulic lines and manifold ports with JIC flare steel caps. Plastic push-in caps will vibrate loose during highway transit.
Component-Specific Relocation Matrix
The following matrix outlines the exact tolerances and packing requirements for standard workholding assets, ensuring riggers and setup technicians are aligned on expectations.
| Component Type | Pre-Transit Action | Shock Limit (G-Force) | Reinstallation Tolerance |
|---|---|---|---|
| Kurt DX6 CNC Vise | Remove movable jaw, oil ball screw | Max 3G vertical | 0.0005" TIR over 12" travel |
| Schunk Power Chuck | Index jaws, purge swarf, re-grease | Max 2G lateral | 0.0002" TIR at outer diameter |
| Hydraulic Tombstone | Bleed accumulators, drain to 10% | Max 1.5G multi-axis | 0.001" TIR on datum faces |
| Zero-Point Clamps | Lock clamping pins, cap pneumatic ports | Max 4G vertical | 0.0004" repeatability |
Phase 2: Transport and Rigging Strategies
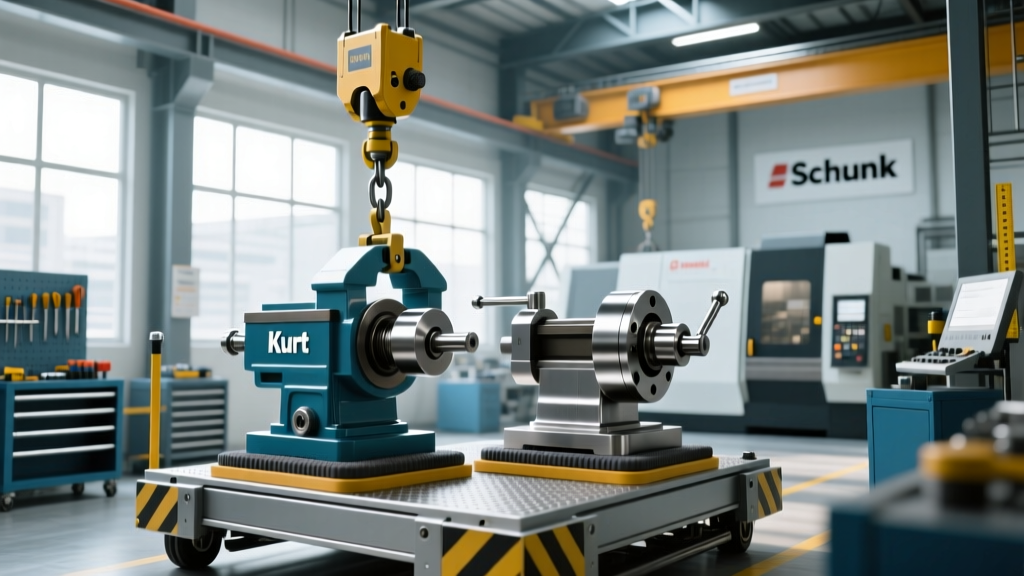
Workholding should never be loose in the back of a box truck. The kinetic energy of a 180 lb Kurt DX6 vise sliding across a truck bed at 45 MPH is enough to crack the cast iron base upon impact.
Palletizing and Strapping: Group vises and chucks by machine assignment. Bolt the workholding directly to heat-treated 4x4 timber skids using the machine's native T-slot or bolt-hole patterns. Use 3/8" Grade 8 bolts rather than ratchet straps to secure heavy chucks to the skids. Ratchet straps stretch under sustained vibration, allowing the chuck to shift and damage its mounting register.
Climate Control: As documented by industry analysts at The Association For Manufacturing Technology (AMT), environmental control during transit is increasingly critical for high-precision shops. If moving during high-humidity summer months, utilize desiccant bags inside the VCI wrapping and consider enclosed, climate-controlled freight for zero-point clamping systems to prevent micro-corrosion on the clamping pucks.
Phase 3: Reinstallation and Tramming
Once the CNC machines are leveled, anchored, and powered, workholding reinstallation begins. This phase requires a systematic approach to guarantee geometric accuracy.
Step-by-Step Vise Tramming
- Clean the Table: Wipe the machine table with a lint-free cloth and isopropyl alcohol. A single 0.001" chip trapped under the vise base will ruin your tram.
- Initial Placement: Position the vise in the center of the T-slots. Insert T-nuts and hand-tighten the bolts.
- Sweeping the Base: Mount a Haimer 3D Sensor or a Blake co-axial indicator in the spindle. Sweep the front fixed jaw (not the movable jaw, which has inherent play).
- The Soft-Strike Method: Use a dead-blow mallet to tap the vise into alignment. Once the indicator reads within 0.0002" TIR across the jaw length, tighten the T-slot bolts in an alternating, star-pattern sequence.
- Final Verification: Re-sweep the jaw after final torque. The act of tightening the bolts often pulls the vise slightly out of tram. If it shifts more than 0.0003", loosen and repeat.
Power Chuck Mounting Torque Specs
When mounting the Schunk ROTA-S plus to the lathe spindle adapter, the mounting bolts must be torqued to exact specifications to prevent spindle nose distortion. For standard M12 mounting bolts, apply 65 Nm (48 ft-lbs) of torque using a calibrated torque wrench. Always use the star-pattern tightening sequence to ensure even distribution of clamping force across the adapter plate.
Financial Breakdown: Relocate vs. Replace
Understanding the financial stakes of workholding management helps justify the labor hours required for proper teardown and packing. Below is a cost analysis based on 2026 market pricing for the PAF relocation project.
- Kurt DX6 Vise: Replacement cost is approximately $1,450 per unit. Proper teardown and packing labor costs roughly $45 per unit. ROI: 3,100%
- Schunk ROTA-S plus 2.0 (8-inch): Replacement cost is $4,800. Labor for purge, grease, and index marking is $120. ROI: 3,900%
- Custom 4-Axis Hydraulic Tombstone: Replacement cost (including engineering, manifold machining, and plumbing) averages $18,500 with a 12-week lead time. Proper decommissioning and capping labor is $350. ROI: 5,185%
"The true cost isn't just the hardware," notes a senior rigging engineer involved in the PAF move. "If a hydraulic tombstone blows a seal during transit, you aren't just out $18,000. You are facing 12 weeks of delayed part delivery, potential aerospace contract penalties, and idle 5-axis machines that cost $150 an hour to run. The teardown protocol is the cheapest insurance policy a machine shop can buy."
Common Post-Relocation Failure Modes
Even with careful planning, shops must monitor for specific failure modes during the first 30 days post-relocation. According to technical bulletins from Kurt Workholding, the most frequent issue is the degradation of the movable jaw's clamping force due to microscopic debris introduced into the ball screw cavity during transit. If a vise requires excessive handle force to clamp, immediately disassemble the jaw, flush the screw with solvent, and re-lubricate.
For hydraulic fixtures, monitor the system pressure gauge for 'creep'. If the pressure drops by more than 5% over a 4-hour hold cycle, a rotary union seal was likely pinched or damaged by a pressure spike during transport. Catching this early prevents scrapped parts and ensures the workholding ecosystem performs exactly as it did in the previous facility.