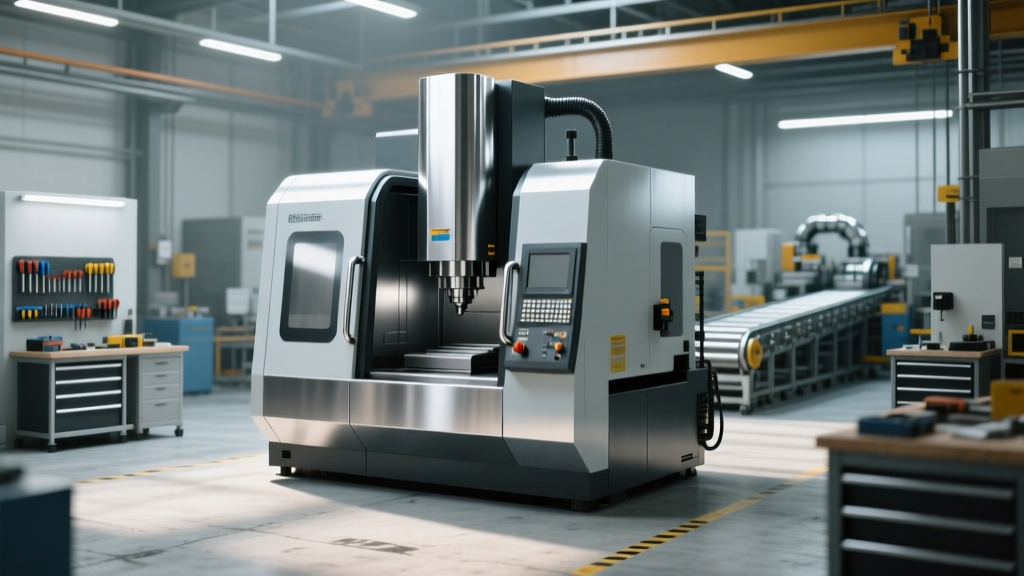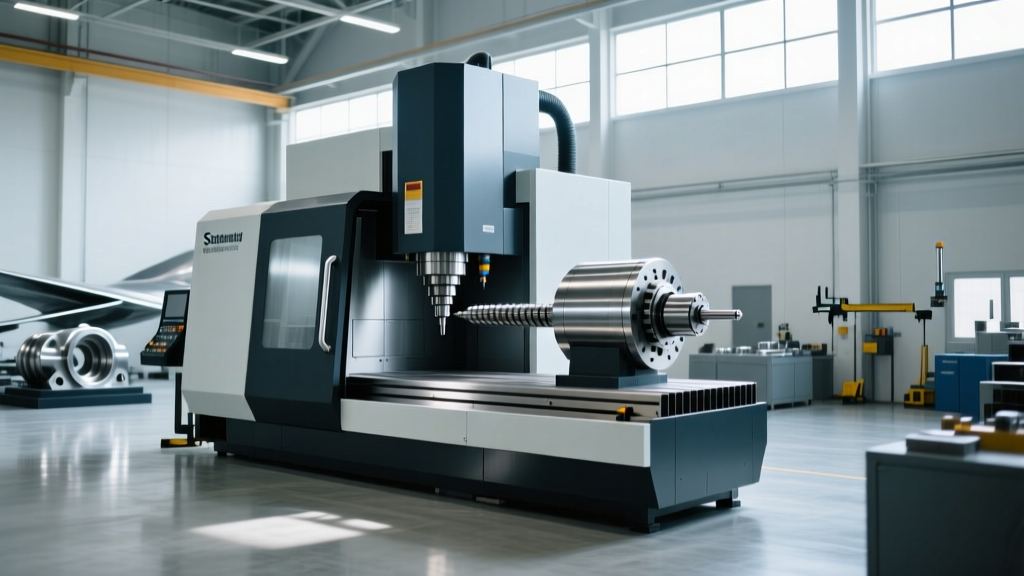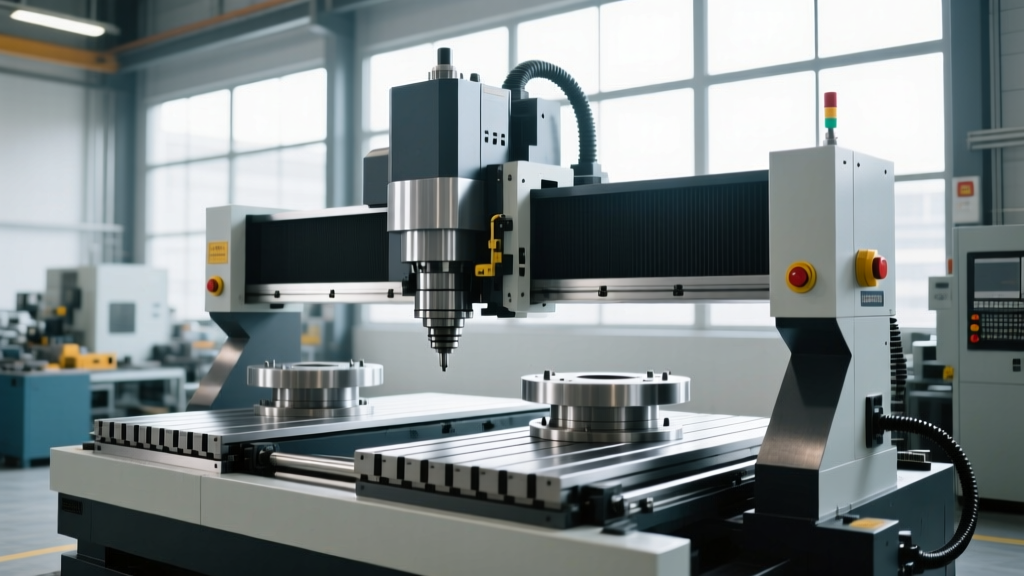
Safety Standards & Compliance for Your DIY 5 Axis CNC Machine Build
Building a DIY 5 axis CNC machine? Learn critical safety standards, ISO compliance, enclosure specs, and E-stop wiring to prevent catastrophic failures.
The Physics of 5-Axis Hazard Multiplication
Designing and building a DIY 5 axis CNC machine introduces exponential safety risks compared to standard 3-axis Cartesian mills. When you add two rotary axes (typically A/C for trunnion tables or B/C for swivel heads), you introduce simultaneous interpolation. This means the tool tip velocity is no longer strictly bound by the linear axis feed rates. Near kinematic singularities—where the tool center point (TCP) aligns closely with the center of rotation of the rotary axes—the linear axes must theoretically accelerate to infinity to maintain the programmed TCP feed rate. In a DIY environment lacking industrial-grade collision detection and singularity avoidance algorithms, this results in violent, unpredictable axis overruns, shattered tooling, and catastrophic enclosure breaches.
⚠️ CRITICAL WARNING: The Singularity SnapNever run unverified 5-axis G-code with the enclosure doors open. If your CAM post-processor fails to recognize a singularity, the machine controller will attempt to force the linear axes to catch up to the rotary axes, often resulting in instantaneous acceleration spikes that can rip the spindle head from the Z-axis ball screw or shatter the trunnion table casting.
Translating Industrial Standards for the DIY Builder
While a home-built machine is not legally required to carry a CE mark or undergo third-party OSHA certification unless used in a commercial workplace, adhering to established frameworks is the only way to guarantee operator survival. The primary governing documents for machining centers are OSHA 1910.212 (General Requirements for All Machines) and ISO 16090-1 (Machine tools safety — Machining centres). Below is a translation of how industrial mandates apply to a DIY 5-axis build.
| Industrial Standard | Core Requirement | DIY 5-Axis Implementation |
|---|---|---|
| ISO 14119 (Interlocking devices) | Enclosure doors must prevent machine cycle initiation when open and halt motion if opened during operation. | Install RFID-based non-contact safety switches (e.g., Euchner or Schmersal) on all access panels. Avoid cheap magnetic reed switches which can be defeated with a stray magnet. |
| ISO 13849-1 (Safety-related parts of control systems) | E-Stop circuits must meet at least Category 3 / Performance Level d (PLd), utilizing redundant channels. | Wire dual-channel E-stop buttons through a dedicated safety relay (e.g., Pilz PNOZ series) rather than relying on software-based GUI stops in Mach4 or LinuxCNC. |
| ANSI B11.8 (Milling Machines) | Guarding must contain the maximum kinetic energy of ejected workpieces or tooling assemblies. | Use 12mm to 15mm chemical-resistant polycarbonate for main viewing windows; never use acrylic (PMMA) or standard glass. |
Containment Engineering: Polycarbonate vs. Acrylic Glazing
The most common and lethal mistake in DIY CNC fabrication is the use of cast acrylic (PMMA) or standard glass for machine enclosures. When a 500-gram HSK63 tool holder and cutting tool eject from a 24,000 RPM spindle due to a pull-out failure, the kinetic energy exceeds 1,500 Joules. Acrylic will shatter into high-velocity, razor-sharp shrapnel. Standard glass will fragment similarly.
Specifying the Correct Polycarbonate
You must use Polycarbonate (PC), commonly known by brand names like Lexan or Makrolon. Polycarbonate yields and absorbs impact energy through plastic deformation rather than brittle fracture. However, raw polycarbonate is highly susceptible to environmental stress cracking when exposed to ester-based synthetic cutting fluids and way oils. Within months, a raw PC window exposed to mist coolant will develop micro-fractures (crazing) and lose up to 60% of its impact resistance.
Material Specification Guide:- Spindle Speed < 12,000 RPM: 10mm (0.39") standard Polycarbonate.
- Spindle Speed 12,000 - 20,000 RPM: 12mm (0.5") Polycarbonate with hard-coat (e.g., Makrolon AR) on the coolant-facing side.
- Spindle Speed > 20,000 RPM or Heavy Duty Roughing: 15mm (0.6") multi-layer laminated polycarbonate or hybrid poly-aluminum mesh screens.
Note: Always mount polycarbonate with oversized clearance holes and neoprene isolation washers. Tightening bolts directly against the PC will induce stress concentrations that lead to premature cracking.
Safe Torque Off (STO) and E-Stop Architecture
In a 3-axis machine, hitting the E-stop typically drops power to the main contactor, engaging the motor brakes. In a DIY 5 axis CNC machine, cutting main power instantly is highly dangerous. The heavy trunnion table (A/C axes) possesses massive rotational inertia. If power is severed abruptly without controlled deceleration, the momentum can strip the worm gears on the rotary axes or cause the Z-axis to drop violently if the mechanical brake fails to engage in time.
Modern industrial servo drives (such as Yaskawa Sigma-7, Delta ASDA-E3, or ClearPath-SDSK) feature Safe Torque Off (STO). STO is a hardware-level safety function that removes the electrical power that creates torque in the motor, while keeping the drive's logic and encoder feedback powered. This allows the controller to execute a controlled Category 0 or Category 1 stop, engaging the mechanical brakes only after the axes have reached zero velocity.
Step-by-Step STO Wiring Logic
- Dual-Channel E-Stop Button: Wire a Category 3 E-stop switch with two normally-closed (NC) redundant contacts.
- Safety Relay Module: Route both channels into a certified safety relay (e.g., Omron G9SA or Pilz PNOZ). The relay monitors for cross-faults (e.g., if one wire shorts to 24V, the relay trips and locks out).
- Drive STO Terminals: Wire the safety relay's redundant output contacts directly to the STO1 and STO2 hardware pins on every servo drive (X, Y, Z, A, and C axes).
- Brake Control Integration: The drive's internal logic must be configured to trigger the mechanical axis brake release relays only when the servo is actively generating holding torque. When STO is triggered, the drive commands the brake to engage, waits for brake-engagement confirmation (via a microswitch or timing delay), and then removes torque.
Kinematic Braking: Securing the Rotary Axes
Gravity is the enemy of the DIY trunnion table. If your A-axis relies solely on the holding torque of a stepper motor or an unbraked servo motor to support a 50 lb vise and workpiece, a power failure or E-stop will result in the table rotating downward, smashing the workpiece into the spindle or machine bed.
"Never use standard harmonic strain wave gearboxes or standard worm drives on the A-axis of a 5-axis machine without integrated fail-safe brakes. The back-driving forces generated by an off-center workpiece during an emergency stop will instantly strip the gearbox teeth."
— Best practices derived from OSHA's Concepts and Techniques of Machine Safeguarding
For a compliant and safe DIY build, the A-axis must utilize a spring-applied, electrically-released brake. This means the brake is physically clamped by heavy disc springs when no power is applied. A 24V DC solenoid is required to compress the springs and release the brake for movement. If the E-stop is pressed or power is lost, the 24V circuit drops, the springs instantly engage the brake disc, and the trunnion table locks in place regardless of the center of mass.
Pre-Power Compliance & Safety Checklist
Before initiating the first simultaneous 5-axis G-code cycle, run through this mandatory physical and electrical verification checklist:
- Hard Limit Verification: Physically jog each of the 5 axes into their hard limit switches at rapid speed. Verify that the drives trigger an over-travel fault and reject the software reset command until the machine is manually jogged off the switch.
- E-Stop Inertia Test: Run the rotary axes at maximum rapid speed (e.g., 50 RPM on the C-axis) and strike the E-stop. Measure the rotational overshoot. If the table spins more than 5 degrees after the E-stop is engaged, your brake engagement delay is too long or your brake torque is insufficient.
- Door Interlock Defeat Check: Attempt to start a spindle cycle with the enclosure door open. Attempt to open the enclosure door during a dry-run cycle. The spindle must immediately disable via the safety relay, not the software GUI.
- Coolant Glazing Inspection: Verify that the polycarbonate viewing windows are mounted with proper edge clearance and that no raw, uncoated edges are exposed to the internal coolant mist environment.
- Singularity Boundary Mapping: Configure your CNC controller (e.g., Siemens Sinumerik, Heidenhain, or properly configured LinuxCNC with RTCP enabled) to throw a hard alarm when the tool vector approaches within 5 degrees of the A-axis zero/singularity plane.
Building a DIY 5 axis CNC machine is a triumph of engineering, but the transition from 3-axis to 5-axis kinematics transforms minor programming errors into lethal mechanical events. By treating your home or garage build with the same rigorous adherence to ISO 13849-1 electrical standards and ANSI B11 containment requirements as a commercial manufacturing facility, you ensure that your machine remains a productive asset rather than a catastrophic liability.