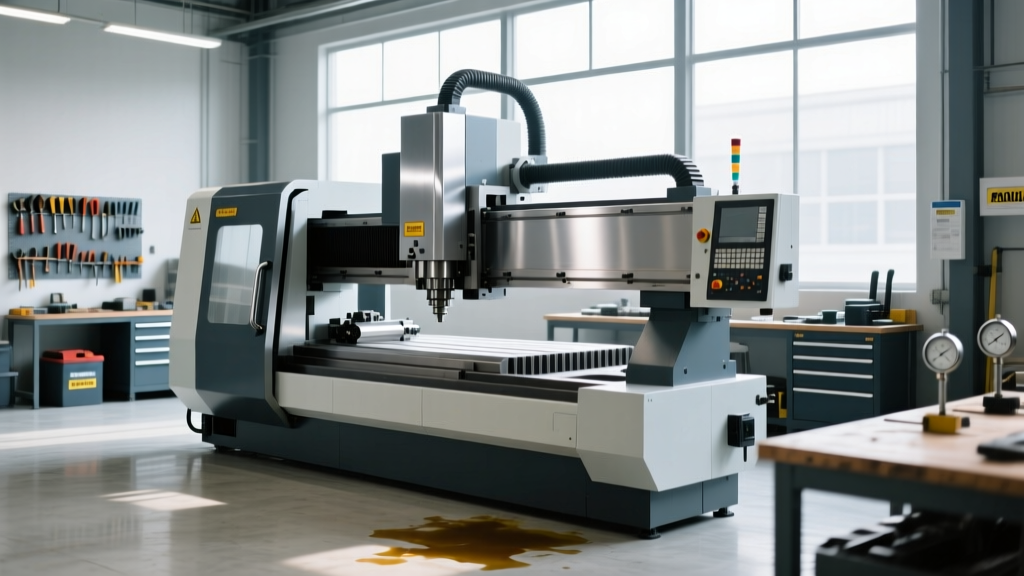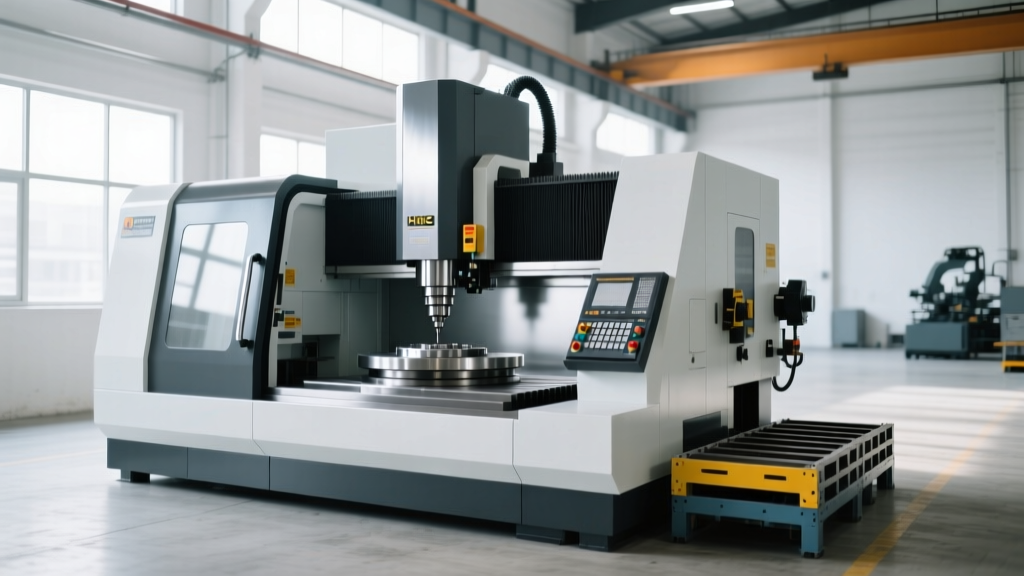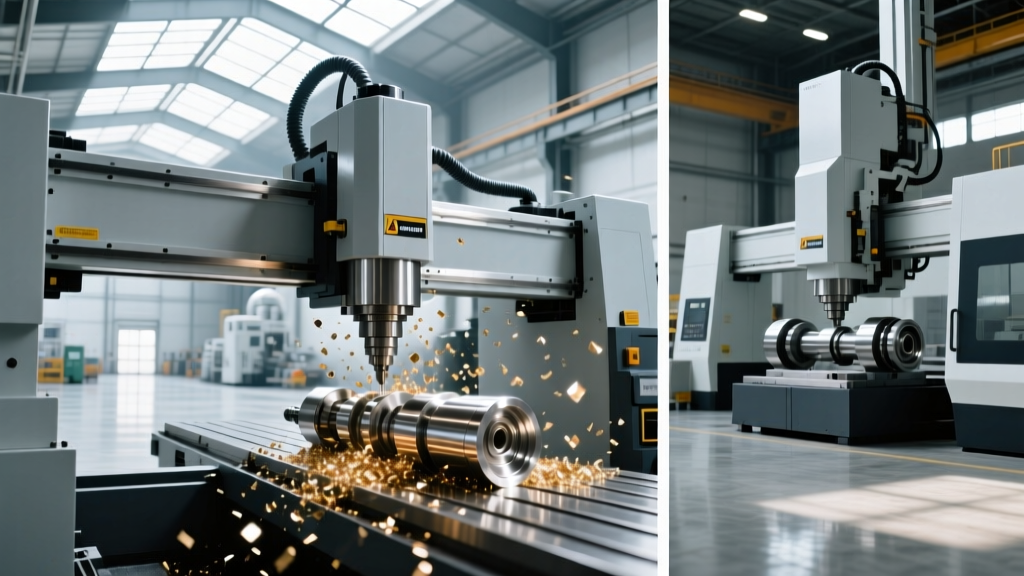
CNC 5 Axis Machine Operator Training: Best Practices & Setup Guide
Master your CNC 5 axis machine with expert operator training guides, collision avoidance tactics, and setup best practices for complex aerospace parts.
Transitioning a shop floor from standard 3-axis vertical machining centers to a full CNC 5 axis machine requires more than a capital equipment investment; it demands a fundamental rewiring of operator spatial reasoning, kinematic management, and setup verification. A 5-axis platform does not simply add two rotary axes to a standard mill—it introduces complex geometric interferences, dynamic vector changes, and non-linear toolpath movements that can result in catastrophic spindle crashes if managed with a 3-axis mindset.
According to industry data tracked by Modern Machine Shop, shops that implement structured, kinematics-focused operator training reduce 5-axis spindle crash rates by up to 78% in the first year of operation. This guide provides the exact technical frameworks, setup protocols, and troubleshooting matrices required to train operators for high-stakes 5-axis production.
The Kinematic Paradigm: RTCP and Vector Control
The most critical concept in CNC 5 axis machine training is Rotary Tool Center Point (RTCP) control. In 3-axis machining, the tool vector is always parallel to the Z-axis. In 5-axis simultaneous machining, the tool vector constantly shifts as the B and C (or A and C) axes articulate to maintain the optimal cutting angle.
Operators must understand how their specific controller handles RTCP. For example, Fanuc controllers utilize the G43.4 command, Heidenhain uses M128 (or the TOOL CALL axis compensation menu in the TNC7), and Siemens relies on TRAORI. When RTCP is active, the controller dynamically recalculates the linear X, Y, and Z positions in real-time to keep the tool tip exactly on the programmed surface, even as the rotary axes move.
Never allow an operator to manually jog a CNC 5 axis machine in handle (MPG) mode while RTCP is active and the tool is engaged near the part. A slight manual rotation of the B-axis will force the linear axes to violently compensate to maintain the tool tip position, frequently resulting in a high-speed collision with the workpiece or fixture. Always cancel RTCP (e.g.,
G49 or M129) before manual intervention.
Workholding and Tooling: Overcoming Geometric Interference
Standard 6-inch Kurt vises and CAT40 toolholders are fundamentally incompatible with the geometric realities of 5-axis machining. The primary challenge is clearance: the spindle nose and toolholder must access deep, undercut features without the machine's A or C axes driving the fixture into the table limits.
Workholding Best Practices
- Dovetail Fixturing: For raw stock, operators should be trained to machine a dovetail profile on the bottom of the part in an initial 3-axis op, then clamp it using low-profile dovetail vises (e.g., Glacern GDX-6 or Kurt DX6). This exposes five full sides of the part in a single setup.
- Zero-Point Clamping: For high-mix production, integrate zero-point systems like Schunk Vero-S or System 3R. These systems provide repeatability within 0.0002 inches (5 microns) and drastically reduce setup time, keeping the rotary table clear of bulky vise hardware.
Toolholding and L/D Ratios
Operators must strictly monitor the Length-to-Diameter (L/D) ratio of their tooling. In 5-axis contouring, tool deflection causes severe surface finish degradation. Mandate the use of HSK-A63 or HSK-E50 tapers over standard CAT/BT tapers. HSK provides simultaneous face-and-taper contact, ensuring Z-axis repeatability at the 15,000+ RPM spindle speeds typical of 5-axis aerospace machining. For deep cavity milling, operators should utilize solid carbide anti-vibration holders or heavy-metal (tungsten alloy) shanks to push the L/D ratio limit from 4:1 up to 6:1 without inducing chatter.
The 5-Axis First Article Run: A 7-Step Verification Protocol
The first time a new 5-axis program is run on the machine is the highest-risk moment in manufacturing. Operators must follow this exact 7-step dry-run protocol to verify CAM output against the physical machine envelope.
- Apply a Global Z-Shift: Before cycle start, shift the G54 (or active WCS) Z-axis offset up by exactly 2.000 inches. This guarantees the tool will cut air 2 inches above the part during the initial verification.
- Engage Single Block and Feed Override: Set Feedrate Override to 5% and Rapid Override to 25%. Enable Single Block mode to process the code one line at a time.
- Verify Rotary Unwinding: Watch the C-axis (or rotary table) position. If the CAM post-processor failed to calculate the shortest angular route, the table may attempt a 270-degree rapid spin instead of a 90-degree move, potentially ripping coolant lines or dragging the part through a fixture.
- Monitor Tool Vector Approach: Observe the tool's approach angle to the part. The tool axis should be tilting smoothly to match the surface normal, not snapping erratically between vectors.
- Check Machine Coordinate Limits: Keep one eye on the Machine Coordinates (G53) display. Ensure the X and Y linear axes are not approaching their absolute hard limits while the rotary axes are tilted at extreme angles (e.g., B-axis at 90 degrees).
- Incremental Z-Shift Reduction: After the first safe pass, drop the Z-shift to +0.500 inches, then +0.100 inches, then finally to 0.000 inches for the actual cut.
- Verify Chip Evacuation: 5-axis machining often positions the part upside down or at severe angles. Operators must verify that high-pressure coolant (minimum 70 bar / 1000 psi) is effectively clearing chips from the cut zone, as trapped chips will cause immediate tool failure in titanium or Inconel.
Volumetric Calibration and Probing Routines
A CNC 5 axis machine is only as accurate as its volumetric compensation map. Thermal growth and mechanical wear constantly alter the machine's kinematic center. Operators must be trained to execute daily and weekly probing routines using spindle-mounted touch probes like the Renishaw OMP60 or Blum TC60.
| Calibration Task | Equipment Required | Acceptable Tolerance | Corrective Action |
|---|---|---|---|
| Tool Length & Radius | Table-mounted laser (e.g., Renishaw NC4) | ± 0.0001" (2.5 µm) | Clean laser optics; recalibrate tool setter |
| Spindle Probe Qualification | Certified calibration sphere | ± 0.00005" (1.2 µm) | Wipe sphere with isopropyl alcohol; replace stylus |
| Rotary Axis Center (Kinematics) | Spindle probe + calibration sphere | ± 0.0002" (5 µm) | Run full kinematic calibration cycle (e.g., Fanuc G238) |
| Workpiece Datum (WCS) | Spindle probe | ± 0.0003" (7.5 µm) | Reseat part in fixture; check for chips under dovetail |
Note: If the calibration sphere has even 0.0005 inches of dust or coolant residue on it, the resulting kinematic update will introduce a compounded error across the entire 5-axis working envelope, ruining the profile tolerance of complex parts like aerospace impellers.
Post-Processor Verification and Collision Avoidance
Operators must understand that the CAM system's toolpath is only as good as the post-processor translating it into G-code. A generic post-processor will not account for the specific physical limits, rotary axis directions (CW vs CCW), and home positions of your exact CNC 5 axis machine.
Training should include mandatory verification using machine simulation software like VERICUT or NCSIMUL before any code reaches the shop floor. As highlighted in Mastercam's multiaxis machining guidelines, utilizing integrated CAM machine simulation allows operators to visually verify rotary axis limits, holder collisions, and non-cutting rapid movements in a virtual environment that perfectly mirrors the physical machine's kinematics.
"The most expensive component on a 5-axis machine isn't the spindle; it's the operator's assumption that the CAM software knows the physical limits of the rotary table. Always simulate the exact machine model, not just the toolpath."
Advanced Troubleshooting: Chatter and Surface Finish Degradation
When machining complex 3D contours on a CNC 5 axis machine, operators frequently encounter chatter, which leaves visible witness marks on the part surface. This is rarely a machine defect; it is almost always a harmonic resonance issue caused by improper cutting parameters or tool overhang.
The Chip Thinning Effect in 5-Axis Tilting
When the tool is tilted away from the surface normal (lead/tilt angles), the effective chip thickness decreases. If the operator does not increase the feed per tooth to compensate for this chip thinning, the tool will rub instead of cut. This rubbing generates massive heat, work-hardens materials like Ti-6Al-4V, and destroys the cutting edge in minutes.
Referencing Sandvik Coromant's milling knowledge base, operators should be trained to calculate the corrected feed rate using the chip thinning formula: Fc = Fz / sin(A), where A is the lead angle. If machining a titanium blade with a 15-degree lead angle, the programmed feed rate must be increased by nearly 400% to maintain the correct chip load and prevent catastrophic edge chipping.
Harmonic Speed Mapping
For long-reach tools required in deep 5-axis pockets, operators should perform a tap test or use spindle speed mapping software (like MALIS or CutPro) to identify the machine's stable 'sweet spots.' Running a 1/2-inch end mill at 12,000 RPM might cause violent chatter, while dropping the speed to 11,450 RPM aligns the tooth-pass frequency with the machine's natural damping frequency, resulting in a mirror finish. Training operators to recognize the acoustic signature of chatter—and immediately adjust the spindle speed override dial by 5-10% to find a stable harmonic pocket—is a hallmark of elite 5-axis proficiency.