Welding on Heavy Equipment: Demolition Attachment Maintenance
Master welding on heavy equipment demolition attachments. Explore 250/500-hour maintenance schedules, HARDOX repair protocols, and hardfacing matrices.
The Metallurgy of Demolition: Why Welding on Heavy Equipment Requires Specialized Schedules
Demolition attachments operate in some of the most punishing environments in construction and recycling. Hydraulic shears, concrete pulverizers, and heavy grapples routinely endure crushing forces exceeding 10,000 PSI, combined with severe torsional shock loads. When structural fatigue inevitably sets in, welding on heavy equipment demolition attachments is not a simple matter of melting filler metal into a crack. It requires strict adherence to metallurgical protocols, specifically when dealing with high-tensile, abrasion-resistant (AR) steels like HARDOX 450/500 or Domex 700.
In 2026, modern fleet telemetry systems can detect micro-variations in hydraulic pressure that indicate pivot-point binding or micro-fractures. However, physical weld maintenance schedules remain the backbone of attachment longevity. Improper weld repair on a shear blade carrier or pulverizer jaw can lead to catastrophic kinetic failure, risking operator safety and resulting in tens of thousands of dollars in downtime.
⚠️ CRITICAL WARNING: Hydrogen-Induced Cold Cracking (HICC)Welding on heavy equipment fabricated from high-strength low-alloy (HSLA) or AR steels without proper pre-heating and low-hydrogen consumables will cause HICC. These cracks may not appear for 24 to 48 hours post-weld, leading to false-positive inspections and subsequent field failures under load. Always follow SSAB's official welding guidelines for specific interpass temperature controls.
Core Demolition Attachments and Their Weld-Maintenance Profiles
Different demolition tools experience distinct stress vectors, dictating where and how weld inspections and repairs must be scheduled.
- Hydraulic Shears (e.g., NPK H20Xb, Caterpillar S365): Primary failure zones include the pivot boss bores and the blade carrier weldments. Torsional twisting during rebar cutting induces shear-stress fractures at the toe of the fillet welds connecting the carrier to the main body.
- Concrete Pulverizers (e.g., Epiroc DP 2500): Subjected to high-impact blunt force. The jaw tips and main hinge pins experience severe abrasive wear and compressive fatigue. Maintenance focuses heavily on hardfacing rebuilds rather than deep structural crack repair.
- Demolition Grapples & Rakes: Prone to bending and root-pass failures in the tine weldments due to prying forces. Scheduled maintenance involves magnetic particle inspection (MPI) of the root passes on the main boom-to-tine junctions.
The 250/500/1000-Hour NDT Inspection Matrix
Relying on visual inspection (VT) alone is insufficient for demolition equipment. A rigorous Non-Destructive Testing (NDT) schedule must be integrated into the standard service intervals. Below is the industry-standard framework for high-cycle demolition attachments.
| Interval | Target Component | NDT Method | Action Threshold |
|---|---|---|---|
| 250 Hours | Shear Blade Holders, Pulverizer Jaw Tips | Visual (VT) + Dimensional Check | Hardfacing depletion > 3mm; Bolt torque loss. |
| 500 Hours | Main Pivot Bosses, Hinge Pin Bores | Magnetic Particle (MPI) | Any linear indication > 2mm requires immediate gouging and reweld. |
| 1000 Hours | Main Body Structural Weldments, Cylinder Lugs | Ultrasonic Testing (UT) | Subsurface slag inclusions or lack of fusion > 5% of weld cross-section. |
Step-by-Step Protocol: Rebuilding a Shear Pivot Boss
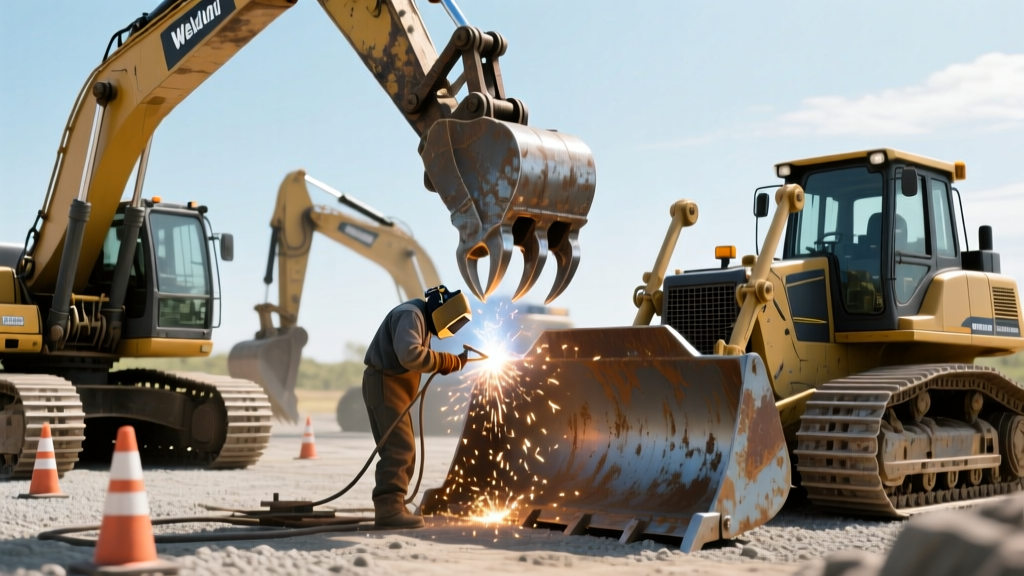
When MPI reveals a crack emanating from a shear pivot boss, the repair must follow the AWS D14.3 standard for earthmoving equipment. Here is the exact procedure for welding on heavy equipment high-tensile pivot zones.
- Flaw Removal: Use carbon arc gouging to remove the crack entirely. Grind the gouge to a bright, clean metal finish with a 45-degree bevel to ensure proper root penetration. Perform a secondary MPI to confirm the crack tip has been fully excavated.
- Pre-Heating: For 40mm thick HARDOX 450, apply induction or ceramic mat heating to achieve a minimum pre-heat temperature of 150°C (300°F). Use temperature-indicating crayons (Tempilstiks) to verify the heat zone extends at least 75mm in all directions from the weld joint.
- Root Pass: Deposit the root pass using a low-hydrogen consumable, such as an ESAB OK 48.00 (E7018) SMAW electrode or a Lincoln Electric Outershield 710-H flux-cored wire. Maintain an interpass temperature strictly between 150°C and 225°C.
- Fill and Cap: Build up the joint using a weave bead technique to distribute heat input evenly. Avoid excessive heat input (keep below 2.5 kJ/mm) to prevent softening the heat-affected zone (HAZ) of the base AR steel.
- Post-Weld Heat Treatment (PWHT): While full stress-relieving is rarely possible in the field, maintain the pre-heat temperature for a minimum of 2 hours post-weld, then insulate the joint with fire blankets to ensure a slow, controlled cooling rate. This allows diffusible hydrogen to escape the weld metal.
Hardfacing vs. Structural Welding: Consumable Matrix
A common and costly mistake in demolition maintenance is using hardfacing wire for structural repairs, or structural wire for wear surfaces. According to Lincoln Electric's hardfacing guidelines, matching the consumable to the specific wear vector is critical for attachment survival.
| Application | Wire / Electrode Type | Tensile / Hardness | Best Use Case on Demolition Gear |
|---|---|---|---|
| Structural Repair | E71T-1 / E7018 (Low Hydrogen) | 70,000 PSI Tensile | Cracked mainframes, cylinder lugs, pivot boss rebuilds. |
| High-Impact Hardfacing | Martensitic / Chromium Carbide | 55-62 HRC | Pulverizer jaw teeth, shear blade guide surfaces. |
| Buffer Layer | Austenitic Manganese (E307) | Work-hardens under impact | Underlayment for grapple tines before applying final AR cap. |
2026 Cost Analysis: In-House Weld Maintenance vs. OEM Rebuilds
Fleet managers must weigh the capital expenditure of OEM rebuild programs against the operational cost of maintaining an in-house heavy equipment welding bay. As of 2026, the economics heavily favor proactive in-house weld maintenance for mid-sized fleets.
Financial Breakdown: Hydraulic Shear Overhaul
- OEM Full Rebuild (e.g., CAT S365): $14,000 – $19,000 (Includes freight, 4-week turnaround, complete bore line-boring, and factory weld certifications).
- In-House Scheduled Weld Repair: $3,500 – $5,200 (Includes NDT contractor fees for 500-hour MPI, $800 in premium low-hydrogen/hardfacing consumables, and 16 hours of certified welder labor).
- ROI Impact: Executing the 500-hour MPI and localized weld repair extends the attachment's service life by an estimated 2,200 operating hours, delaying the $18,000 OEM rebuild by nearly a full year in high-cycle demolition applications.
Managing Distortion During Heavy Weld Repairs
Welding on heavy equipment demolition attachments often involves thick sections (50mm+) that are highly susceptible to angular distortion and residual stress. When rebuilding a warped shear blade carrier, welders must employ a balanced sequencing technique. Use back-stepping and staggered intermittent welds to distribute thermal contraction evenly. If a carrier has deviated more than 3mm from OEM flatness tolerances, it must be fixtured in a hydraulic press or strong-back frame during the welding process to lock the geometry. Ignoring distortion management will result in premature blade binding, accelerated bushing wear, and ultimately, a catastrophic failure of the newly deposited weld metal under torsional load.