How to Define CNC Machining Surface Finish and Tolerance Standards
Learn how to define CNC machining surface finish and tolerance standards. Troubleshoot chatter, thermal drift, and BUE with expert metrology fixes.
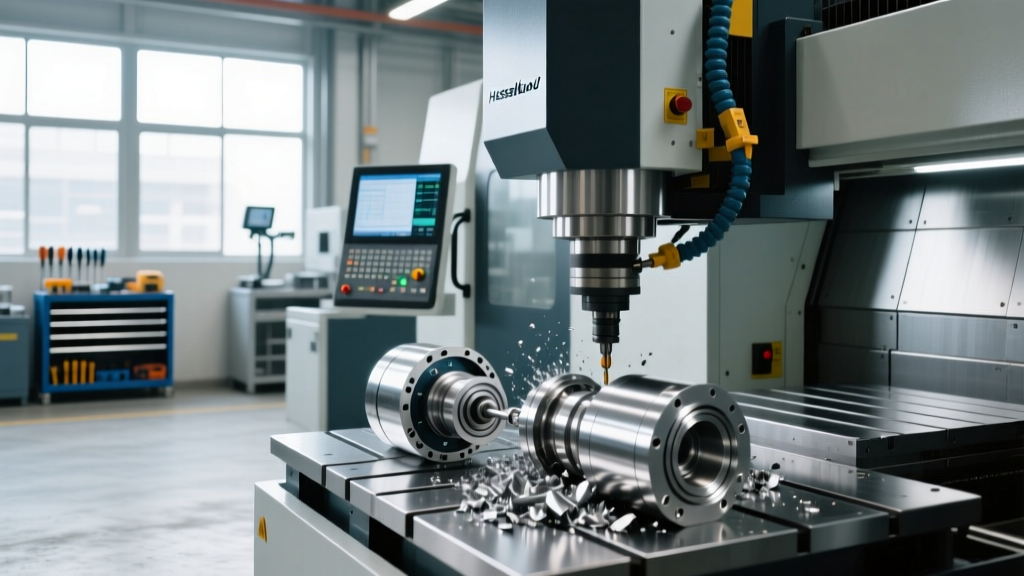
While beginners often search to simply define CNC machining as computer-controlled material removal, veteran machinists and manufacturing engineers know the true definition lies in holding microscopic tolerances and achieving precise surface finishes. When engineers define CNC machining specifications on a blueprint, they are establishing a contract between design intent and manufacturing reality. However, translating those theoretical limits into physical parts frequently results in scrapped components, machine downtime, and blown budgets if the underlying physics of the cutting process are misunderstood.
This troubleshooting guide moves beyond basic definitions to address the real-world failure modes that prevent machine shops from hitting specified surface roughness (Ra) and geometric tolerances. We will diagnose chatter, thermal drift, and tool deflection, providing actionable repair and calibration protocols for 3-axis and 5-axis CNC environments.
The Baseline: How Industry Standards Define CNC Machining Limits
Before troubleshooting a failed part, you must verify that the print specifications are physically achievable. The ASME Y14.5 Dimensioning and Tolerancing Standard and ISO 2768 provide the frameworks for these limits. If a designer specifies an ISO 2768-mK (medium tolerance, fine geometric tolerance) on a 6061-T6 aluminum bracket, the shop must hold linear dimensions to ±0.05mm and flatness to 0.02mm per 100mm.
Standard Surface Finish (Ra) Benchmarks
- Ra 6.3 µm: Roughing passes, non-critical structural surfaces. Standard end mill, aggressive feeds.
- Ra 3.2 µm: Standard commercial finish. Achievable with sharp carbide tooling and moderate feed rates.
- Ra 1.6 µm: Tight mating surfaces, bearing bores. Requires high spindle speeds, light finishing passes, and rigid setups.
- Ra 0.8 µm or lower: Optical components, aerospace sealing surfaces. Typically requires secondary operations like grinding, honing, or specialized diamond turning.
Troubleshooting Surface Finish Defects
When a surface profilometer reads an Ra value 40% higher than the print demands, the root cause usually traces back to dynamic instability in the machine-tool-workpiece system. According to the Sandvik Coromant Milling Troubleshooting Guide, surface anomalies generally manifest as chatter marks, tearing, or built-up edge (BUE).
Symptom: Chatter Marks and Wavy Surfaces
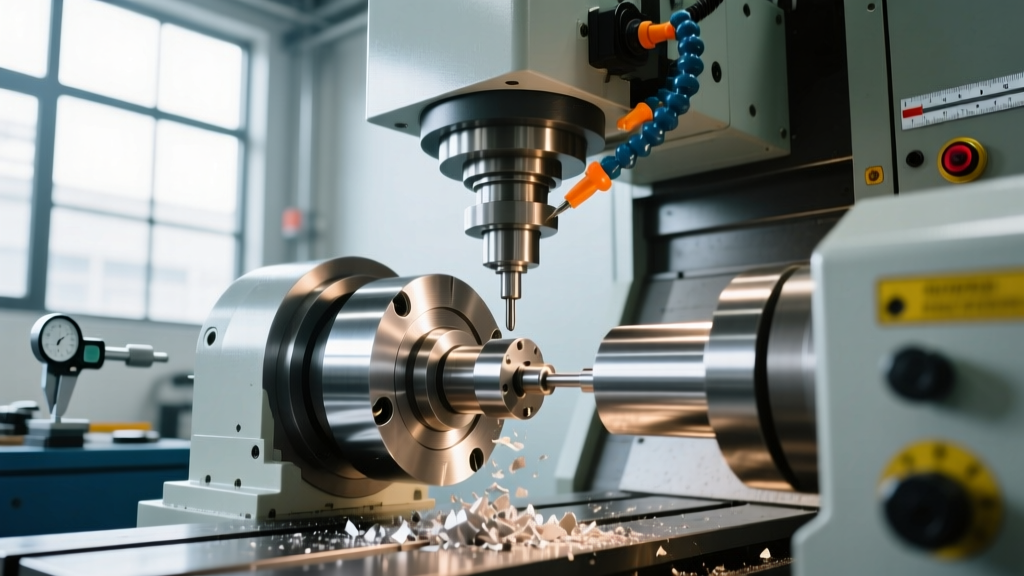
Chatter is a self-excited vibration that leaves regular, wave-like patterns on the machined surface, instantly ruining the Ra specification. It occurs when the cutting force exceeds the dynamic stiffness of the setup.
- Cause 1: Excessive Tool Overhang. If a standard steel-shank end mill extends more than 3x its diameter (3xD) from the collet, harmonic resonance is almost guaranteed during finishing passes.
- Fix: Switch to a solid carbide shank or a heavy-metal (tungsten alloy) extension. If the tool must remain steel, reduce the radial depth of cut (ae) to 5% of the tool diameter and employ trochoidal milling toolpaths to maintain a constant, low cutting force.
- Cause 2: Worn Spindle Bearings. If chatter occurs even with short, rigid tooling, the machine's spindle bearings may be pitted or preloaded incorrectly.
- Fix: Run a spindle vibration analysis using an accelerometer. If the amplitude at 1x RPM exceeds 2.5 mm/s, the spindle cartridge requires professional rebuild or replacement.
Symptom: Built-Up Edge (BUE) and Tearing on Aluminum/Stainless
When machining gummy materials like 304 Stainless Steel or 6061 Aluminum, material can weld to the cutting edge of the insert. As the BUE grows and eventually breaks off, it tears the workpiece surface, resulting in a rough, pitted finish.
- Cause: Incorrect cutting speed (SFM) and lack of high-pressure lubrication. Running too slow allows the material to adhere; running too fast without adequate cooling burns the edge.
- Fix: For 6061-T6, use uncoated, highly polished carbide end mills with a high rake angle (45°+). Increase cutting speed to 1,500+ SFM and utilize through-spindle coolant (TSC) at a minimum of 700 PSI to shear the chip away from the rake face before it can weld.
Diagnosing Tolerance Drift in Production Runs
Holding a ±0.005mm tolerance on the first article inspection (FAI) is easy. Holding it across a 500-part production run is where shops fail. Tolerance drift is rarely a programming error; it is a thermodynamic and mechanical reality.
| Tolerance Grade | Typical Limit (mm) | Cost Multiplier | Primary Failure Mode in Production |
|---|---|---|---|
| Standard (m) | ±0.05 to ±0.10 | 1.0x (Baseline) | Tool wear, basic operator loading errors |
| Fine (f) | ±0.01 to ±0.05 | 2.5x | Thermal expansion, ballscrew backlash |
| Very Fine (vf) | ±0.002 to ±0.01 | 6.0x | Spindle growth, ambient room temp shifts, CMM calibration drift |
Thermal Expansion Errors
The NIST Precision Engineering Division notes that thermal growth is the largest contributor to dimensional error in precision machining. Steel expands at roughly 11.5 µm/m·°C. If you are machining a 500mm long steel shaft and the shop temperature rises from 20°C (68°F) in the morning to 26°C (79°F) in the afternoon, the part will grow by nearly 0.035mm—easily blowing a fine tolerance.
- Fix 1 (Machine Level): Implement a mandatory spindle warm-up macro. Run the spindle at 4,000 RPM and cycle the axes through their full travel for 15 minutes before the first cut. This stabilizes the spindle housing and ballscrew temperatures.
- Fix 2 (Coolant Level): Check the CNC coolant chiller. The coolant temperature must be locked to the ambient shop temperature (usually 20°C ± 1°C). If the coolant is running at 15°C, it will actively shrink the part during cutting, leading the operator to overcompensate with tool offsets.
Tool Deflection and Wear Compensation
As an end mill wears, its effective diameter shrinks. In a profiling operation, this results in oversized internal pockets and undersized external bosses.
- Cause: Relying on manual offset adjustments based on post-process CMM data, which introduces lag and human error.
- Fix: Implement in-machine probing. Use a spindle-mounted touch probe (e.g., Renishaw OMP60) to measure a known reference datum on the fixture every 10 parts. Feed this data back into the macro variables to automatically update the tool wear offsets without operator intervention.
Metrology and Verification: Proving the Fix
You cannot troubleshoot what you cannot accurately measure. Relying on hand tools for tight tolerances introduces measurement uncertainty that masks the real machine issues.
Expert Rule of Thumb: Your measurement equipment must have a resolution and accuracy at least 10 times tighter than the tolerance you are trying to hold (the 10:1 rule). If you are holding a ±0.01mm tolerance, your metrology tool must be accurate to 0.001mm.
For surface finish, a standard visual comparator is insufficient for Ra 1.6 or lower. You must use a contact surface profilometer with a diamond stylus (2µm radius) to trace the microscopic peaks and valleys. For geometric tolerances like true position and concentricity, a Coordinate Measuring Machine (CMM) with a scanning probe head is mandatory to capture the actual continuous surface profile rather than just discrete touch points.
Summary Checklist for Operators and Programmers
When a part fails to meet the defined CNC machining surface finish or tolerance standards, run through this diagnostic sequence before scrapping the batch:
- Verify the Environment: Is the shop at 20°C? Is the coolant chiller synced to ambient?
- Check the Setup Rigidity: Is tool overhang minimized? Are workholding clamps placed directly over hard supports to prevent micro-deflection?
- Audit the Toolpath: Are you using constant chip load and trochoidal motions to prevent radial shock and BUE?
- Confirm Metrology: Has the CMM been calibrated this week? Is the profilometer stylus clean and undamaged?
By treating surface finish and tolerances not as arbitrary blueprint notes, but as direct feedback on the mechanical and thermodynamic health of your CNC process, you can systematically eliminate drift and achieve consistent, high-yield production runs.