Operator Guide to Laguna CNC Machines Controllers & Interfaces
Master Laguna CNC machines controller interfaces. Learn RichAuto DSP, Masso G3 training best practices for precise routing and operator safety.
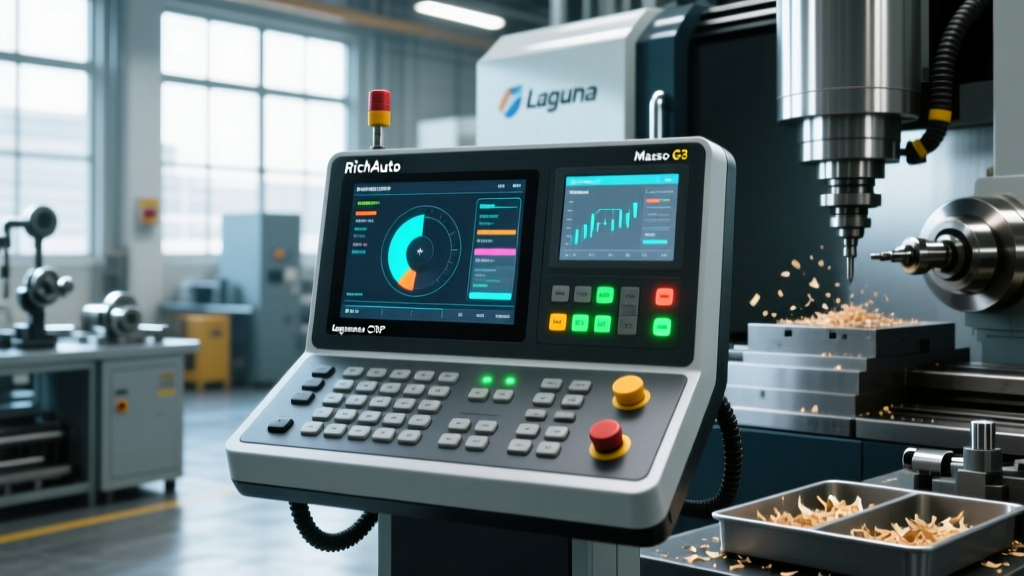
The operational bottleneck on a mid-tier manufacturing floor is rarely the spindle speed or the rigidity of the gantry; it is the operator's fluency with the machine controller. When training personnel on Laguna CNC machines, specifically the Smart Shop III and IQ series, instructors must bridge the gap between CAM software output and physical machine execution. Laguna primarily deploys two distinct controller ecosystems depending on the model year and configuration: the standalone RichAuto DSP pendant series and the integrated Masso G3 Touch interface. Mastery of these specific interfaces dictates both production throughput and shop floor safety.
Core Controller Ecosystem MatrixRichAuto DSP (A11 / A18E): Tactile, handheld pendant control. Ideal for noisy environments where touchscreens fail. Relies on USB file transfer and manual Work Coordinate System (WCS) setting.
Masso G3 Touch: Integrated 15-inch touch screen with PC-class processing. Features built-in PLC, auto-tool changer (ATC) management, and advanced probing cycles. Requires direct network or USB-CNC file transfer.
RichAuto DSP Pendant: Tactile Control and WCS Protocols
The RichAuto A11 and A18E pendants are the workhorses of the Laguna IQ router line. Because the pendant operates independently of a host PC, operators must understand the internal memory management and the critical distinction between 'Zeroing' and 'Origin' commands—a common failure point for novice operators resulting in Z-axis crashes.
Critical Button Mapping and Operator Shortcuts
| Pendant Button | Controller Function | Training Best Practice |
|---|---|---|
| X/Y/Z Zero | Sets current position to 0.000 in active WCS | Always verify the active WCS (G54-G59) on the top LCD line before pressing. |
| Origin (Home) | Moves machine to physical limit switch home | Use only for clearing the bed or ending a shift. Never use to set part zero. |
| Goto Zero | Returns tool to the established X/Y/Z zero point | Ensure Z-clearance is sufficient to avoid striking clamps or vices during transit. |
| High/Low Speed | Toggles jog speed parameters | Mandate 'Low' speed when within 2 inches of the workpiece or tool setter. |
Step-by-Step: Establishing WCS Without Crashing
- Clear the Z-Axis: Manually jog the Z-axis to a safe clearance height (minimum 2.0 inches above the highest clamp).
- Home the Machine: Press the Origin button to establish absolute machine coordinates via the physical limit switches.
- Position X/Y: Use the directional pad to move the spindle over the part datum. Use the handheld jog wheel for sub-millimeter precision.
- Deploy the Auto-Zeroer: Place the Laguna magnetic Z-zero puck on the material surface. Press the Z Zero macro button on the DSP. The spindle will descend, touch the puck, and automatically calculate the Z-offset based on the puck's calibrated thickness (typically 0.575 inches for standard Laguna pucks).
- Lock the WCS: Press Menu, navigate to Work Coord, and ensure the data is saved to G54 before loading the G-code file from the USB drive.
Masso G3 Touch: PC-Class Power and Tool Library Management
For Laguna Smart Shop III models equipped with Auto Tool Changers (ATC), the Masso G3 Touch controller is the standard. This interface eliminates the need for a separate shop-floor PC, integrating the PLC, spindle VFD control, and servo drives into one touch-capable unit. Training operators on the Masso interface requires a deep dive into tool library management and probing cycles.
Warning: Probe Thickness CalibrationA leading cause of spoilboard gouging on Masso-equipped Laguna machines is an incorrect probe thickness parameter. Operators must verify the exact thickness of the touch probe in the F1 (Settings) -> Probing menu. If the physical probe is 0.500 inches but the software is set to 0.400 inches, the Z-axis will plunge 0.100 inches into the material upon zeroing.
Optimizing the Masso Tool Database
Unlike DSP pendants that rely on CAM-generated M06 tool change commands, the Masso G3 maintains an internal tool registry. Operators must be trained to sync the CAM output with the physical carousel.
- Tool Number Mapping: Ensure the CAM software (e.g., VCarve Pro, Mastercam) assigns Tool #1 to the first physical pocket in the Laguna umbrella or linear rack. Masso maps pocket numbers directly to spindle pull-stud positions.
- Spindle Speed Boundaries: In the F4 (Tool Offsets) menu, operators must define the minimum and maximum RPM for each tool. This prevents the HSD spindle from attempting to run a 1/8-inch endmill at 24,000 RPM, which can shatter the carbide.
- Tool Length Offsets: Train operators to use the Masso 'Auto Measure' cycle rather than manually inputting Z-lengths. The machine will cycle through the carousel, dropping each tool onto the fixed bed sensor to populate the offset registry automatically.
Mandatory Safety Protocols and Interlock Training
Controller fluency is meaningless without strict adherence to safety interlocks. According to OSHA standard 1910.213 regarding woodworking machinery and general CNC operation, operators must be trained on the specific logic of the machine's emergency stop (E-Stop) and limit switch configurations.
Operators must understand the difference between Soft Limits and Hard Limits. Soft limits are software-defined boundaries programmed into the Masso or DSP controller to prevent the gantry from moving outside the usable bed area. Hard limits are the physical microswitches at the end of the rails. Hitting a hard limit during a rapid traverse (G00) can cause catastrophic mechanical shock and strip the stepper or servo drive belts.
E-Stop Logic and Recovery Procedures
When an operator strikes the E-Stop button on a Laguna machine, the controller immediately cuts the enable signal to the servo drives and triggers the VFD to brake the spindle. Training must cover the proper recovery sequence:
- Identify and resolve the hazard that prompted the E-Stop.
- Twist the E-Stop button to release the physical contactor.
- On the Masso G3, navigate to the Alarms screen and press Reset. On the RichAuto DSP, press the Stop/Cancel button twice to clear the fault code.
- Critical Step: The machine has now lost its positional tracking. The operator must press Origin/Home to re-establish absolute machine coordinates before attempting to resume the interrupted G-code program.
Edge Cases: Troubleshooting Controller Communication Faults
Even with rigorous training, operators will encounter hardware-level communication faults. Recognizing these edge cases prevents unnecessary downtime and service calls.
VFD Electromagnetic Interference (EMI) on DSP Cables
A frequent issue on Laguna IQ models involves the RichAuto pendant freezing or executing erratic, uncommanded movements. This is almost always caused by Electromagnetic Interference (EMI) from the spindle's Variable Frequency Drive (VFD). The high-frequency switching of the VFD induces noise in the unshielded USB or DB15 cable connecting the pendant to the control box.
Operator Fix: Ensure the pendant cable is routed at least 6 inches away from the VFD power lines and the spindle power cable. If the issue persists, install a ferrite choke bead on the pendant cable near the control box connection point, or replace the cable with a foil-shielded, grounded alternative.Masso Touch Screen Calibration Drift
In environments with heavy wood dust or metalworking coolant mist, the resistive or capacitive touch layer on the Masso G3 screen can experience calibration drift, causing operators to press 'Cycle Start' when intending to press 'Feed Hold'. According to the official Masso CNC documentation, operators can recalibrate the screen by accessing the hidden calibration utility in the F1 settings menu, using a stylus rather than a gloved finger to ensure precise crosshair registration.
Effective operator training on Laguna CNC machines requires moving beyond basic button-pushing. By enforcing strict WCS protocols on the RichAuto pendant, demanding rigorous tool library management on the Masso G3, and educating staff on the electrical realities of VFD noise and limit switch logic, shop managers can transform their controllers from points of friction into engines of precision manufacturing.