Build Your Own CNC Machine: Enclosure & Coolant Troubleshooting
Expert troubleshooting guide for DIY CNC builders. Fix enclosure leaks, optimize flood coolant pressure, and resolve sump rancidity issues.
When you build your own CNC machine, the spindle, linear guides, and motion controllers naturally consume the majority of your engineering focus. However, enclosure failures and coolant system malfunctions will halt production and destroy surface finishes faster than a blown stepper driver. A DIY CNC mill routing aluminum or steel at 15,000 RPM generates high-velocity chips and toxic aerosolized mist. If your polycarbonate windows are crazing, your sump smells like sulfur, or your flood coolant is starving at the nozzle, the machine is fundamentally incomplete.
This guide provides a rigorous, component-level troubleshooting framework for the enclosure and coolant subsystems of custom-built CNC routers and mills. We bypass generic advice and focus on exact material specifications, fluid dynamics, and chemical management required for a reliable DIY manufacturing cell.
Diagnostic Matrix: Enclosure & Coolant Failure Modes
Use this matrix to rapidly isolate the root cause of the most common fluid containment and delivery failures in custom CNC builds.
| Symptom | Probable Root Cause | Immediate Engineering Fix |
|---|---|---|
| Acrylic windows cracking / clouding | Chemical stress cracking from way-lube or synthetic coolant exposure on PMMA. | Replace with 1/4-inch (6mm) Lexan Margard polycarbonate; use chemical-resistant sealants. |
| Coolant pump humming but no flow | Pump cavitation due to restricted suction line or clogged foot valve. | Upsize suction hose to 3/4-inch ID; install a 100-micron washable intake strainer. |
| Enclosure door sagging / leaking at hinge | Undersized gas struts failing under dynamic vibration loads. | Upgrade to Stabilus or Suspa gas springs rated for 400N+; add adjustable mechanical latches. |
| Fluid turning rancid / pH dropping below 8.0 | Tramp oil (way lube) anaerobic bacteria bloom; lack of surface skimming. | Install a 1-inch belt skimmer (e.g., Abanaki Mini-Skimmer); dose with biocide and alkalinity booster. |
| Mist escaping enclosure seals | Negative pressure deficit; exhaust CFM exceeds passive intake make-up air. | Install adjustable louvered make-up air vents; balance mist collector to max 350 CFM for standard DIY enclosures. |
Enclosure Failure Modes & Structural Repairs
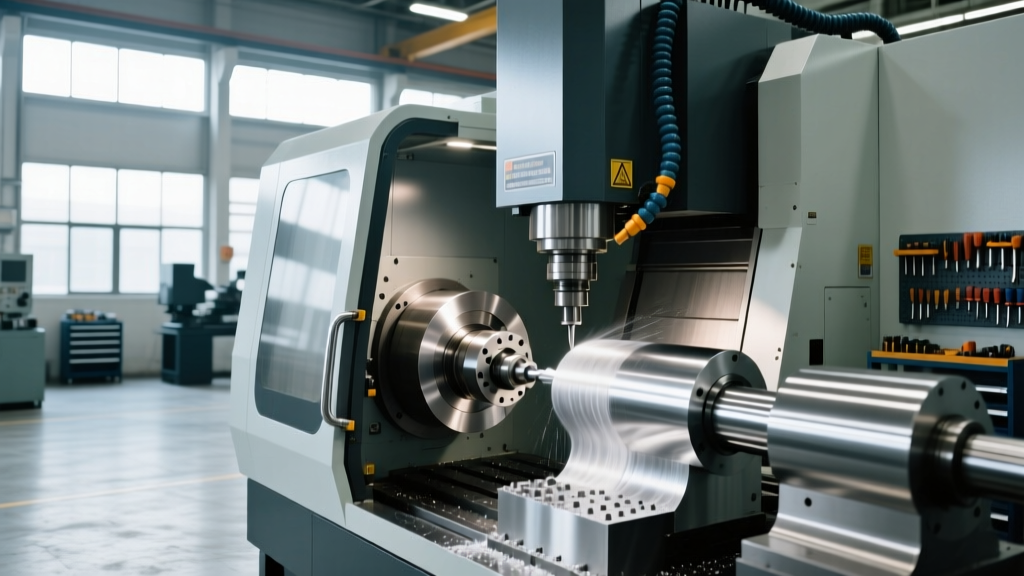
The most frequent mistake when builders attempt to build their own CNC machine enclosure is selecting the wrong transparent material and the wrong joining method. Standard acrylic (PMMA) is entirely unsuitable for CNC environments. The surfactants in semi-synthetic coolants and the petroleum distillates in way oils will cause acrylic to craze, micro-fracture, and eventually shatter under the impact of a stray endmill or heavy chip.
Material and Sealant Specifications
Replace all acrylic viewing panels with 1/4-inch (6mm) Lexan Margard polycarbonate. Margard features a hard-coat on one side that resists scratching from abrasive aluminum and cast iron chips. When mounting the polycarbonate to your steel or aluminum frame, avoid drilling clearance holes and using mechanical fasteners in tension; vibration will elongate the holes and crack the sheet.
Pro-Tip: Flange Sealants over SiliconeDo not use standard hardware-store silicone (like GE 100% Silicone) to seal enclosure seams. It peels off powder-coated steel and anodized aluminum under thermal cycling. Instead, use Loctite 5910 or Dow Corning 732 multi-purpose industrial sealants. Apply a continuous 3/8-inch bead, clamp the polycarbonate to the frame using a temporary acrylic jig, and allow 24 hours for the acetoxy cure before introducing coolant.
Door Hinges and Gas Strut Sizing
Heavy polycarbonate and steel-mesh doors require gas struts to hold them open during workholding setup. A common failure is struts losing pressure or bending at the ball-stud mount. Calculate the required Newton force (N) by multiplying the door weight in pounds by 20, then adding a 20% safety margin for dynamic machine vibration. For a standard 20 lb DIY CNC door, specify dual 400N (approx. 90 lbs force) Stabilus gas springs. Ensure the ball studs are threaded into steel backing plates, not just tapped directly into thin sheet metal.
Coolant System Troubleshooting: Plumbing and Pressure
Flood coolant systems on custom builds often suffer from pressure drops and flow starvation because builders use residential plumbing components instead of industrial fluid power fittings.
Pump Selection and Cavitation Prevention
If you are using a standard 1/2 HP submersible sump pump (such as the Little Giant Model 554405, typically priced around $280-$320), you must manage the suction side carefully. Cavitation occurs when the pump cannot draw fluid fast enough, creating vapor bubbles that collapse and destroy the impeller.
- Suction Line: Never use a suction hose smaller than 3/4-inch ID. Restrictive suction is the #1 cause of DIY pump failure.
- Filtration: Place a 100-micron stainless steel mesh foot valve at the pump intake. Do not use finer mesh at the sump, or chip buildup will starve the pump.
- Delivery Plumbing: Avoid push-to-connect fittings (like SharkBite). The glycol and alkaline surfactants in CNC coolants will degrade the internal O-rings within weeks. Use barbed fittings with double stainless-steel worm-gear clamps or, ideally, JIC 37-degree flare fittings for all hard-line connections.
Nozzle Pressure and Loc-Line Sizing
For effective chip evacuation in aluminum, you need a minimum of 15-20 PSI at the nozzle exit. If your Loc-Line ball-valve nozzles are sputtering, the issue is usually excessive hose friction. Upsize your main delivery trunk to 1/2-inch ID and only step down to 1/4-inch or 3/8-inch at the final nozzle articulation joint. Ensure your pump is rated for at least 12 GPM (Gallons Per Minute) to maintain pressure across multiple nozzle branches.
Fluid Chemistry and Sump Management
Coolant is not just water and oil; it is a complex chemical emulsion that requires strict parameter control. As of 2026, high-performance semi-synthetic fluids like Trim MicroSol 585XT or Hangsterfer's S-500 (running approximately $45 to $60 per gallon) are the standard for DIY aerospace and automotive machining. Running these fluids out of spec will ruin your machine's ways and pose severe respiratory hazards.
WARNING: Way Lube ContaminationAccording to OSHA's Metalworking Fluids guidelines, tramp oil (way lube leaking into the sump) creates an anaerobic environment at the fluid surface. This breeds sulfate-reducing bacteria, which generate hydrogen sulfide gas (the 'rotten egg' smell) and drop the fluid pH, leading to catastrophic machine rust. You must physically remove tramp oil, not just mask the odor.
The Maintenance Protocol
- Concentration: Test weekly with an optical refractometer. Multiply the Brix reading by the fluid's specific multiplier (e.g., 1.5x for Trim 585XT) to get the true concentration. Maintain between 6% and 8%.
- pH Level: Maintain a pH between 8.8 and 9.2. If pH drops below 8.5, the fluid's built-in biocides fail. Dose with a manufacturer-approved alkalinity builder immediately.
- Skimming: Install a continuous belt skimmer, such as the Abanaki Model 8 Mini-Skimmer with a 1-inch polyurethane belt. Run it on a 24/7 timer to continuously strip floating way lube before it emulsifies into the coolant.
Mist Collection and Airflow Balancing
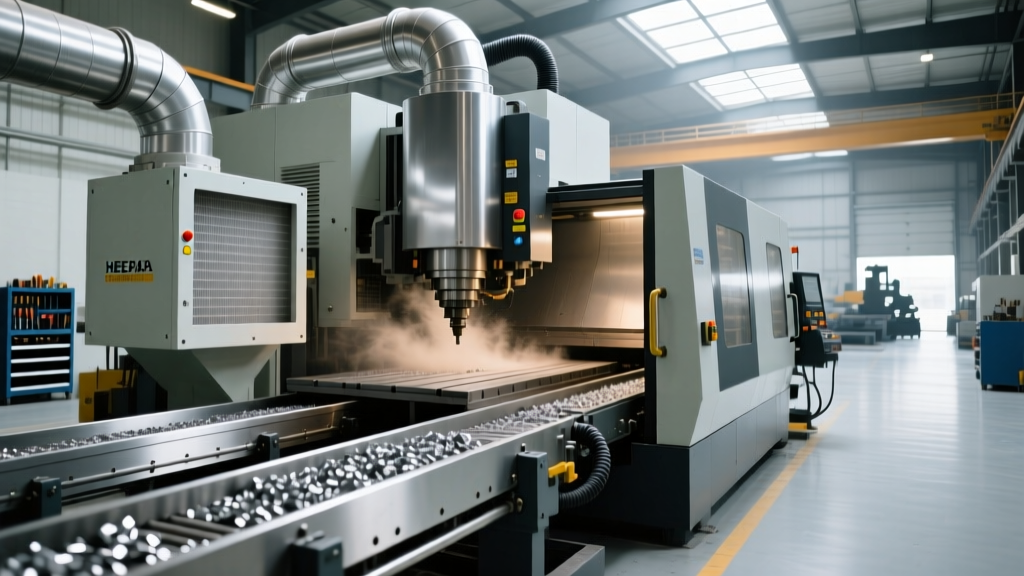
When you build your own CNC machine, you must account for aerosolized metalworking fluids (MWF). The NIOSH criteria on MWF exposure strictly outline the respiratory dangers of inhaling sub-micron coolant mist generated by high-speed spindles. A passive enclosure is insufficient; you need active negative pressure.
However, over-sizing the mist collector is a frequent DIY error. If you pull 800 CFM out of a small DIY enclosure without providing adequate make-up air, the negative pressure will pull coolant vapor directly through the spindle labyrinth seals and into your bearings, destroying them.
CFM Calculation and Make-Up Air
For a standard DIY VMC or router enclosure (approx. 15 to 30 cubic feet), target an exhaust rate of 250 to 350 CFM. Use a mist collector with a multi-stage filtration media: a primary metal mesh demister pad, a secondary HEPA-grade synthetic bag, and an optional activated carbon final stage for odor. Crucially, cut 2-inch diameter make-up air louvers into the lower corners of the enclosure. This forces the air to sweep across the cutting zone and up into the collector, rather than pulling straight down through the spindle gaps.
Step-by-Step Leak Isolation Protocol
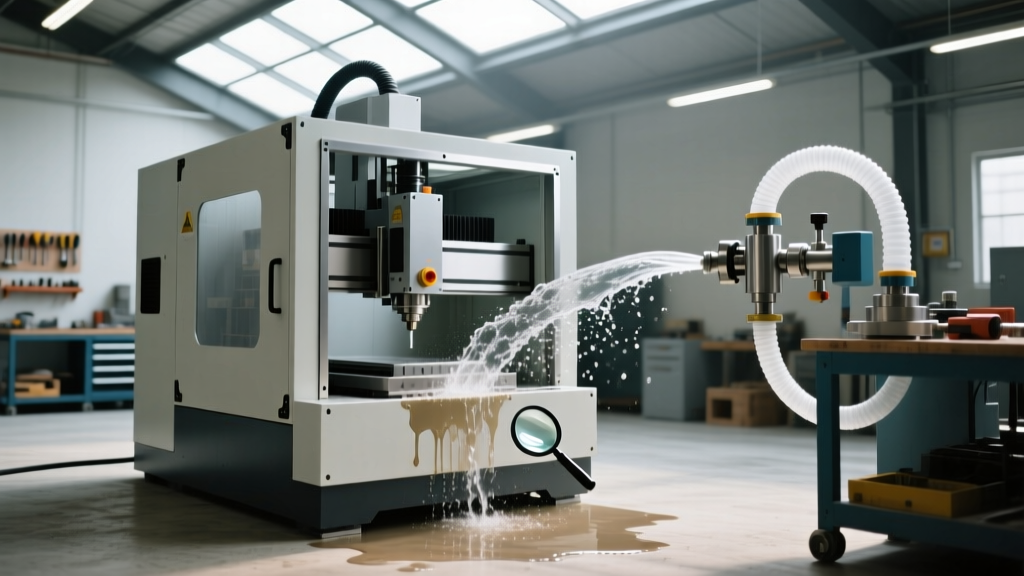
If your DIY CNC is losing fluid but the source is hidden behind welded baffles or internal way-covers, use the following fluorescent dye isolation protocol:
- Preparation: Clean the exterior of the sump and way-covers with a degreaser. Ensure the machine is completely dry.
- Dye Injection: Add 2 oz of oil-soluble fluorescent tracer dye (compatible with both synthetic coolants and petroleum way oils) directly into the sump and the way-lube reservoir.
- Circulation: Run the coolant pump for 30 minutes. Manually cycle the X and Y axes across their full travel to distribute the way lube.
- UV Inspection: Darken the shop and inspect all seams, gaskets, and hose clamps with a 365nm UV blacklight. The dye will fluoresce bright green or yellow at the exact origin point of the leak, even if the leak only occurs under dynamic movement.
- Repair: Mark the leak origin with a silver sharpie. Drain the system, prep the surface with isopropyl alcohol, and apply your Loctite 5910 or replace the failed O-ring.
Building a reliable CNC machine extends far beyond the motion system. By treating the enclosure as a pressurized containment vessel and the coolant as a precisely managed chemical reagent, you ensure your custom build delivers professional-grade surface finishes and long-term mechanical reliability.