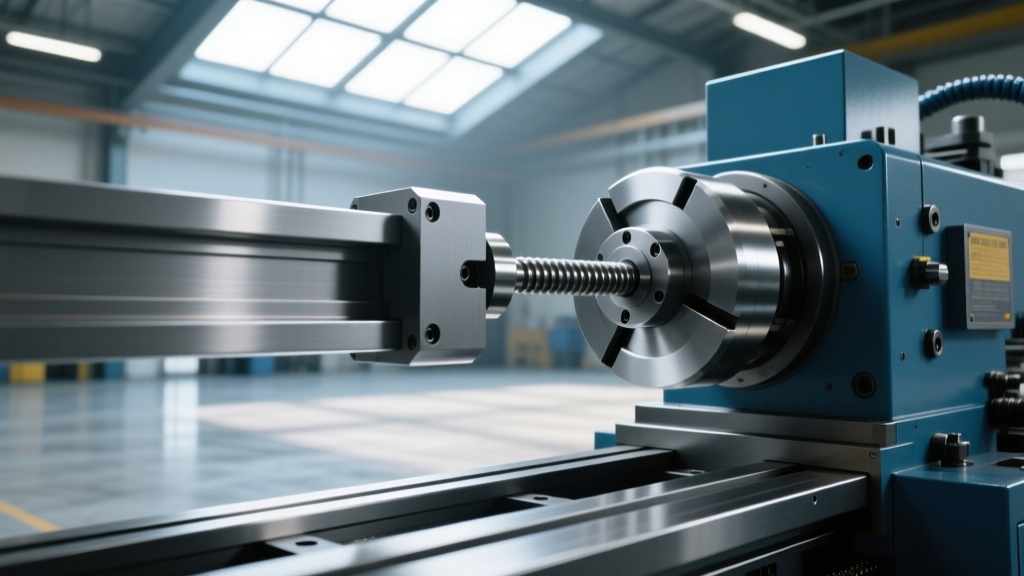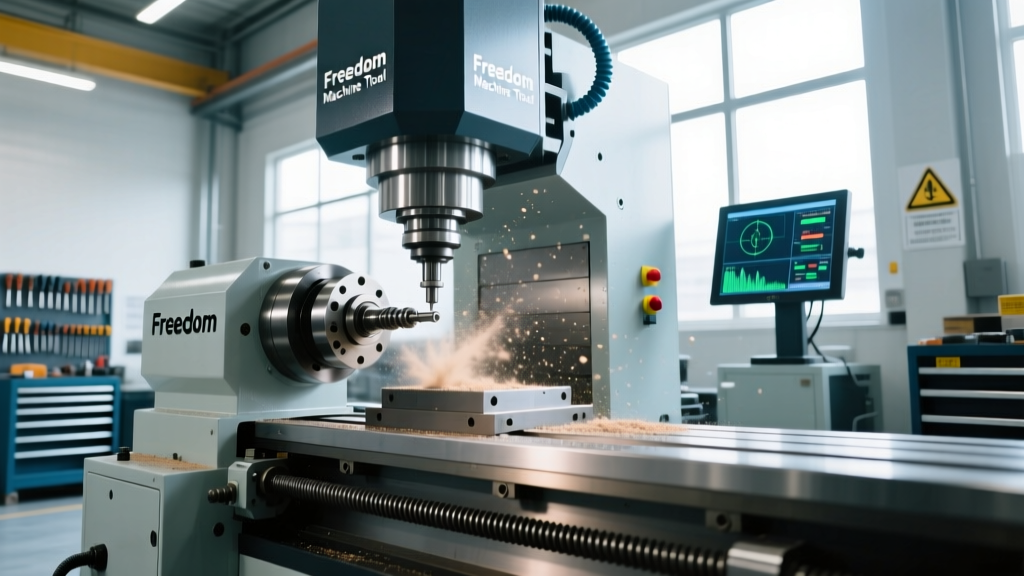
Freedom Machine Tool Vibration Analysis and Rigidity Fixes
Diagnose and eliminate chatter on Freedom Machine Tool knee mills and lathes. Expert troubleshooting for spindle runout, gib adjustment, and resonance.
Diagnostic Framework: Isolating Chatter in Freedom Knee Mills and Lathes
Harmonic resonance and structural chatter are the primary enemies of surface finish quality and tool life. When operating heavy-duty manual and CNC equipment like the Freedom 10x54 Variable Speed Knee Mill or the Freedom 14x40 Gearhead Lathe, vibration is rarely a singular issue; it is a compounding failure of rigidity across the machine-tool-workpiece system. According to extensive machining dynamics research published by Sandvik Coromant, chatter is a self-excited vibration that occurs when the cutting force and the machine's natural frequency align destructively.
Before replacing expensive spindle bearings or scrapping tooling, you must isolate the frequency band of the vibration. Use a smartphone accelerometer app or a dedicated piezoelectric vibration meter on the machine table during a light test cut to categorize the oscillation.
Vibration Frequency Matrix: Symptom vs. Root Cause| Frequency Band | Audible Symptom | Primary Suspect | Verification Method |
|---|---|---|---|
| High (1,500+ Hz) | High-pitched squeal or ringing | Spindle bearings, V-belt slap, or collet runout | Dial indicator sweep on arbor; check belt deflection |
| Mid (300 - 1,500 Hz) | Rattling or harsh buzzing | Loose way gibs, toolholder pull-stud failure, or quill play | Indicate toolholder flange; test X/Y axis play |
| Low (20 - 300 Hz) | Deep rhythmic thumping or shaking | Foundation failure, column resonance, or unbalanced motor | Check anchor bolt torque; measure column deflection |
Spindle and Belt Drive Harmonics (High-Frequency Chatter)
The Freedom 10x54 3HP Variable Speed mill utilizes a standard R8 spindle supported by a pair of matched angular contact bearings (typically Fafnir 7207WN or equivalent 35-degree contact angle bearings). Over time, the preload on these bearings degrades, leading to axial play that manifests as high-frequency chatter during heavy facing operations.
Verifying Spindle Rigidity
- Runout Test: Mount a 0.0001" resolution dial indicator on the table. Sweep the inside taper of the R8 spindle. Acceptable TIR (Total Indicator Reading) is under 0.0003". If it exceeds 0.0005", the bearings are failing or the taper is damaged.
- Deflection Test: Insert a solid 1.25" steel test arbor. Apply 15 lbs of lateral force at the 6-inch mark using a calibrated spring scale. Deflection should not exceed 0.0008". Excessive movement indicates lost bearing preload.
- Bearing Replacement: If preload is lost, replace the bearings as a matched set. As of 2026, a high-precision matched pair of 7207WN bearings costs between $220 and $310. Ensure the high marks on the outer races are aligned during installation to prevent induced runout.
Equally critical is the variable speed drive belt. The poly-V or serpentine belts used in these heads require exact tension. A belt that is too loose will 'slap' against the pulley housing, creating a harmonic that transfers directly into the quill. Press firmly on the longest span of the belt with your thumb; it should deflect exactly 1/2-inch under moderate (approx. 10 lbs) pressure. If the belt is glazed or cracked, replace it immediately—a $45 OEM belt replacement prevents hundreds of dollars in ruined carbide end mills.
Warning: Back-Gear EngagementNever engage the back-gears on the Freedom variable speed head while the motor is running or while taking a cut. The back-gears are designed strictly for low-speed, high-torque threading or heavy roughing. Forcing them under load will chip the gear teeth, resulting in a rhythmic 'click-thump' vibration that requires a complete $800+ head teardown to fix.
Way and Gib Preload Tuning (Mid-Frequency Oscillation)
If your vibration analysis points to the mid-frequency band, the machine's sliding ways are likely the culprit. The cast-iron dovetails on the X and Y axes rely on adjustable gibs to eliminate clearance without inducing stiction (static friction that causes stick-slip chatter).
Many operators mistakenly back off the gib screws to make the handwheels turn easier. This introduces microscopic play that amplifies exponentially under cutting loads. According to troubleshooting guidelines featured in Modern Machine Shop, stick-slip and way chatter are often misdiagnosed as tool failure when the actual issue is improper gib preload.
The Indicator-Based Gib Adjustment Procedure
- Mount a magnetic base dial indicator on the machine table, with the plunger pressing against the side of the knee or saddle.
- Apply firm hand pressure to the axis in both directions. You are looking for zero indicator movement before the table physically shifts.
- Loosen the gib lock nuts (typically 10mm or 7/16" wrench size).
- Tighten the opposing adjustment screws in 1/8-turn increments until the handwheel requires a firm, two-finger grip to turn smoothly across the entire travel.
- Lock the nuts down to 12-15 in-lbs of torque. Re-check the indicator; the locking process often shifts the gib slightly.
Properly adjusted gibs should allow the table to move smoothly under power feed while completely eliminating lateral deflection during climb milling operations.
Structural Damping: The Column Fill Technique
The cast-iron column of a knee mill is inherently a hollow, resonant chamber. When performing heavy interrupted cuts (such as machining a splined shaft or using an indexable face mill on cast iron), the column can act as a tuning fork, amplifying low-frequency vibrations.
"Filling the hollow column of a manual knee mill with an epoxy-granite matrix can increase dynamic stiffness by up to 300%, shifting the natural frequency of the machine far outside the operating range of standard carbide tooling."
Execution Strategy: Remove the sheet metal electrical enclosure from the rear of the column. Drill a 1-inch hole near the top of the column cavity and a 1-inch drain hole at the very bottom (plugging it temporarily). Mix a structural damping compound using 1 part slow-cure laminating epoxy (like System Three or West System) to 4 parts graded, kiln-dried silica sand. Pour the mixture slowly into the top hole, using a piece of rebar to vibrate the mixture and eliminate air pockets. Allow 72 hours for a full cure before operating the machine. The material cost is roughly $95, but the resulting damping effect rivals machines weighing twice as much.
Foundation and Anchoring (Low-Frequency Resonance)
A machine is only as rigid as the concrete it sits on. Low-frequency oscillation (felt as a deep shaking in the floor during heavy roughing) almost always traces back to inadequate anchoring or a compromised concrete pad.
- Concrete PSI: The pad must be a minimum of 4,000 PSI cured concrete, at least 6 inches thick.
- Anchor Hardware: Use 1/2" x 4" zinc-plated wedge anchors. Do not use sleeve anchors or drop-in anchors, as they lack the sheer strength required for dynamic lateral loads.
- Leveling and Torque: Level the machine using precision machinist levels (0.001" per foot resolution) on the cleaned, unlubricated ways. Once leveled, torque the wedge anchors to exactly 60 ft-lbs. Overtorquing will crack the concrete cone at the base of the anchor, permanently ruining its holding power.
Freedom 14x40 Lathe Headstock Specifics
For operators using the Freedom 14x40 Gearhead Lathe, low-frequency chatter during heavy turning operations is usually tied to the headstock spindle bearings. Unlike the mill, this lathe uses preloaded Timken-style tapered roller bearings. Over time, thermal cycling and heavy chuck loads cause the spindle nose locknut to back off, resulting in axial play.
To fix this, remove the chuck and the spindle nose dust cover. Locate the slotted locknut and the tabbed lock washer. Using a brass drift and a dead-blow hammer, tap the locknut clockwise to increase preload. The correct preload is achieved when the spindle can be rotated by hand with a firm grip on the bull gear, but exhibits absolutely zero axial play when pried with a large screwdriver between the chuck backplate and the headstock casting. Bend the tabbed washer into the slot to secure it. This 15-minute adjustment routinely eliminates 90% of lathe chatter complaints.