Avoid the Dread Machine Tool: Used CNC Inspection Checklist
Learn how to avoid the dread machine tool with our comprehensive used CNC inspection checklist. Covers spindle runout, ballbar testing, and servo diagnostics.
The Anatomy of a 'Dread Machine Tool'
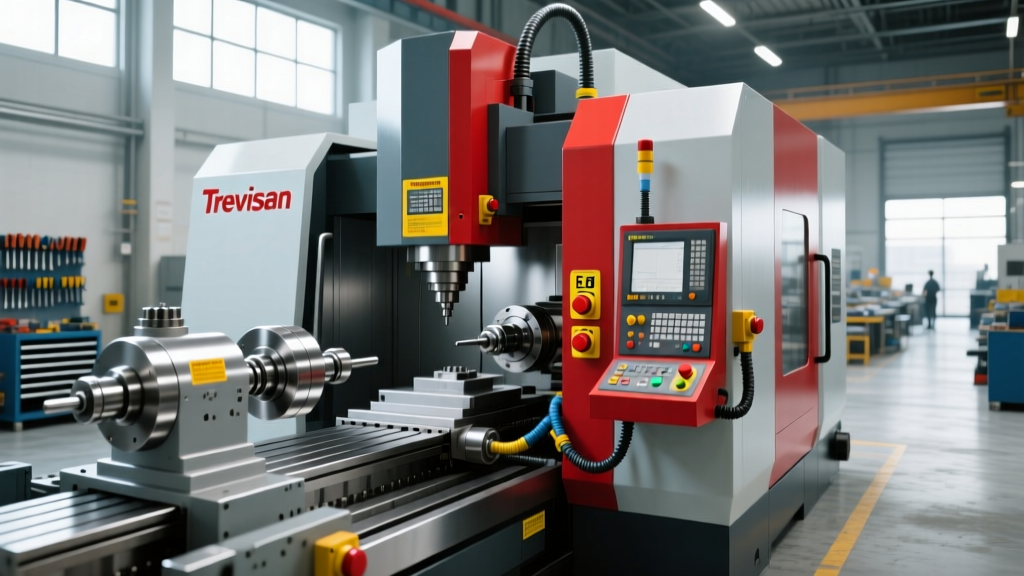
In the secondary equipment market, buyers often fear acquiring a 'dread machine tool'—a colloquial industry term for a used CNC mill or lathe that appears cosmetically acceptable on the showroom floor but harbors catastrophic, hidden mechanical or electrical failures. As of 2026, the secondary market for vertical machining centers (VMCs) remains highly competitive. A well-maintained 2018 Haas VF-2SS might list for $42,000 to $48,000, while a comparable Mazak VCN-530C can command upwards of $65,000. However, purchasing a machine with undocumented crash damage or degraded servo drives can instantly transform a $50,000 investment into a $90,000 money pit.
To protect your capital, you must move beyond a superficial visual inspection. This guide provides a rigorous, metrology-driven checklist to evaluate used machine tools, ensuring you identify hidden defects before signing the bill of sale.
⚠️ Warning: The 'Power-On' TrapNever rely solely on a machine's ability to power on and execute a simple air-cutting program. Modern CNC controls can mask severe mechanical backlash via software compensation parameters (e.g., Fanuc Parameter 1851). A machine can cut a perfect test circle in the air while possessing completely worn-out ball screws that will fail under actual cutting loads.
Phase 1: The 15-Minute Cosmetic & Structural Triage
Before requesting a power-on, conduct a physical walkaround. You are looking for evidence of poor maintenance, coolant infiltration, and major crashes.
- Way Cover Integrity: Inspect the telescopic way covers on all axes. If the X-axis cover is torn or dented, coolant and swarf have likely infiltrated the linear guideways. Replacing way covers on a standard VMC costs between $1,200 and $2,800 per axis, but if the linear rails are pitted, you are looking at an $8,500+ rebuild.
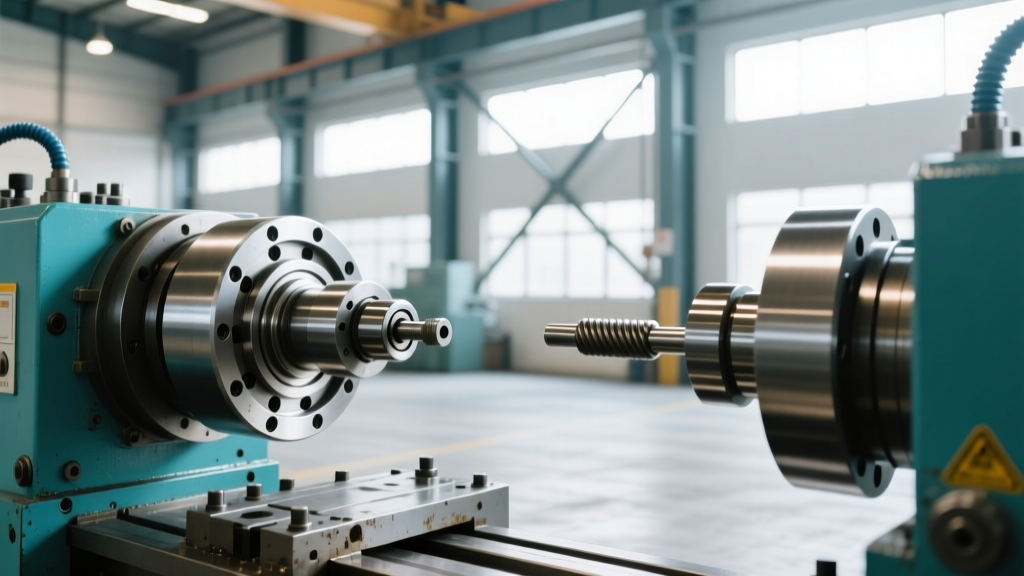
- Spindle Nose & Taper: Wipe the spindle taper with a clean, lint-free cloth. Look for 'fretting' (micro-welding marks) or bell-mouthing at the top of the taper. A damaged BT40 taper will cause severe tool runout and poor surface finishes.
- Castings & Leveling Pads: Check the base casting near the leveling pads for hairline cracks. A cracked casting indicates the machine was dropped during rigging or severely overloaded, compromising its geometric alignment permanently.
- Coolant Tank & Chip Conveyor: Open the coolant tank. If the coolant smells like rotten eggs (anaerobic bacteria) and the chip conveyor hinge belt is packed with hardened swarf, the machine suffered from severe maintenance neglect.
Phase 2: Spindle & Axis Metrology
The spindle is the heart of the machine. A replacement spindle cartridge for a 12,000 RPM direct-drive unit typically costs between $8,000 and $14,000, excluding labor. You must verify its health using precision instrumentation.
Spindle Runout Specifications
Mount a certified precision test mandrel (ground to within 0.00005" tolerance) into the spindle. Use a tenths-reading dial indicator or a Haimer 3D Sensor to measure runout. Refer to the acceptable limits below, derived from ISO 230-1 geometric accuracy standards.
| Machine Class | Spindle Taper | Radial Runout (at 1" extension) | Axial Runout (Face) |
|---|---|---|---|
| Standard VMC (e.g., Haas VF-2) | BT40 / CAT40 | < 0.0002" (5 µm) | < 0.00015" (4 µm) |
| High-Speed VMC (e.g., DMG Mori CMX) | HSK-A63 | < 0.0001" (2.5 µm) | < 0.0001" (2.5 µm) |
| Heavy HMC / Boring Mill | BT50 / CAT50 | < 0.0003" (8 µm) | < 0.0002" (5 µm) |
Thermal Growth Test: Run the spindle at 75% of its maximum RPM for 45 minutes. Measure the Z-axis growth. A healthy spindle chiller unit should keep thermal Z-axis growth under 0.001" over this period. If the spindle housing is too hot to touch, the chiller is failing or the spindle bearings are preloaded too tightly.
Phase 3: Geometric Verification via Ballbar Testing
To detect hidden servo lag, stick-slip, and backlash, you must perform a circular interpolation test. According to testing protocols outlined by metrology experts at Renishaw's QC20-W ballbar system, this 3-minute test reveals volumetric errors that a dial indicator cannot.
- Setup: Mount the ballbar tooling ball on the machine table and the sensor on the spindle. Position it at the center of the X-Y plane.
- Execution: Program a 150mm radius circular interpolation at a feed rate of 1,000 mm/min. Run the test in both clockwise (CW) and counter-clockwise (CCW) directions.
- Analysis: Look for specific signatures in the polar plot:
- Flat spots at axis reversal: Indicates static friction (stick-slip) or worn thrust bearings on the ball screw.
- Elliptical shape: Indicates squareness error between the X and Y axes or mismatched servo gains.
- Offset between CW and CCW plots: Reveals actual mechanical backlash that the control's software compensation is failing to correct.
Expert Insight: If the ballbar test shows a backlash spike greater than 0.0005" (12 µm) at the axis reversal points, the ball screw thrust bearings are likely crushed. Do not accept the seller's promise to 'just add more backlash comp in the parameters'—this is a mechanical failure requiring a $4,000+ teardown.
Phase 4: Control Cabinet & Servo Diagnostics
Electrical failures are the most expensive to diagnose post-purchase. Open the main control cabinet and inspect the following:
- DC Link Capacitors: If the machine has sat unpowered in an unclimate-controlled warehouse for more than 24 months, the electrolytic capacitors in the servo drives may have degraded. Applying full voltage immediately can cause them to vent or explode. They must be 're-formed' using a variable DC power supply over 8 to 12 hours.
- Backup Batteries: Check the date codes on the Fanuc/Mitsubishi absolute encoder batteries. If they are original and the machine was stored without power, the absolute position data is lost, requiring a full grid-shift and reference return recalibration.
- Relay & Contactor Pitting: Inspect the main spindle contactor. Severe pitting on the copper contacts indicates the machine was frequently started under load or experienced phase imbalances.
The Walk-Away Decision Matrix
Use this framework to determine your negotiating position based on the inspection findings. Data sourced from current 2026 secondary market refurbishment averages.
| Inspection Finding | Estimated Repair Cost | Action / Negotiation Strategy |
|---|---|---|
| Spindle runout > 0.0005" | $9,000 - $14,000 | Walk Away or demand seller replaces spindle prior to sale. |
| Torn X/Y Way Covers | $1,500 - $3,000 | Negotiate. Deduct 1.5x the part cost from the asking price to cover labor. |
| Ballbar stick-slip > 0.0004" | $4,500 - $7,000 | Negotiate Hard. Ball screw thrust bearings require full axis teardown. |
| Coolant tank bio-film / neglect | $300 - $600 | Acceptable. Minor cosmetic/maintenance issue; use as a $500 bargaining chip. |
| Cracked base casting near pads | Unquantifiable | Walk Away Immediately. Structural integrity is permanently compromised. |
Frequently Asked Questions
Can I rely on a laser interferometer instead of a ballbar for used machine inspection?
While a laser interferometer provides superior linear positioning accuracy data, it is overkill for a quick used-machine triage. A laser setup takes 2 to 4 hours per axis and requires specialized rigging. A ballbar test takes 15 minutes to set up and instantly reveals the mechanical health of the guideways, thrust bearings, and servo tuning, which are the primary failure points on used equipment.
What if the seller refuses to allow a ballbar test before purchase?
Consider this a massive red flag. Reputable brokers and sellers understand that metrology is standard practice, as promoted by organizations like the Association For Manufacturing Technology (AMT). If they refuse, assume the machine has severe axis reversal errors and adjust your offer to include the cost of a complete ball screw and thrust bearing replacement, or walk away.
How do I verify the spindle hours on a used CNC?
Do not trust the 'Spindle Load' or 'Power On' hours displayed on the control pendant; these are easily reset by anyone with parameter access. Instead, look for physical wear indicators: check the condition of the spindle drive belt (if applicable), listen for high-frequency whining at 8,000+ RPM, and rely entirely on your physical runout and thermal growth tests to determine the spindle's actual remaining lifespan.