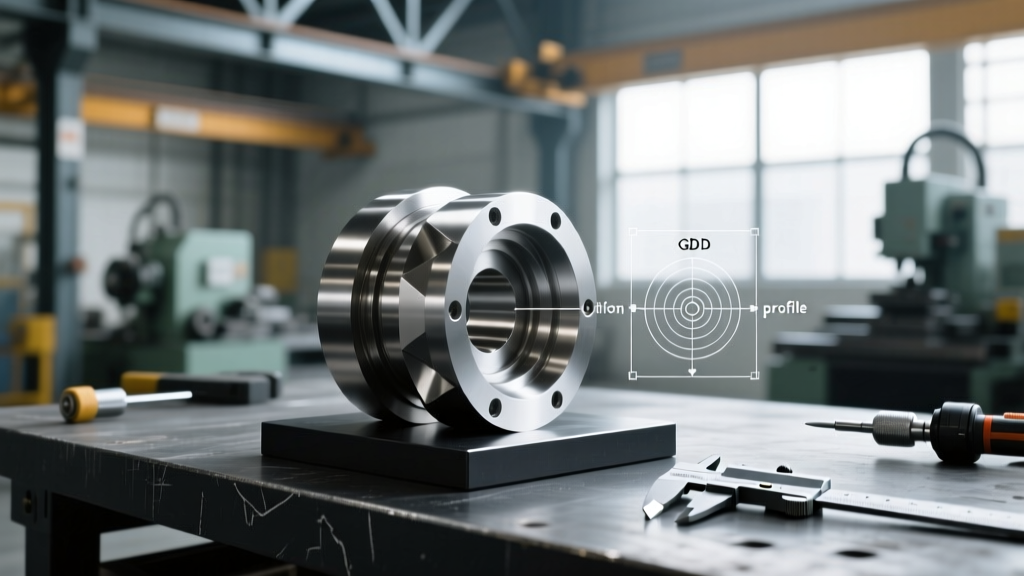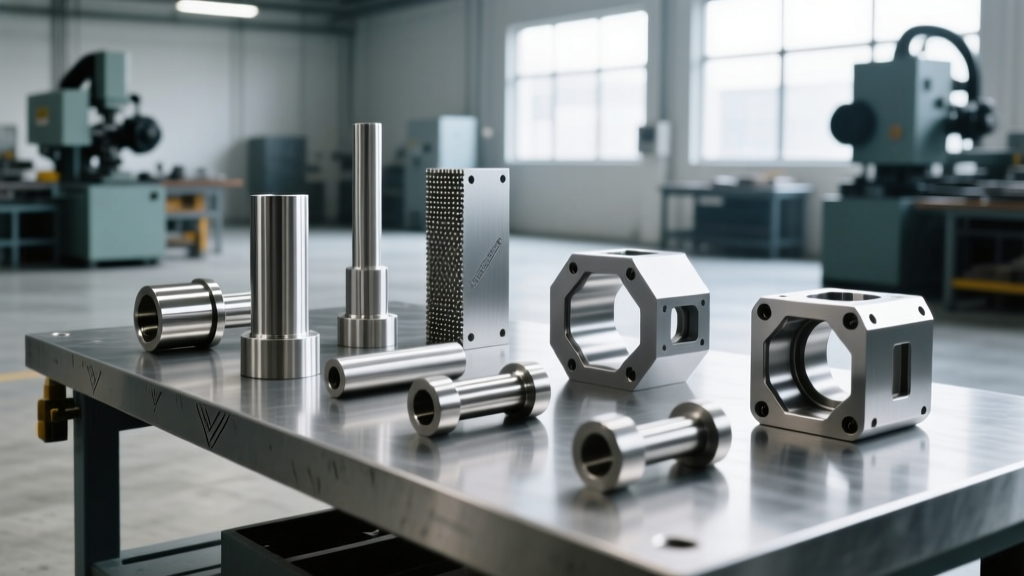
Choosing the Right Finish for Your CNC Machined Parts: Operator Guide
Master surface roughness and post-processing. Learn operator best practices for choosing the right finish for your CNC machined parts to reduce costs.
The True Cost of Over-Specifying Surface Finishes
In CNC machining, surface finish callouts dictate cycle times, tooling selection, and post-processing requirements. A common failure in Design for Manufacturability (DFM) is over-specifying surface roughness. Machining a 6061-T6 aluminum valve body to a standard Ra 3.2 µm (125 µin) might take 14 minutes. Achieving an Ra 0.8 µm (32 µin) on the exact same geometry requires reducing feed rates by 70%, adding a dedicated finishing pass with a specialized carbide ball-nose end mill, and increases cycle time to 38 minutes. At an average 2026 shop rate of $135/hour, that single callout adds $54 to the part cost.
Operators and shop floor managers must understand how to interpret these callouts, provide DFM feedback to engineers, and execute the correct toolpaths to achieve the required finish without destroying profit margins. The ISO 1302 standard for Geometrical Product Specifications provides the baseline for how these textures are indicated on engineering drawings, but translating those symbols into machine code requires practical shop-floor expertise.
Warning: The Mirror Finish TrapNever accept an Ra 0.4 µm (16 µin) or lower callout for milling operations without verifying if the part can be ground or lapped instead. Attempting to mill a mirror finish directly with end mills leads to catastrophic tool wear, severe chatter, and inevitable scrap. If a mirror finish is required for optical or sealing purposes, program the mill to leave 0.005" of stock and route the part to the grinding or polishing department.
Decoding Roughness Parameters: Ra vs. Rz vs. Ry
Surface roughness is not a single metric. While Ra (Arithmetic Average Roughness) is the default standard in North America, relying on it exclusively can lead to functional part failures, particularly in dynamic sealing applications.
When to Specify Rz Over Ra
Ra averages out the peaks and valleys across a sampling length. This means a surface with deep, isolated scratches and a surface with uniform, shallow peaks can yield the exact same Ra value. For O-ring grooves and hydraulic mating surfaces, Rz (Average Maximum Height) is the critical metric. Rz measures the average distance between the highest peak and the lowest valley across five sampling lengths. An O-ring seated in an Ra 1.6 µm surface might still be cut by a single deep valley that Ra averaged out, causing a catastrophic hydraulic leak. Operators must train their eyes and inspection routines to look for Rz callouts on fluid power components.
In-Cycle Finish Optimization: Toolpaths and Inserts
Achieving the target finish begins in the CAM software and at the spindle. The relationship between feed rate, tool nose radius, and surface finish is governed by the theoretical roughness formula: Ra = (f²) / (32 * r), where f is feed per revolution and r is the tool nose radius.
| Target Finish (Ra) | Microinch (µin) | Toolpath Strategy | Cost / Time Multiplier | Typical Application |
|---|---|---|---|---|
| 3.2 µm | 125 µin | Standard roughing/semi-finishing | 1.0x (Baseline) | Structural brackets, internal pockets |
| 1.6 µm | 63 µin | Finish pass with wiper inserts | 1.2x | Automotive fixtures, general enclosures |
| 0.8 µm | 32 µin | Slow feed, high RPM, rigid tapping | 2.5x | Bearing seats, precision shafts |
| 0.4 µm | 16 µin | Grinding, honing, or lapping required | 4.0x+ | Optical mounts, medical implants |
The Wiper Insert Advantage
Modern indexable tooling has fundamentally changed how operators approach Ra 1.6 µm finishes. According to Sandvik Coromant's technical milling guidelines, utilizing a wiper insert geometry allows shops to double their feed rates while maintaining the same surface finish. A standard CNMG insert requires a feed of 0.2 mm/rev to achieve Ra 1.6 µm. A CNMG insert with a engineered wiper flat (a secondary radius ground onto the insert's edge) flattens the peaks left by the primary cutting edge. This allows the operator to run at 0.4 mm/rev, cutting cycle time in half while holding the exact same Ra 1.6 µm tolerance. Always check your tool crib for wiper geometries before slowing down the machine to meet a finish callout.
Post-Processing Selection Framework
When in-cycle machining cannot achieve the required finish or corrosion resistance, post-processing is mandatory. Operators must account for the dimensional changes these processes introduce.
- Type II vs. Type III Anodizing: Standard Type II sulfuric anodizing adds roughly 0.0002" to 0.0005" per side. Type III (Hardcoat, per MIL-A-8625) builds 0.002" to 0.003" per side. If a bore is toleranced to +0.0005", the operator must machine it 0.004" oversize before sending it to the anodizer, or the part will be scrap upon return.
- Passivation (Citric vs. Nitric): For 300-series stainless steel parts, passivation removes free iron from the surface. While ASTM A967 outlines both nitric and citric acid baths, citric acid is increasingly preferred in 2026 due to environmental regulations and its ability to yield a superior chrome-oxide layer without the hazardous waste disposal costs of nitric acid.
- Vibratory Tumbling: Used for edge breaking and uniform matte finishes. Use ceramic angle-cut triangles for aggressive deburring of steel, but switch to porcelain or plastic media for burnishing aluminum to prevent embedding abrasive particles into the softer substrate.
Operator Rule of Thumb: Never send a part to media blasting or vibratory tumbling if it has tight-tolerance threaded holes or precision dowel pin bores. The media will inevitably radii the sharp edges of the threads and enlarge the bores by 0.001" to 0.002", ruining the fit. Always mask or plug these features before post-processing.
Shop Floor Training: Reading Callouts Correctly
A frequent source of scrap is misinterpreting the drawing's surface finish symbols. Implement this three-step verification process on the shop floor:
- Locate the Default Block: Check the title block for the default surface finish (usually Ra 3.2 µm or 125 µin). Any surface without a specific symbol next to it defaults to this value. Do not waste time finishing non-critical faces to a higher standard.
- Identify the Machining Allowance Symbol: If the drawing includes a symbol indicating material removal is required (the horizontal line with a circle), the operator must ensure the raw stock has enough excess material. If the casting or forging is undersized, the part must be rejected before it hits the CNC bed.
- Verify the Lay Direction: The surface texture symbol often includes a lay indicator (e.g., parallel '= ', perpendicular '⊥', or multidirectional 'M'). For sliding wear surfaces, the lay must be parallel to the direction of motion to trap lubricant. If your CAM toolpath generates a perpendicular lay, the part will fail in the field, even if the Ra value is correct.
Mastering surface finishes requires moving beyond the basic numbers on a drawing. By leveraging modern wiper tooling, understanding the functional difference between Ra and Rz, and strictly managing post-processing dimensional shifts, CNC operators can consistently deliver high-quality parts while protecting the shop's bottom line.