Leveraging M Code in CNC Machine Macros: Small Shop Case Study
See how a small shop used custom M code in CNC machine macros to automate pneumatic clamping on a Haas Mini Mill, cutting cycle times by 22%.
Case Study Snapshot: Apex Precision Prototypes
Facility: Apex Precision Prototypes (3,500 sq. ft. job shop, 4 employees)
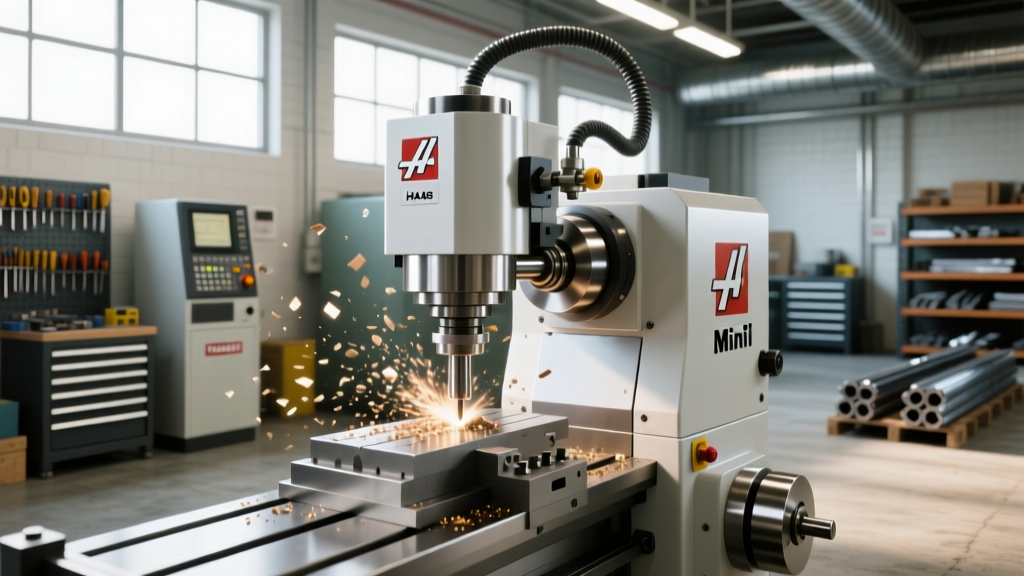
Primary Equipment: Haas Mini Mill 3 (2024 model, 40-taper, 10,000 RPM spindle)
Workholding: Kurt DX6 CNC Vise with retrofitted pneumatic actuator
Challenge: Manual load/unload times and chip clearing bottlenecked unattended lights-out runs on small batch aluminum (6061-T6) aerospace brackets.
Result: Custom macro integration utilizing specialized M-code sequences reduced non-cutting time by 22%, enabling 4-hour unattended batch runs.
Small workshop environments operate under severe spatial and labor constraints. Unlike high-volume production floors with dedicated pallet pool systems and robotic tending, job shops must extract maximum efficiency from compact, standalone vertical machining centers. The key to unlocking unattended machining in these environments lies in advanced controller programming—specifically, understanding how to leverage custom m code in cnc machine workflows to automate peripheral hardware.
This case study examines how Apex Precision Prototypes transformed a standard $58,000 Haas Mini Mill 3 into a semi-autonomous cell by mapping user-defined M-codes to pneumatic clamping, localized air-blast chip clearing, and safety interlocks.
The Bottleneck: Manual Interventions in Compact CNC Cells
Apex Precision primarily machines 6061-T6 aluminum sensor housings in batches of 50 to 200 units. The cycle time for the milling operation was optimized to 4 minutes and 15 seconds. However, the non-cutting time—comprising manual door opening, vise unclamping, part removal, chip brushing, part loading, and manual reclamping—added an average of 55 seconds per cycle.
Over a 100-part batch, this manual intervention consumed nearly 1.5 hours of an operator's time, tying up a skilled machinist who could have been programming or performing quality assurance on other machines. Furthermore, manual chip clearing with a brush was inconsistent, occasionally leading to recutting chips and premature tool wear on their 1/4" carbide end mills.
Decoding the Solution: Custom M Code in CNC Machine Programming
Standard G-code dictates toolpath geometry, but M-codes (Miscellaneous codes) control the machine's auxiliary functions. While M08 (coolant on) and M09 (coolant off) are universal, small shops often overlook the programmable logic controller (PLC) capabilities hidden within user-defined M-codes.
On Haas controllers, M-codes from M21 to M30 are typically reserved for hydraulic or pneumatic clamping. However, to trigger a custom sequence—such as simultaneously unclamping the vise and firing a high-pressure air blast to clear stringy aluminum chips—Apex utilized Parameter 580 (User M-Code Macro). This parameter allows the controller to call a specific subprogram whenever a designated M-code is executed in the main program.
M-Code Mapping Strategy
By configuring Parameter 580, Apex assigned M55 as their master automation trigger. When the controller reads M55, it pauses the main program, jumps to subprogram O9001, executes the pneumatic and air-blast logic, and returns to the main program.
| Standard / Custom Code | Function | Hardware Triggered | Dwell / Timing |
|---|---|---|---|
| M21 | Clamp Vise | Pneumatic Solenoid A (Close) | 1.2 seconds |
| M22 | Unclamp Vise | Pneumatic Solenoid A (Open) | 0.8 seconds |
| M55 (User Macro) | Auto-Clear & Unclamp | Solenoid A + Solenoid B (Air Nozzle) | 2.5 seconds blast |
| M56 (User Macro) | Pre-Cycle Air Wipe | Solenoid B (Low pressure) | 1.0 seconds |
Step-by-Step Implementation: Hardware and Wiring
Executing custom M-codes requires bridging the gap between the CNC controller's low-voltage logic and the shop's high-pressure pneumatic supply. Apex executed this retrofit for under $600 in parts.
1. Pneumatic Actuator Integration
The manual handle on the Kurt DX6 vise was replaced with a pneumatic cylinder kit. Apex sourced an SMC SY5120-5LZD-02 5-port solenoid valve ($65) to control the double-acting cylinder. The solenoid operates on 24VDC, which perfectly matches the auxiliary I/O voltage provided by the Haas Mini Mill's control cabinet.
2. Electrical Interfacing via Relay
Directly wiring the CNC's I/O board to an inductive solenoid coil risks back-EMF voltage spikes that can fry the controller's motherboard. To isolate the circuit, Apex installed an Automation Direct ADAM-4050 relay module ($42). The Haas M22 output sends a 24V signal to the relay coil, which mechanically switches the 24V shop air compressor line to the SMC valve.
3. The Chip-Clearing Air Blast (M55 Logic)
To automate chip clearing, a 1/4" Loc-Line articulated air nozzle was mounted to the spindle head, aimed directly at the vise pocket. A second solenoid was wired to an available M-code output (mapped via Parameter 581). The custom subprogram O9001 was written as follows:
O9001 (AUTO CLEAR AND UNCLAMP)
M22 (UNCLAMP VISE)
G04 P0.5 (DWELL 0.5 SEC FOR JAW RELEASE)
M56 (TURN ON AIR BLAST SOLENOID)
G04 P2.5 (DWELL 2.5 SEC TO CLEAR CHIPS)
M57 (TURN OFF AIR BLAST)
M99 (RETURN TO MAIN PROGRAM)
Edge Cases and Safety Interlocks
Automating a machine in a small shop without a full-time operator monitoring it introduces severe crash risks. If the shop's air compressor drops below 80 PSI, the pneumatic vise might fail to clamp the part securely, leading to a catastrophic tool breakage when the spindle engages.
To mitigate this, Apex installed a Norgren F07-200-N1TG pneumatic pressure switch ($85) inline before the solenoid valves. The switch's normally-open contacts were wired in series with the machine's E-Stop and feed-hold circuit. If air pressure drops below 85 PSI, the circuit breaks, instantly triggering a feed-hold and displaying a custom macro alarm on the Haas screen: "ALARM 999: LOW AIR PRESSURE - CLAMPING COMPROMISED".
"The biggest mistake small shops make with M-code automation is assuming the machine knows if the clamp actually closed. You must use physical pressure switches or proximity sensors wired to feed-hold circuits. A custom M-code is only as safe as the hardware interlock backing it up."
— Marcus Vance, Lead Machinist, Apex Precision Prototypes
ROI and Cycle Time Analysis
The financial justification for integrating advanced M-codes in small workshop environments becomes obvious when analyzing batch throughput. Below is the comparative data from Apex's 6061-T6 sensor housing production run (Batch size: 150 parts).
- Manual Load/Unload/Clear Time: 55 seconds per part
- Automated M-Code Sequence Time: 12 seconds per part
- Time Saved Per Part: 43 seconds
- Total Batch Time Saved: 1 hour, 47 minutes
- Effective Shop Rate: $135 / hour
- Labor Savings Per Batch: $240.75
Given the total hardware and wiring cost of $580, the ROI was achieved in just 2.5 production batches. More importantly, the 43-second reduction in non-cutting time allowed the shop to complete the entire batch within a single 8-hour shift, freeing the operator to set up a secondary lathe for the afternoon run.
Actionable Takeaways for 2026 Upgrades
For small workshop owners looking to replicate this automation strategy on compact CNC mills, adhere to the following technical specifications:
- Audit Your I/O Board: Before purchasing solenoids, access your machine's diagnostic I/O screen. Identify unused output relays. On older machines, you may need to install an aftermarket M-code relay expansion board (approx. $350) to gain access to programmable M21-M30 outputs.
- Calculate Air Volume Requirements: High-pressure air blasts deplete local tank reserves rapidly. Ensure your shop compressor delivers a minimum of 12 CFM at 90 PSI to prevent pressure sag during rapid M55 cycling.
- Standardize Subprograms: Save your custom M-code macros (O9001, O9002) to the machine's non-volatile memory or a networked USB drive. If the controller battery dies and memory is wiped, losing a complex macro can halt production for hours while it is rewritten.
Mastering the manipulation of M-codes transforms a basic 3-axis mill from a manually dependent tool into a highly efficient, automated manufacturing cell. By leveraging resources like the Sandvik Coromant CNC Programming Fundamentals and your specific OEM's parameter manual, small shops can unlock enterprise-level efficiency on a micro-budget.