How to Make a CNC Machine: Designing Custom Workholding and Fixturing Jigs
Learn how to make a CNC machine more productive by designing custom workholding and fixturing jigs. Explore industrial case studies and clamping math.
When engineers, makers, and fabricators research how to make a CNC machine, they typically obsess over spindle RPM, ball screw pitch, and linear rail rigidity. Yet, a machine’s structural integrity is entirely negated if the workholding fails under cutting loads. A 20,000 RPM spindle is useless if the part vibrates out of the vise. Designing custom fixturing and workholding is the true bridge between a basic DIY router build and an industrial-grade, high-mix production cell.
In 2026, the shift toward high-mix, low-volume (HMLV) manufacturing means shops cannot rely solely on off-the-shelf Kurt DX6 vises for every job. Custom fixture plates, engineered soft jaws, and specialized tombstones are mandatory for maintaining margins. This guide explores the physics of fixturing, material selection, and real-world industrial case studies to help you design workholding that maximizes your CNC machine's capabilities.
The Physics of Fixturing: Clamping Force vs. Part Deflection
Before designing a custom jig, you must calculate the cutting forces generated by your toolpaths and ensure your clamping method can resist them without yielding the part. The fundamental formula for preventing part slip is:
F_clamp = (F_cut × SF) / μWhere:
• F_clamp = Required clamping force (lbs)
• F_cut = Maximum anticipated cutting force (lbs)
• SF = Safety Factor (typically 2.0 to 2.5 for dynamic milling)
• μ = Coefficient of friction between the clamp/jaw and the workpiece
For example, if a roughing end mill generates 400 lbs of lateral cutting force in steel, and you are clamping raw aluminum against aluminum jaws (μ ≈ 0.3), the required clamping force is (400 × 2.5) / 0.3 = 3,333 lbs. If you are designing a custom pneumatic fixture, you must size your cylinders to exceed this threshold. According to the Society of Manufacturing Engineers (SME), underestimating dynamic cutting forces by ignoring the safety factor is the leading cause of scrapped parts in custom fixture designs.
Case Study 1: 5-Axis Aerospace Trunnion Fixturing
Application: Machining complex 7075-T6 aluminum aerospace brackets requiring 5-sided access.
Challenge: Standard vises block toolpaths on the Z-axis negative plane, requiring secondary operations and introducing cumulative tolerances.
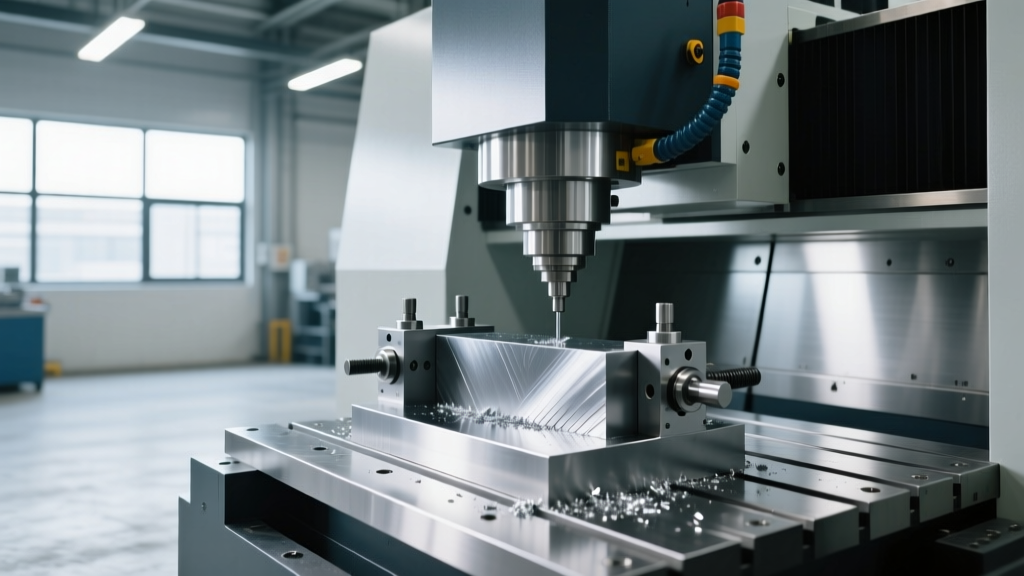
To solve this, the engineering team designed a custom dovetail fixture system. Instead of clamping the sides of the part, they machined a 1/16-inch dovetail ledge into the raw stock's waste area. Using specialized low-profile clamps (such as the Mitee-Bite Pitbull series), the part is held strictly from the bottom. This leaves the top and all four sides completely unobstructed for 5-axis simultaneous machining.
Material Selection Matrix for Custom Soft Jaws and Fixture Plates
Choosing the right material for your custom fixture components is critical. Using the wrong alloy can lead to rapid wear, galling, or part damage. Below is a 2026 engineering reference matrix for custom workholding materials:
| Material | Hardness | Yield Strength | 2026 Est. Cost/lb | Primary Application |
|---|---|---|---|---|
| 6061-T6 Aluminum | 95 HB | 40,000 psi | $3.50 - $4.20 | Prototype fixtures, standard soft jaws |
| 1018 Cold Rolled Steel | 126 HB | 53,700 psi | $1.20 - $1.80 | Base plates, structural tombstone supports |
| 4140 Pre-Hardened | 28-32 HRC | 100,000 psi | $4.50 - $5.50 | High-wear locators, hardened master jaws |
| Delrin 150 (Acetal) | 120 MPa (Tensile) | N/A | $8.00 - $10.00 | Non-marring jaws for cosmetic/anodized parts |
| Micarta (Phenolic) | N/A | 18,000 psi | $12.00 - $15.00 | Vibration dampening, delicate thin-wall clamping |
Case Study 2: High-Volume Automotive Manifold Production
Application: CNC milling cast iron intake manifolds with irregular, as-cast exterior surfaces.
Challenge: Manual clamping of irregular castings takes 45 seconds per part and results in inconsistent clamping pressure, leading to chatter and broken carbide end mills.
The solution was a custom hydraulic fixture plate utilizing self-compensating clamps (such as those from Roemheld). Unlike manual toggle clamps, hydraulic self-compensating clamps extend until they contact the irregular casting surface, then lock in place and apply a precise, programmable downward force.
The ROI Breakdown:
Manual clamping time: 45 seconds/part.
Hydraulic fixturing time: 4 seconds/part.
At a production volume of 60,000 parts per year, the shop saves 683 hours of spindle idle time annually. Factoring in the operator's loaded labor rate and the reduction in broken tooling, the $14,500 investment in the custom hydraulic fixture plate achieved full ROI in just 2.8 months. Industry data published by Modern Machine Shop consistently highlights hydraulic workholding as the highest-ROI upgrade for high-volume production cells.
Applying excessive hydraulic pressure to thin-walled parts (e.g., 0.050-inch aluminum aerospace skins) causes elastic deformation. The part deflects while being machined, and when the clamps release, it springs back out of tolerance. Always calculate the yield strength of the workpiece against the clamping force per square inch, and utilize conformal soft jaws to distribute the load across the maximum surface area.
Step-by-Step: Designing Your First Custom Tombstone
If you are building a horizontal milling cell or integrating a 5-axis trunnion, a custom tombstone is essential for maximizing parts per cycle. Follow this framework to design one that won't warp under load:
- Base Material Selection: For heavy-duty steel cutting, specify Meehanite cast iron for its superior vibration-dampening properties. For aluminum aerospace parts or DIY CNC builds where weight is a concern, 6061-T6 aluminum plate (minimum 2 inches thick) is acceptable.
- Grid Pattern Design: Standardize your hole pattern. Use a 50mm or 2-inch spacing grid. Tap the holes for 1/2"-13 or M12 threads. Ensure the grid aligns with standard modular fixturing components (like Bluco or Schunk) so you aren't forced to design custom clamps for every new part.
- Locational Precision: Do not rely on tapped holes for part location; they are not precise enough. Ream and press in hardened drill bushings or precision locational pins (e.g., Carr Lane CL-400 series) at the four corners of each fixture quadrant to guarantee 0.0002-inch repeatability.
- Stress Relief and Grinding: If machining a steel or aluminum tombstone from raw block, the removal of material will induce internal stresses, causing the tombstone to twist over time. Rough machine the block, send it out for thermal stress relieving, and then finish-grind the mounting faces on a surface grinder to ensure perfect parallelism to the machine table.
Integrating Standardized Workholding into Custom CNC Builds
When learning how to make a CNC machine from scratch, builders often design custom T-slots or proprietary bed plates. This is a mistake that limits the machine's future utility. Instead, design your machine bed to accept industry-standard modular fixture plates. By integrating a standardized grid system (such as the 50mm hole pattern with 12mm reamed holes) directly into your machine's cast bed or sub-plate, you instantly unlock compatibility with thousands of off-the-shelf workholding accessories. This single design decision transforms a custom-built machine into a versatile, production-ready manufacturing asset.