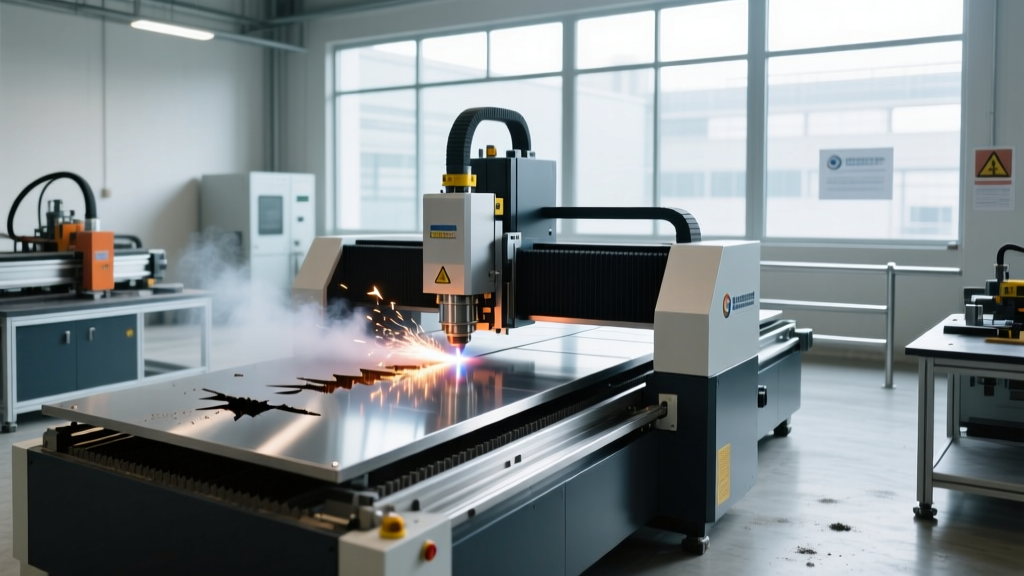
Troubleshooting CNC Machine Plasma Cut Quality & Arc Faults
Diagnose and fix common CNC machine plasma issues. Expert troubleshooting for dross, angled cuts, and arc faults with exact torch settings and specs.
When operating a CNC machine plasma system, cut quality degradation and arc instability rarely occur without a physical or digital precursor. Whether you are running a Hypertherm Powermax 105 SYNC, a Lincoln Electric Tomahawk 1538, or an ESAB PowerCut 1500, the physics of the plasma arc remain constant. Deviations in gas pressure, consumable wear, or Torch Height Control (THC) voltage mapping will immediately manifest as dross, kerf asymmetry, or arc blowouts. This guide provides exact diagnostic parameters and repair protocols for 1/4-inch to 1-inch mild steel and stainless applications.
Rapid Diagnostic Matrix: Symptom to Solution
Before adjusting cut charts, identify the primary visual defect. Use this matrix to isolate the root cause of your CNC machine plasma defects.
| Visual Symptom | Primary Culprit | Immediate Diagnostic Action |
|---|---|---|
| Hard, bubbly dross on top edge | High-speed dross / Excessive IPM | Reduce feed rate by 10-15%; verify torch height. |
| Soft, globular slag on bottom edge | Low-speed dross / Worn nozzle | Increase feed rate by 10%; inspect nozzle orifice. |
| Cut face is angled (beveled) | Swirl ring wear / THC offset | Replace swirl ring; recalibrate THC arc voltage. |
| Arc blows out mid-cut | Moisture in air / Poor grounding | Check dew point; move work clamp within 3 feet. |
| Excessive top-edge melting | Pierce height too low / Amperage high | Increase pierce height to 0.150"; verify cut chart. |
Decoding Dross Formation on CNC Tables
Dross is the re-solidified oxidized metal that adheres to the cut edge. In CNC machine plasma operations, dross is strictly categorized by its formation speed and location. Misidentifying the dross type leads to incorrect feed rate adjustments.
High-Speed Dross (Top Edge)
High-speed dross forms as a hard, beaded ridge along the top edge of the plate. It occurs when the torch travels faster than the plasma jet can effectively eject the molten metal from the kerf. The arc lag lines trail severely behind the torch.
- The Fix: Decrease your cut speed (IPM) in increments of 5 IPM. For example, if cutting 1/2-inch mild steel with O2 plasma at 130A, the baseline speed is roughly 45 IPM. If high-speed dross appears, drop to 40 IPM.
- Secondary Check: Verify your cut height. If the THC is riding too high (e.g., 0.080" instead of the specified 0.060"), the arc widens at the top, melting the upper edge before cutting through the bottom.
Low-Speed Dross (Bottom Edge)
Low-speed dross presents as a soft, easily removable, globular slag hanging from the bottom of the plate. This happens when the torch moves too slowly, allowing the plasma jet to widen the kerf excessively and fail to eject the molten pool cleanly.
- The Fix: Increase the feed rate by 5 to 10 IPM.
- Consumable Check: Low-speed dross is the primary indicator of a degraded nozzle orifice. As the hafnium emitter wears, the plasma arc loses its constriction. Measure the nozzle orifice; if it has expanded beyond 15% of its original diameter (e.g., a 1.1mm nozzle expanding past 1.25mm), replace it immediately.
Never mix amperage-rated consumables. Installing a 45A nozzle on a 65A shield cup will cause immediate shield cup melting and catastrophic torch body damage due to inadequate gas cooling flow. Always verify the part number stamp on the electrode, nozzle, and retaining cap match the specific cut chart amperage.
Correcting Angled Cuts and Kerf Asymmetry
A perfectly tuned CNC machine plasma system produces a cut face with a maximum bevel angle of 2 to 3 degrees. When cuts exhibit a 5-degree or greater bevel, or when the kerf is visibly wider on one side, the issue is almost always gas dynamics or torch alignment.
The Swirl Ring Factor
The swirl ring sits between the electrode and the nozzle. Its purpose is to impart a centrifugal spin to the plasma gas, stabilizing the arc and centering it within the nozzle orifice. Swirl rings are typically made of engineered polymers (like Vespel) or ceramic. Over time, thermal cycling causes micro-fractures or warping in the gas ports.
Actionable Step: If you experience consistent right-side or left-side beveling across multiple cuts, replace the swirl ring. According to Hypertherm's plasma cutting fundamentals, a compromised swirl ring will cause the arc to attach to the side of the nozzle, resulting in an asymmetrical kerf and premature nozzle failure.
THC Voltage Sampling Errors
If the Torch Height Control system samples the wrong arc voltage during the cut, the Z-axis will drift. For 1/2-inch mild steel at 130A, the target arc voltage is typically 130V. If your THC is set to 135V, the torch will physically raise itself away from the material, widening the top kerf and creating a positive bevel. Always reference the manufacturer's cut chart for the exact target voltage at your specific amperage and gas combination.
Arc Instability, Blowouts, and Pierce Failures
When the plasma arc stutters, fails to transfer to the workpiece, or blows out mid-profile, the issue shifts from cut mechanics to electrical and pneumatic integrity.
Pneumatic Purity and ISO Standards
Plasma cutters require clean, dry air. Moisture in the air line oxidizes the hafnium emitter prematurely and causes the arc to split. The air supply must meet ISO 8573-1 Class 1.2.1 standards. This requires a dew point of -40°F (-40°C) and particulate filtration down to 0.1 microns.
- Compressor Setup: A standard shop compressor dropping to 35°F dew point is insufficient for high-definition or heavy-duty CNC machine plasma work. Install a coalescing filter followed by a desiccant or refrigerant dryer at the machine inlet.
- Pressure Drop: The plasma power supply requires 90-120 PSI dynamically while cutting. If your static pressure is 120 PSI but drops to 75 PSI when the solenoid opens, the arc will starve and blow out. Ensure your supply lines are minimum 3/8-inch ID, and the compressor can deliver at least 6.5 CFM at 130 PSI.
Grounding Topology
High-frequency (HF) start circuits and pilot arcs require a pristine ground path. Arc blowouts on thick plate often occur because the work clamp is attached to a painted, rusted, or distant part of the slat bed.
Actionable Step: Move the work ground clamp directly to the workpiece or the immediate cutting zone (within 3 feet). Grind away any mill scale or primer at the clamp attachment point. For high-volume CNC tables, install a copper grounding busbar directly to the steel water pan or heavy-duty slats, bypassing the pivot points of the table frame entirely. For deeper electrical theory, refer to the Lincoln Electric process and theory guides on arc stability.
PRO TIP: Pierce Height vs. Cut HeightNever pierce at your cut height. Piercing at 0.060" will cause molten slag to blow back directly into the nozzle orifice, destroying a $15 consumable in one hit. Always set your pierce height to 0.150" - 0.180" for materials 1/4-inch and thicker, allowing the slag plume to deflect away from the torch face. Once the arc penetrates, the THC should rapidly drop to the 0.060" cut height.
The 500-Arc Consumable Audit Protocol
Rather than waiting for cut quality to fail, implement a strict 500-arc audit for your CNC machine plasma operations. This is especially critical when running oxygen plasma on mild steel, which accelerates hafnium consumption.
- Electrode Pit Depth: Remove the electrode and inspect the hafnium insert. Using a straight edge and a feeler gauge, measure the pit depth. If the pit exceeds 0.080" (approx 2mm), the electrode is exhausted. Running it further risks the copper body melting and fusing to the nozzle.
- Nozzle Orifice Inspection: Look through the nozzle orifice toward a light source. The hole must be perfectly round. If it resembles an oval or has visible slag spatter on the inner bore, the gas flow is disrupted. Replace it.
- Shield Cap Webbing: Inspect the center hole of the shield cap. If molten metal has webbed across the aperture, it will interfere with the secondary shield gas flow, causing severe top-edge dross.
Preventative Maintenance Checklist
Maintaining cut quality requires systematic verification of the machine's physical and digital parameters. Execute this checklist to prevent unplanned downtime.
- Daily: Purge air lines for 10 seconds before startup to expel condensed moisture. Verify dynamic air pressure at the machine regulator while the torch is firing.
- Weekly: Clean the THC Z-axis lead screw and linear rails. Lubricate with a dry PTFE spray to prevent dust accumulation that causes Z-axis stuttering (which manifests as wavy cut faces).
- Monthly: Calibrate the THC arc voltage divider board. Use a multimeter to verify that the voltage reading on the CNC controller matches the raw DC voltage output from the plasma power supply's CNC port.
- Quarterly: Inspect the torch lead for micro-abrasions. A compromised pilot arc wire inside the lead assembly will cause intermittent transfer failures, especially when the gantry reaches the far ends of the table.
Mastering these troubleshooting protocols transforms a CNC machine plasma system from a consumable-heavy liability into a high-precision, low-cost profiling tool. By strictly adhering to cut chart parameters, maintaining ISO-grade air purity, and auditing consumables by physical measurement rather than visual guesswork, operators can maintain factory-edge tolerances across thousands of cuts.