CNC Router Machine for Beginners: Essential Maintenance Guide
Master the maintenance schedule for your CNC router machine for beginners. Learn daily, weekly, and monthly service steps to prevent downtime and broken bits.
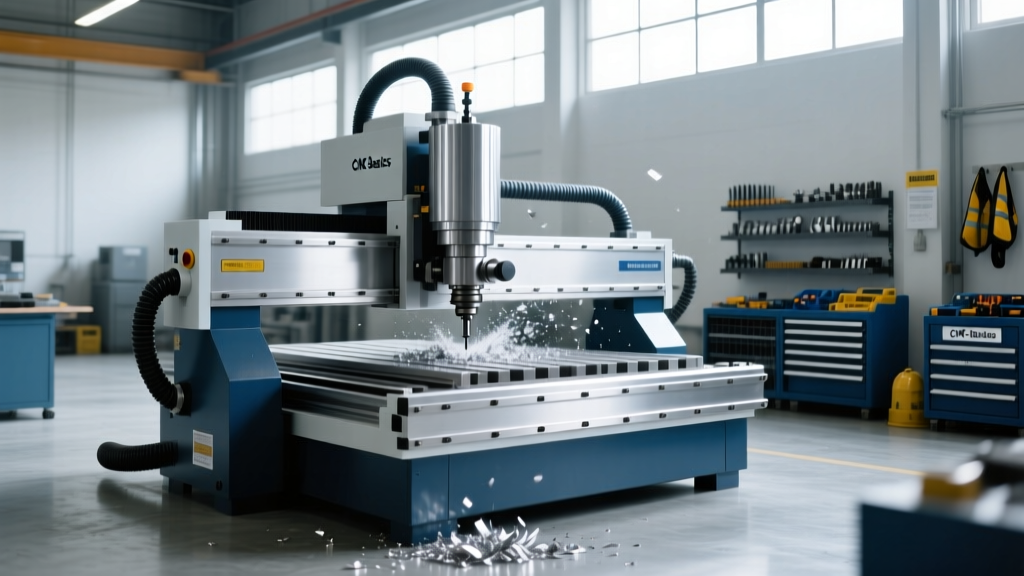
Purchasing a CNC router machine for beginners—whether it is a compact Genmitsu 3018-PROVer V2, a mid-range Onefinity Woodworker, or a Carbide 3D Shapeoko 5—is only the first step in your machining journey. Entry-level and hobbyist CNC routers are engineered with cost-effective components like NEMA 23 stepper motors, Delrin V-groove wheels, and open-loop controllers. While these machines offer incredible value (typically ranging from $250 to $2,000), their lighter-duty construction demands a rigorous, disciplined maintenance schedule to achieve industrial-level accuracy and prevent catastrophic failures.
⚠️ The Hidden Cost of Skipped Maintenance: Ignoring weekly lubrication and belt tensioning on an entry-level router does not just degrade surface finish. It accelerates wear on $8 Delrin V-wheels, causes micro-stepping drivers to overheat, and can lead to spindle runout that snaps $30 carbide end mills mid-job. According to CNC Cookbook's maintenance guidelines, proactive upkeep reduces unplanned downtime by up to 70% and extends component lifespans by a factor of three.The Daily Pre-Flight Protocol (5 Minutes)
Before you power on the spindle or send G-code to the controller, execute this rapid daily checklist. This routine catches mechanical anomalies before they ruin your workpiece.
Collet and Tool Holder Hygiene
The most common beginner mistake is leaving the ER11 or ER16 collet inside the collet nut when not in use. This permanently deforms the collet's slotted spring steel, causing severe tool runout.
- Action: Remove the collet from the nut daily. Wipe the internal taper of the spindle and the collet exterior with a lint-free cloth and 99% isopropyl alcohol.
- Torque Spec: When tightening the collet nut, use a dedicated collet wrench. Target 12–15 Nm of torque. Overtightening galls the threads; undertightening allows the end mill to pull out during heavy 2D profiling.
Limit Switch and E-Stop Verification
Entry-level machines often use basic mechanical micro-switches for homing. Dust accumulation can cause these switches to stick, resulting in the machine crashing into the hard stops.
- Action: Manually trigger each X, Y, and Z limit switch with your finger to ensure a tactile, audible click and a swift return. Hit the Emergency Stop button to verify it immediately cuts power to the stepper drivers and spindle VFD (Variable Frequency Drive).
Weekly Debris Purge and Lubrication
Wood dust, MDF particles, and aluminum chips are highly abrasive. If left in the drive train, they act like lapping compound, grinding away the precision of your lead screws and linear rails.
Lead Screw and Linear Rail Care
Never use standard WD-40 or wet oils on your drive train; they attract dust and create a thick, abrasive sludge.
- Purge: Use a soft-bristle brush and a low-PSI air compressor (keep it under 30 PSI to avoid forcing dust into sealed bearings) to clear debris from the lead screws and V-slot extrusions.
- Clean: Wipe the lead screws with a rag dampened with isopropyl alcohol to remove old, contaminated grease.
- Lubricate: Apply a PTFE-based dry lubricant (such as Super Lube Dry Film) or a light white lithium grease to the lead screws. For machines with MGN12 linear rails, use a dedicated way oil like Mobil Vactra #2, injecting it directly into the carriage grease nipples.
Monthly Calibration: Belts, Wheels, and Backlash
Over time, thermal cycling and cutting forces stretch GT2 timing belts and loosen V-groove wheel eccentric nuts. Monthly calibration ensures your machine holds tight tolerances (typically ±0.005" for hobbyist routers).
| Component | Inspection Method | Target Specification | Adjustment Procedure |
|---|---|---|---|
| GT2 Timing Belts | Press down at the midpoint of the longest belt span. | ~1/8" deflection at 5 lbs of pressure. | Loosen motor mount bolts, slide motor to increase tension, re-tighten. Do not overtighten, which whines and destroys stepper bearings. |
| Delrin V-Wheels | Try to spin the wheel with the machine powered off. | Should spin freely with slight resistance; no lateral carriage wobble. | Adjust the eccentric nut using a 10mm wrench. Turn in 1/8 increments until wobble stops. |
| Axis Backlash | Mount a magnetic dial indicator to the bed, zero it against the spindle, and command a 0.010" reverse move. | Less than 0.002" of lost motion. | If backlash exceeds 0.003", tighten the lead screw anti-backlash nuts or update the $130/$131/$132 backlash compensation parameters in GRBL. |
Bi-Annual Electronics and Spindle Deep Clean
Electronics and high-speed spindles require specialized attention every six months to prevent thermal throttling and bearing failure. As noted in Haas Automation's service resources, thermal management is the primary factor in spindle longevity, a principle that applies equally to air-cooled and water-cooled hobbyist spindles.
Control Board Dusting
Stepper motor drivers (like the TB6600 or DM542T) generate significant heat. When coated in a layer of MDF dust, they cannot dissipate heat, leading to missed steps and thermal shutdowns.
- Action: Disconnect all power. Open the control box and use an ESD-safe (anti-static) brush and compressed air to clean the driver heat sinks and cooling fans. Check all screw-terminal connections for tightness; vibration frequently loosens the X/Y/Z motor wire terminals, causing intermittent phase loss.
Spindle Runout and Bearing Check
Even high-quality 1.5kW Chinese water-cooled spindles can develop bearing wear if subjected to excessive side-loading during deep roughing passes.
- Action: Insert a precision ground 1/4" steel dowel pin into the collet. Mount a dial indicator on the Z-axis carriage so the probe touches the dowel 1 inch below the collet nut. Rotate the spindle by hand. Total Indicator Reading (TIR) should be under 0.0008". If runout exceeds 0.002", the internal angular contact bearings are likely failing and the spindle must be replaced or rebuilt.
Diagnostic Troubleshooting Matrix
When maintenance is deferred, entry-level CNC routers exhibit specific failure modes. Use this matrix to diagnose and resolve common mechanical and electrical issues.
| Symptom | Root Cause | Diagnostic Step | Corrective Action |
|---|---|---|---|
| Chatter / poor edge finish on aluminum | Loose V-groove wheels or worn collet | Grab the spindle and attempt to rock it side-to-side. | Tighten eccentric nuts; replace ER11 collet if tool pullout is visible. |
| Lost steps (carriage stalls mid-job) | Over-tightened belts binding the stepper motor bearings | Disconnect belt and spin motor pulley by hand. | Loosen belt tension. If motor still binds, replace NEMA 23 stepper ($20-$30). |
| Z-axis plunges too deep randomly | Loose Z-axis lead screw coupler | Mark the coupler and lead screw with a Sharpie; run a Z-cycle and check for slip. | Tighten the 4mm grub screws on the flexible jaw coupler. Apply blue Loctite 242. |
| Spindle overheats and shuts down | Blocked coolant lines or VFD parameter error | Check water flow rate; verify VFD F00.10 (max frequency) matches spindle rating. | Flush coolant reservoir; replace impeller pump. Recalibrate VFD parameters. |
Sourcing Replacement Parts on a Budget
Maintaining a beginner CNC router requires keeping a small inventory of high-wear consumables. Rather than buying OEM replacement kits at a premium, source these standard industrial components directly:
- ER11 Collets: Purchase a set from Techniks or Parlec (approx. $15 each) rather than unbranded Amazon kits, which often have poor concentricity.
- V-Groove Wheels: Standard 24mm OD Delrin wheels with 625ZZ bearings are widely available on McMaster-Carr or AliExpress for under $5 each.
- Limit Switches: Upgrade from cheap mechanical micro-switches to Omron D2F-L or inductive proximity sensors (NPN NO) for $8 each, completely eliminating dust-related homing failures.
Adhering to this structured maintenance schedule transforms an entry-level CNC router from a frustrating, unreliable toy into a precise, repeatable manufacturing tool. By investing 15 minutes a week into lubrication, tensioning, and calibration, you protect your capital investment and ensure every cut meets your exact design tolerances.