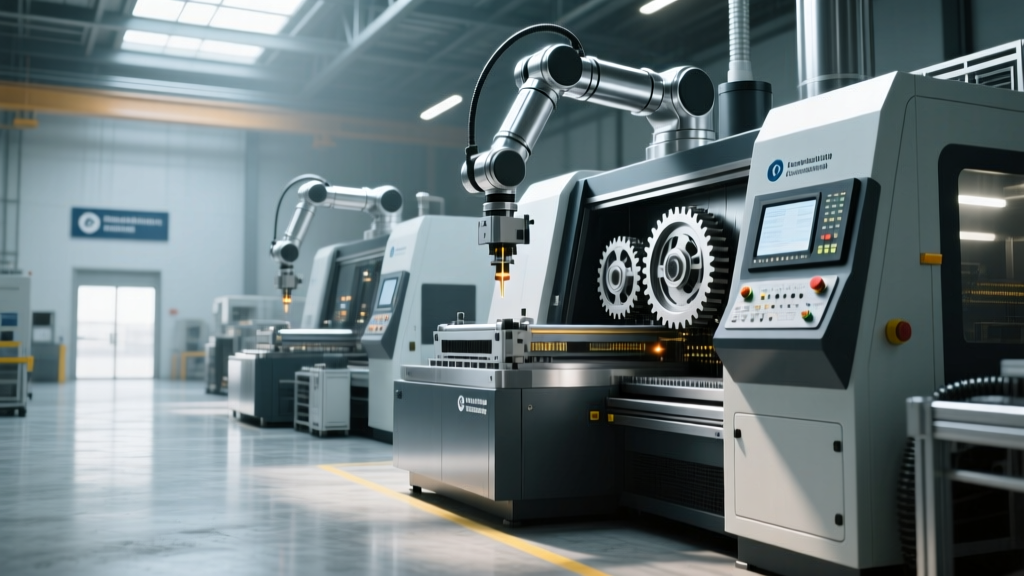
Troubleshoot Modular Lines Using Metrology Equipment Manufacturers
Learn how to diagnose and repair modular manufacturing line faults using precision frameworks and tools from leading metrology equipment manufacturers.
The Hidden Complexity of Modular Manufacturing Faults
Modular manufacturing equipment—such as linear motor-driven transport systems, reconfigurable pallet conveyors, and plug-and-produce machining cells—has become the backbone of flexible production in 2026. Systems like the Beckhoff XTS or Festo Multi-Carrier System (MCS) allow factories to change over product formats in minutes rather than hours. However, this mechanical flexibility introduces a severe vulnerability: kinematic error stacking and thermal drift.
When a modular line begins producing out-of-tolerance assemblies, experiencing mover cogging, or suffering from unexplained pallet misalignment, standard mechanical troubleshooting often fails. The root cause usually lies in sub-micron deviations at the module interfaces. To resolve these issues, maintenance engineers must adopt the diagnostic frameworks utilized by top metrology equipment manufacturers. By leveraging laser interferometry, 3D spatial tracking, and in-line probing, plant teams can isolate modular faults before they result in catastrophic downtime, which currently averages $14,000 per hour in high-speed automated sectors.
⚠️ CRITICAL WARNING: Thermal Expansion in Modular ExtrusionsMost modular lines are built on aluminum structural profiles (e.g., Bosch Rexroth or Item). Aluminum has a Coefficient of Thermal Expansion (CTE) of approximately 23.1 µm/m·°C. On a 15-meter modular assembly line, a mere 4°C temperature gradient between the floor and the ceiling will cause the track to expand or contract by 1.38 mm. This is enough to completely derail high-speed magnetic movers or bind modular rotary indexing tables. Always map thermal gradients before assuming mechanical wear.
Diagnostic Arsenal: Tools from Metrology Equipment Manufacturers
Leading metrology equipment manufacturers provide specific hardware and software ecosystems designed to map complex, multi-axis geometries. Choosing the right tool depends entirely on the failure mode you are investigating. Below is a decision matrix for selecting diagnostic equipment based on common modular line faults.
| Diagnostic Tool | Target Modular Fault | Accuracy / Resolution | Estimated Cost (2026) |
|---|---|---|---|
| Laser Interferometer (e.g., Renishaw XL-80) | Linear axis positioning errors, ballbar/servomotor mismatch, magnetic track pitch deviation. | ±0.5 µm / 1 nm resolution | $115,000 - $140,000 (Purchase) |
| Laser Tracker (e.g., Hexagon Leica AT960) | Large-scale module alignment, robotic end-effector TCP drift, gantry squareness. | 15 µm + 6 µm/m | $2,500/day (Rental) or $180,000+ |
| Inline 3D Laser Profiler (e.g., Keyence LJ-X Series) | Kinematic coupling wear, pallet surface deformation, continuous web tension faults. | 0.4 µm repeatability | $25,000 - $45,000 per sensor head |
Step-by-Step Troubleshooting: Resolving Mover Cogging in Modular Transport Systems
One of the most frequent failures in flexible production is 'cogging' or 'jerking' in linear magnetic transport systems. This occurs when the modular track segments are misaligned by more than 15 µm at the junction points, causing the servo loop to overcompensate. Here is how to troubleshoot this using metrology principles.
Step 1: Isolate and Map the Junction
Do not rely on the machine's internal encoders for initial diagnosis; they measure motor commutation, not absolute spatial reality. Mount a laser interferometer reflector directly to the moving carriage. Command the carriage to crawl across the suspected modular junction at 10 mm/s. Record the positional deviation. A healthy junction will show a transient error spike of less than 5 µm. A failing junction will show spikes exceeding 35 µm, often accompanied by a velocity dip.
Step 2: Inspect the Kinematic Couplings
Modular track segments are typically joined using three-point kinematic couplings (v-groove and spherical seat interfaces). Over time, the constant vibration of high-speed movers causes micro-welding or brinelling in the hardened steel seats. Disassemble the junction and inspect the coupling spheres under a 10x loupe. If you observe flat-spotting exceeding 0.05 mm in diameter, the coupling must be replaced. Attempting to shim a brinelled coupling will result in unpredictable thermal drift.
Step 3: Re-Alignment and Torque Verification
When reinstalling the track segment, use a dial indicator or laser tracker to align the segment to the master datum. The critical step often missed by in-house maintenance is the torque sequence. Kinematic coupling bolts must be tightened to the exact OEM specification (typically 14 Nm to 18 Nm for M8 high-tensile bolts) using a digitally calibrated torque wrench. Uneven torque introduces torsional stress into the aluminum extrusion, which will slowly relax over 48 hours, pulling the track out of alignment again.
💡 Pro Tip: The 24-Hour Thermal SoakAfter realigning any modular track segment or heavy machining cell, do not immediately run production. Leave the machine powered on (servos enabled) but stationary for 24 hours. This allows the internal heat from the servo drives and motors to reach thermal equilibrium with the surrounding factory environment. Re-measure the alignment with your metrology equipment after this soak period to lock in the true operational geometry.
When to Escalate: In-House vs. OEM Metrology Support
While plant maintenance teams can handle routine coupling replacements and thermal mapping, certain faults require the proprietary software and master calibration artifacts held by advanced manufacturing metrology labs and OEM specialists. Use the following decision framework to determine when to call in external metrology equipment manufacturers or their certified integrators.
- Escalate if: The error map shows non-linear, high-frequency cyclic errors (indicating a damaged magnetic scale or encoder read-head contamination that requires clean-room level disassembly).
- Escalate if: You are integrating a new modular cell into an existing line, and the cumulative error stack-up exceeds the ±20 µm tolerance required for robotic hand-offs.
- Escalate if: The machine's CNC controller or PLC lacks the built-in volumetric error compensation (VEC) tables required to map the newly corrected geometry.
- Keep In-House if: The fault is localized to a single mechanical joint, thermal gradient mapping, or routine ballbar testing of rotary modules.
'In modular production environments, precision is not a static achievement; it is a continuously managed variable. The factories that achieve 99.9% OEE in 2026 are those that treat metrology not as a final inspection step, but as an embedded diagnostic layer within their maintenance routines.' — Industrial Automation Reliability Report, 2025.
Frequently Asked Questions (FAQ)
How often should modular kinematic couplings be inspected for wear?
For lines operating 24/7 with high-acceleration movers (e.g., >2G acceleration), inspect the primary load-bearing kinematic couplings every 2,500 operating hours. For low-speed pallet conveyors, an annual inspection during scheduled plant shutdowns is sufficient. Always use a portable 3D scanner to document the wear pattern over time.
Can standard dial indicators be used instead of laser interferometers for modular alignment?
For coarse mechanical alignment (getting within 0.05 mm), dial indicators on magnetic bases are acceptable. However, to achieve the sub-10 µm precision required for high-speed magnetic transport systems or precision modular machining cells, dial indicators lack the resolution and are subject to parallax error and cosine error. Laser interferometry or high-end laser trackers are mandatory for final sign-off.
What causes sudden, unexplained drift in modular robotic cells?
Sudden drift is rarely mechanical. It is usually caused by a shift in the factory's floor slab (due to seasonal groundwater changes or heavy forklift traffic nearby) altering the base frame geometry, or a failure in the cell's localized HVAC causing asymmetric thermal expansion of the robot pedestal. Deploy a laser tracker to map the pedestal relative to an immutable external datum to confirm.